






Grout in one even colour across the whole wall or floor: that is what you want. In this blog we explain how the hybrid R...

Your online building supplies store for building and renovation
 English
✓
English
✓
 Nederlands
✓
Nederlands
✓

A level subfloor is the foundation for laminate, tiles or another floor finish. With the right primer, levelling compound and a clear plan, you can level a floor yourself. This DIY guide walks you through it step by step, from preparing the substrate to waiting before you continue.
The substrate must be clean, dry, sound and free of dust. Remove old floor coverings and skirting where needed. Sweep and vacuum thoroughly, and degrease oily spots. Fill cracks, holes and gaps (including at walls and around pipe penetrations) so the compound cannot run away. Let repairs cure as stated on the packaging.
Measure unevenness with a long spirit level or straight batten in several places. The highest point of the floor largely determines how thick your levelling layer needs to be: you fill the low spots up to that level. Then calculate consumption using the packaging of your compound.
Prime the floor. Primer improves adhesion, controls absorbency and helps prevent air bubbles. On highly absorbent or very smooth substrates, the right primer matters even more. Apply it evenly and let it dry as stated on the packaging. Then mask edges, frames and doors.
Do you have underfloor heating, large height differences, a doubtful substrate or a large room? Ask a professional for advice. Levelling takes pace and experience; in risky situations a tradesperson makes the difference.
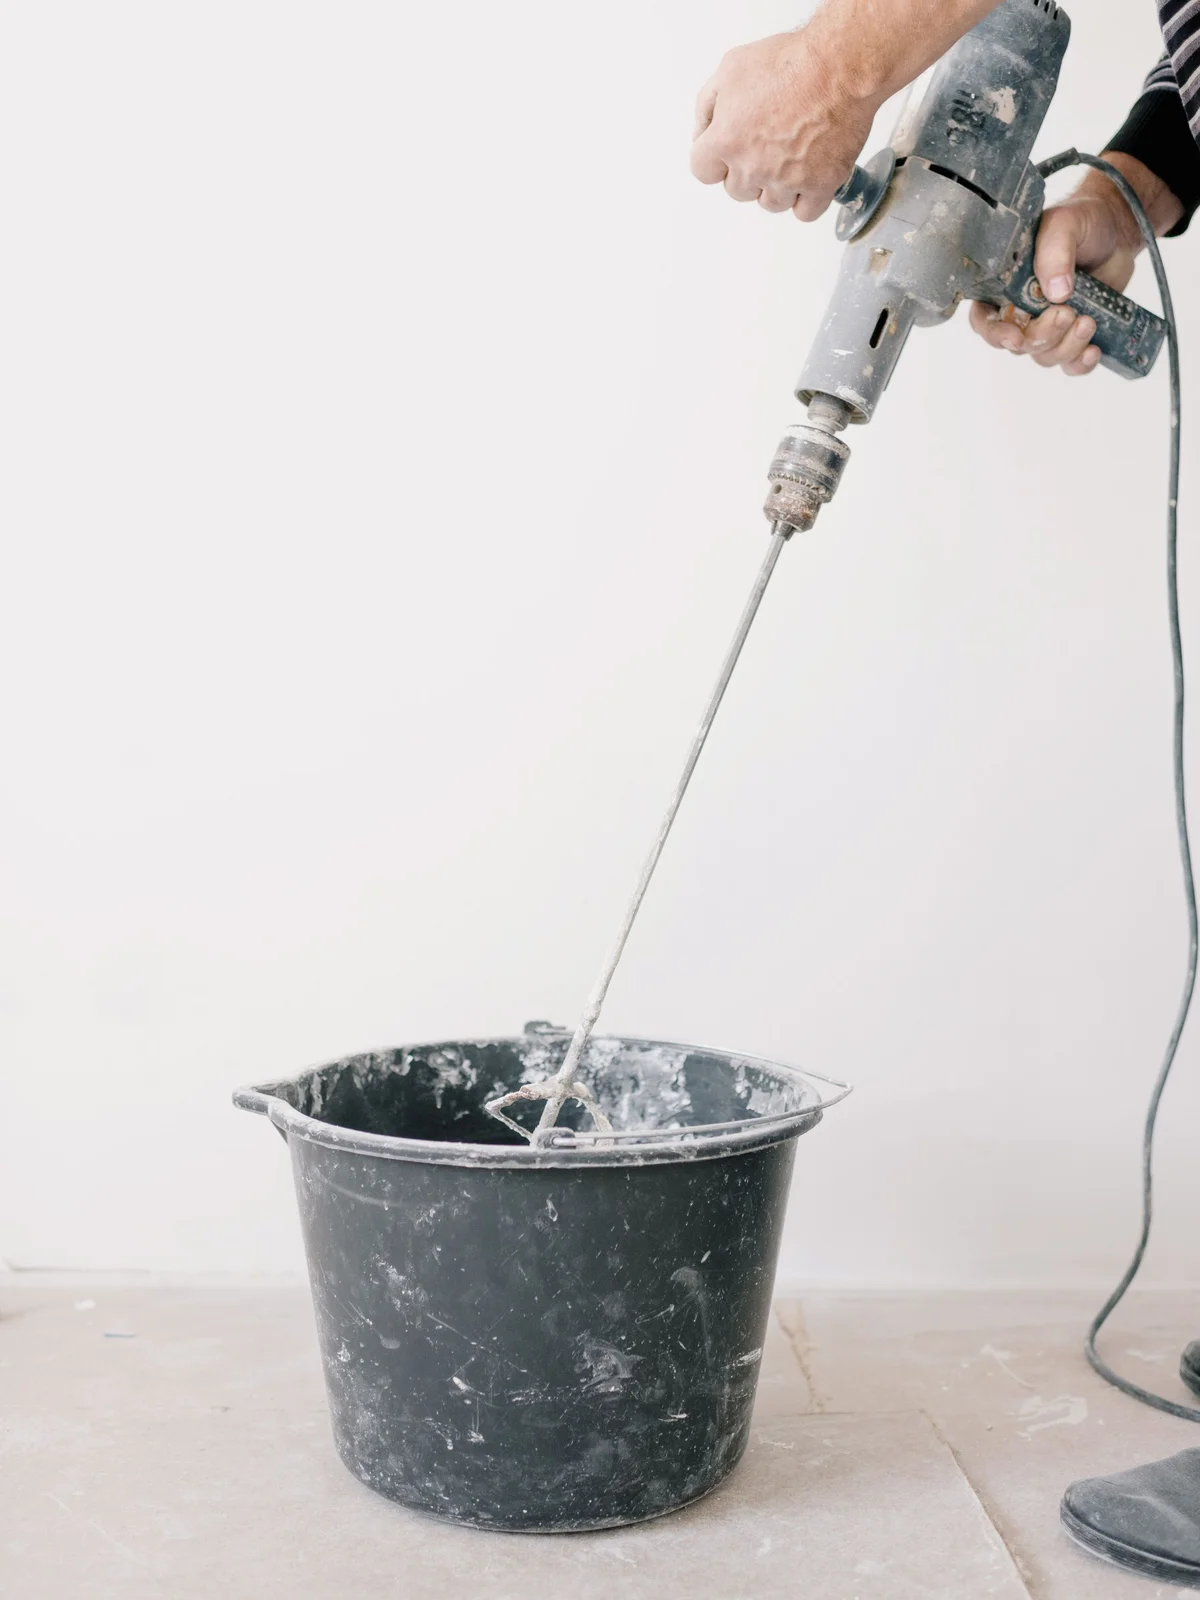
💡 Tip: practise first in a small room or make a test strip, so you learn the pace of mixing and pouring before you tackle a large room.
Levelling compounds and primers are construction chemicals. Powder products can release dust; wet mortar is often alkaline and can irritate skin and eyes. So wear nitrile-coated gloves, safety glasses when mixing, and for dust an FFP3 dust mask. Wash your hands after work.
Knee pads spare your joints when you work on the floor. Safety shoes protect your toes if a bag or bucket falls, and sturdy workwear keeps splashes off your skin. You will find all personal protective equipment in our workwear and safety range. For more tips, read our guide to safe working on the construction site.
Not always, but unevenness shows through the finish and can stress laminate or tiles. With noticeable bumps or dips, levelling is wise. See also our blogs on laying laminate and tiling a floor.
That depends on the unevenness and on the product. Measure the height difference and check the packaging for the minimum and maximum layer thickness allowed.
Sometimes, if the tiles are firmly fixed and flat. Clean and degrease them and use a primer suitable for non-absorbent substrates. In doubt? Ask a professional for advice.
Only once the compound has dried enough according to the packaging. That time differs per product and layer thickness.
Follow the instructions from both the compound manufacturer and the underfloor heating system. The heating often needs to be off or lower for a while. If in doubt, call in a professional.
For large unevenness, moisture problems, doubt about the substrate, underfloor heating, or if you do not trust the pace of levelling. A tradesperson prevents costly repairs; they are not an optional extra on difficult floors.
At Saniso, the online DIY store for building and renovating, you will find levelling compounds, primers, tools and protective gear for this job.
Saniso – Build your home with Saniso.
Share:
Grout in one even colour across the whole wall or floor: that is what you want. In this blog we explain how the hybrid R...

Installing a kitchen: do it yourself or hire a professional? Read what is involved, which parts you can do yourself and...
Cersanit Ares cement-look tiles for bathroom, kitchen and living room: 30×30 to 60×120, matt or satin, plus mosaic, skir...
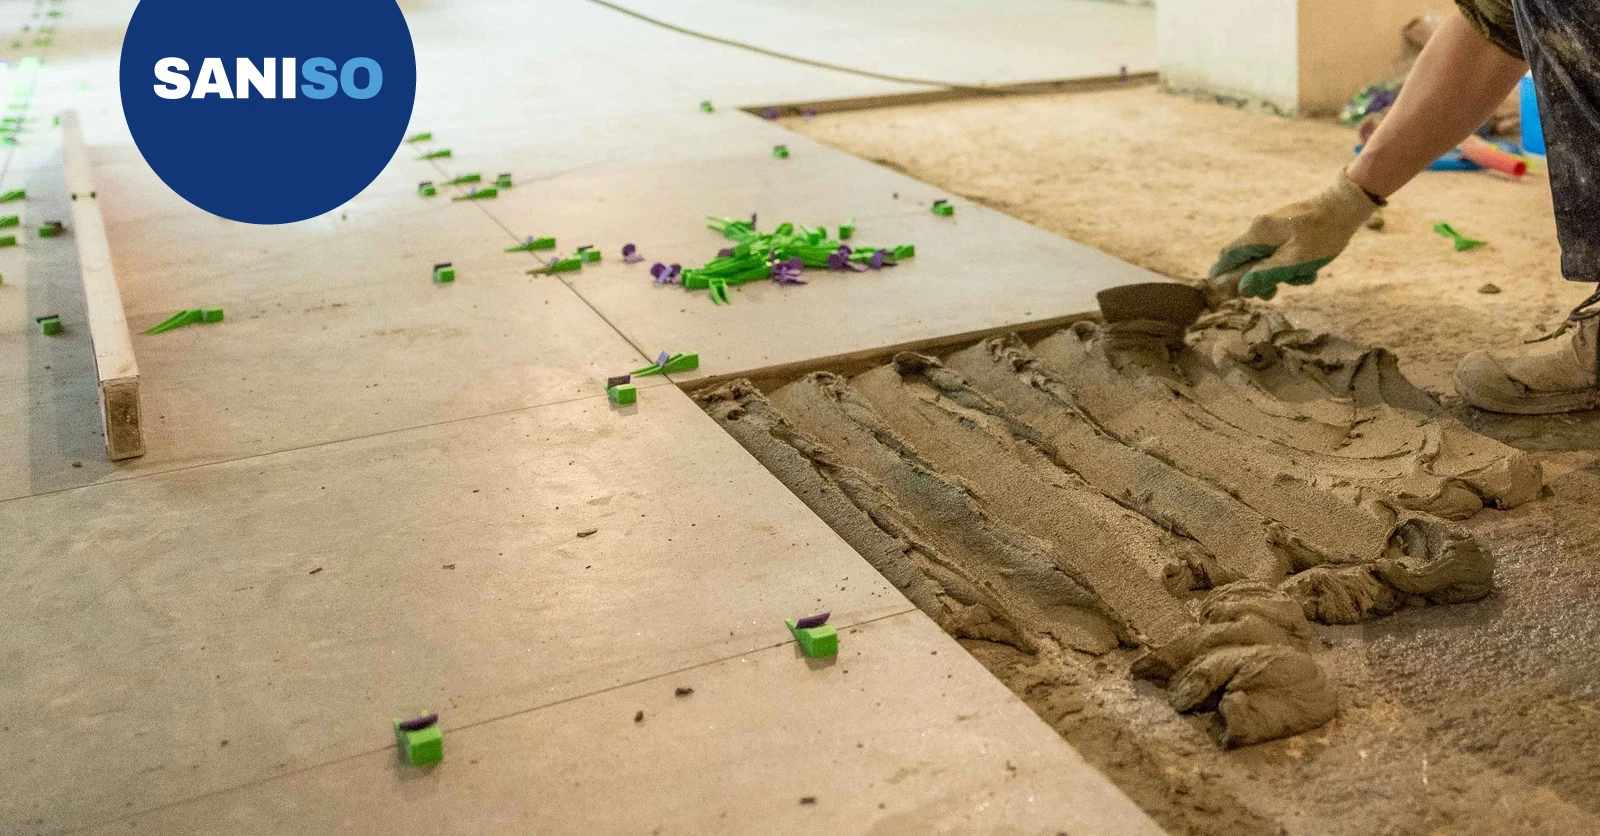
Laying large-format tiles with Kerakoll: H40 Gel up to 3000 × 1500 mm, coverage per mm, Biogel for deformable substrates...