Your online building supplies store for building and renovation

0 Your Cart 0.00€

Cart (0)

No products in the cart.

How to lay laminate: step-by-step DIY guide

How to lay laminate: step-by-step DIY guide

Laminate gives a room a new, warm look in a day and, with a click system, is well within reach of a DIYer. The job comes down to three things: a flat substrate, room along the walls for expansion and accurate sawing. This DIY blog takes you step by step through laying laminate, from preparation to fitting the skirting boards.
What do you need to lay laminate?

Which materials do you need?

  • Laminate in the finish you want, with a click system. Allow about 10% extra for sawing waste.
  • A suitable underlay, matched to your laminate and substrate (for example with or without a moisture barrier). Read what the laminate manufacturer prescribes.
  • A self-levelling product such as Flowtech Easy to level a substrate that is not flat enough. Follow the manufacturer’s instructions.
  • Skirting boards and, if needed, transition profiles that match your laminate.
  • Mounting adhesive for skirting boards to fix the skirting boards, and sanitary silicone sealant for finishing around pipes and in damp corners.

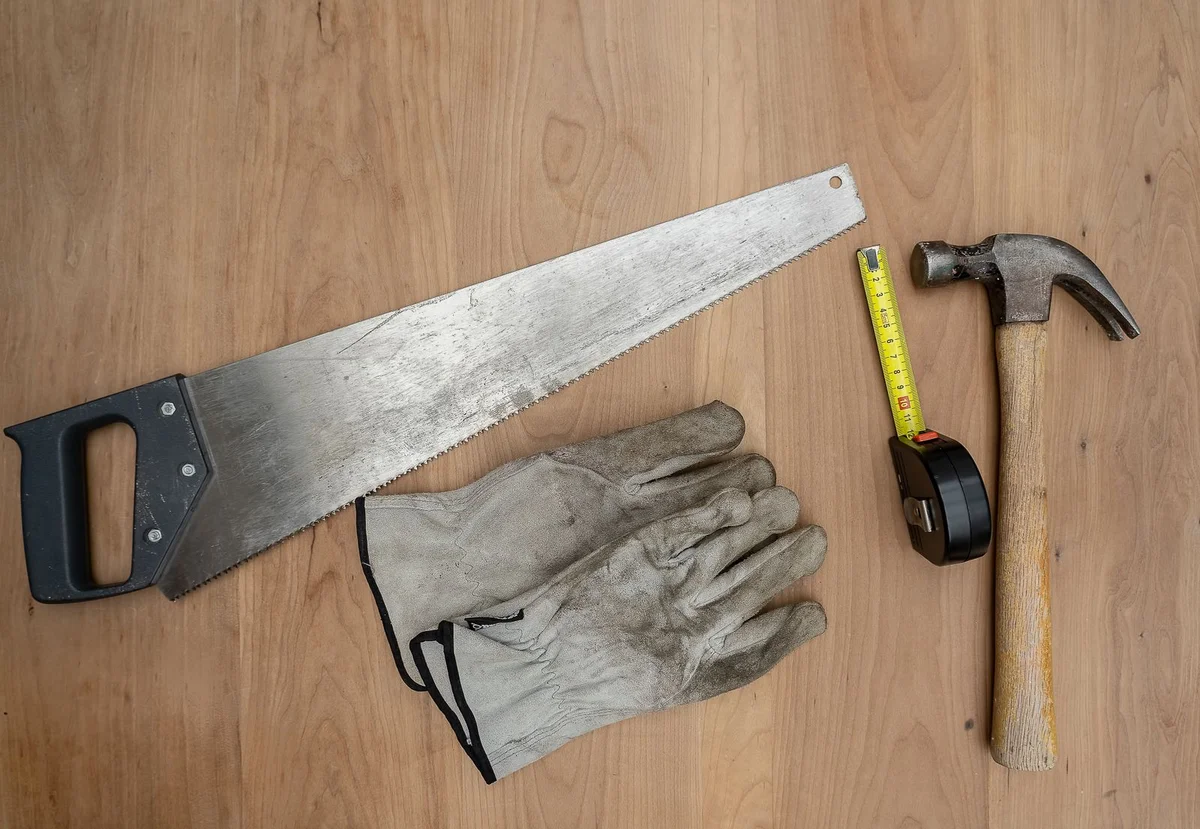
Which tools do you need?

A hand saw, work gloves, a tape measure and a hammer on a wooden surface

Photo: Mike van Schoonderwalt via Pexels

How do you prepare the room and the floor?

Let the laminate acclimatise in the room for a while before laying, flat and in its packaging, as the manufacturer prescribes. Remove the old floor covering and the skirting boards. The substrate must be sturdy, dry, clean and flat. Check it with the spirit level. Small differences in height can be levelled with a self-levelling product; for damp patches, find the cause first. Underfloor heating? Then extra rules apply: follow the instructions of the laminate and heating manufacturers. If there is old floor covering or adhesive on the floor in a home built before 1994, it may contain asbestos. Do not remove it yourself, but have an expert assess what can be done.
Step by step: preparing

  1. Measure the room. Measure the floor with the tape measure and calculate the area, adding about 10% extra. Check that the doors can still open after laying: the floor will be higher.
  2. Clean and level the floor. Vacuum thoroughly and repair holes or cracks. If necessary, level with a self-levelling product and let it dry completely according to the packaging.
  3. Lay the underlay. Roll out the underlay, without overlap unless the manufacturer prescribes it, and cut it to size with the hook knife. Tape the seams as the packaging indicates.
  4. Plan the first row. Decide the laying direction, usually along the incoming light. Check the width of the last row: if it would be only a few centimetres, make the first row narrower so the last row does not become too narrow. Draw lines with the pencil.

Step by step: laying the laminate

  1. Lay the first row. Place the first plank with the groove side towards the wall and keep an expansion gap of about 10 mm along the wall, or whatever the manufacturer prescribes. Use wedges or spacers. Click the next planks together at the short end and tap them gently into place with the rubber hammer.
  2. Saw the last plank of the row to size. Measure with the tape measure, mark with the pencil and saw with the hand saw. Wear safety glasses and a dust mask. With a hand saw, saw with the decorative side facing up.
  3. Start the second row with the offcut. Use the sawn-off piece if it is at least about 30 cm long, so the joints are staggered. Click the planks into the long side of the previous row at a slight angle, then lower them.
  4. Continue row by row. Check regularly that the joints are closed and the rows run straight. Tap the planks gently into place with the rubber hammer, preferably with a tapping block to protect the edge. Follow the manufacturer’s instructions in high humidity or with thick planks.

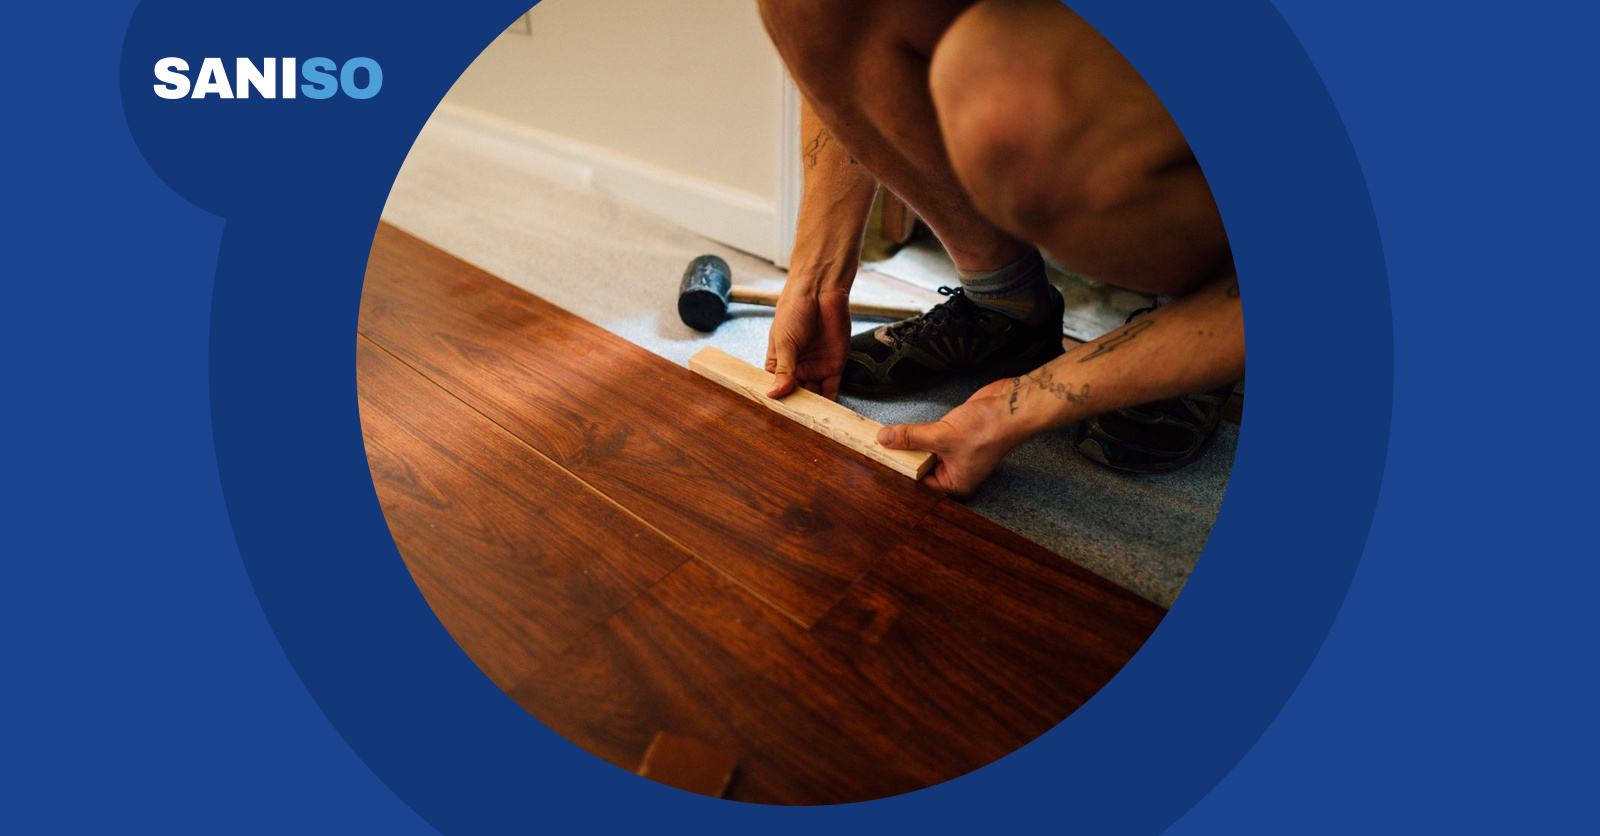
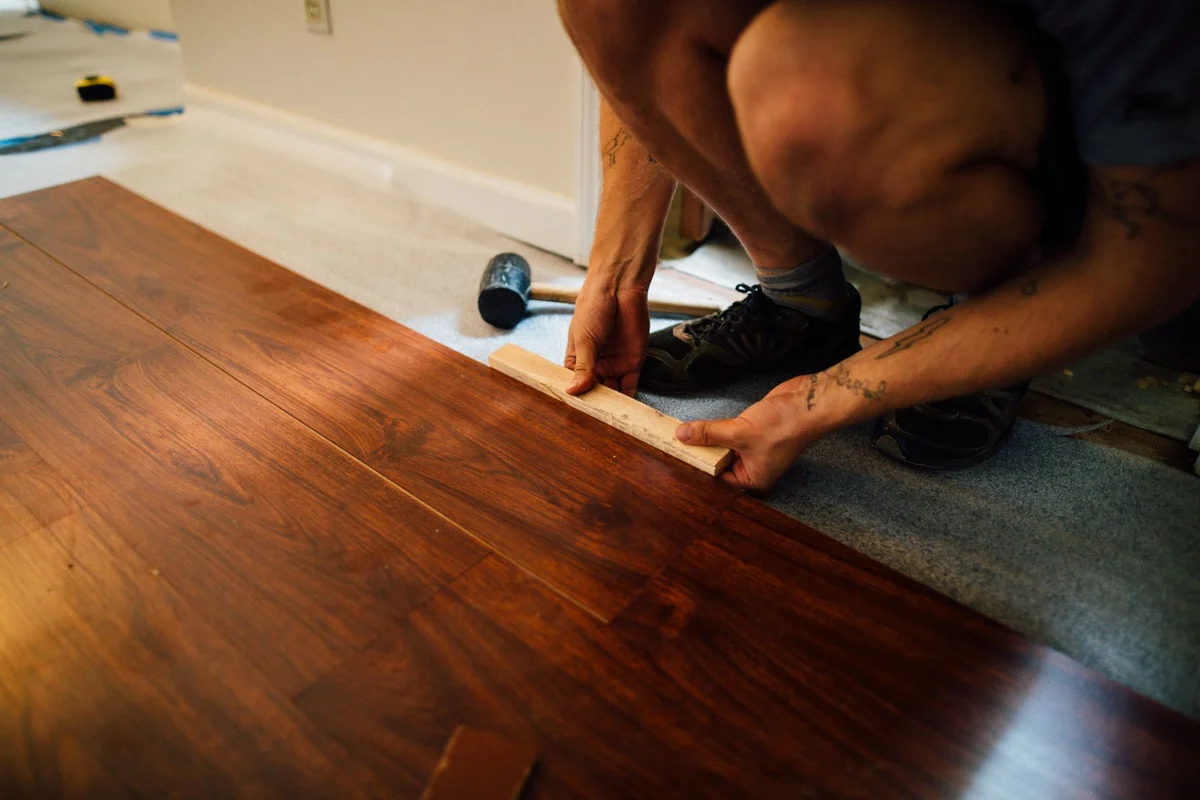
A DIYer laying laminate on a grey underlay with a wooden spacer batten and a rubber hammer

Photo: K via Pexels
  1. Work around frames and pipes. Cut a door frame out slightly, or saw the bottom of the frame and door shorter, so the laminate fits underneath with the required expansion gap. For pipes, drill a hole 20 mm larger than the pipe or make a cut-out with the jigsaw. Seal the opening with sealant.
  2. Lay the last row. Measure the width, keep the expansion gap and saw the planks to size. If needed, use a pull bar to click the planks into place.
  3. Remove the wedges and fit the skirting boards. Remove all wedges and spacers. Fix the skirting boards to the wall, not to the floor, with mounting adhesive, so the laminate can keep moving. Fit transition profiles at doors.
  4. Clean up. Vacuum the floor and wipe it with a lightly damp cloth. For a thorough clean there is a floor cleaner. Check on the packaging that it suits your floor. Put felt pads under furniture.

How do you finish the room neatly?

Are the walls next to the new floor damaged or not yet plastered? You can read how to repair and plaster a wall in our blog how to plaster a wall. Do frames, doors or skirting boards still need a coat of paint? Then read how to paint a door. A kitchen or bathroom next to the new floor may suit a tiled wall: read how to tile a wall. Would you rather have a tiled floor in a wet room? Then our blog how to tile a floor comes in handy.

What mistakes do DIYers often make?

  • No or too little expansion gap. Laminate expands and shrinks. Without room along the walls the floor will buckle.
  • A substrate that is not flat. Bumps and hollows cause creaking and wear of the click system.
  • Joints in a line. Stagger the joints by at least about 30 cm.
  • Fixing the skirting boards to the floor. The floor must be able to move freely.
  • Not letting it acclimatise. The laminate then adjusts after laying and may swell or shrink.

💡 Tip: lay a few rows and mix planks from several packs so colour differences do not stand out. With a hand saw, saw with the decorative side up; with a circular saw, face down.

How do you work safely when laying laminate?

Sawing creates fine dust and noise. Wear an FFP2 dust mask, safety glasses, hearing protection and gloves to protect your hands from sharp edges. Knee pads spare your joints when you work on your knees. Preferably saw outside or with good ventilation. You will find all personal protective equipment in our workwear and safety category. You can read more tips in our guide working safely on the construction site.

What do DIYers often ask about laying laminate?

Can I lay laminate myself?

Yes, a straight room with a flat substrate is quite doable yourself, especially with a click system. Stairs, uneven rooms or underfloor heating require more experience.

Do I need an underlay?

Usually yes: the underlay dampens sound and absorbs small unevenness. Which underlay suits depends on the laminate and the substrate. Read the manufacturer’s instructions.

How much space should I leave along the wall?

Keep the expansion gap the manufacturer prescribes along all walls and fixed obstacles, often about 10 mm. The skirting board covers that gap.

Can I lay laminate in the bathroom or kitchen?

Not every laminate is suitable for damp rooms. Check the packaging. In a wet room a tiled floor is often better.

When is it better to call a professional?

If you are unsure about the substrate, with moisture problems, underfloor heating, stairs or large rooms with many doorways, or if you want a perfect result without practising. A professional quickly knows which approach fits.

Where do you find everything to lay laminate?

At Saniso, the online DIY and building store, you will find tools, fixing and finishing materials and personal protective equipment for your flooring job.

Unsure about the substrate or the approach? Feel free to call in a professional.

Saniso – Build your home with Saniso.

Read also: How to level a floor: step-by-step DIY guide

« Previous
Next »
Saniso Support Online +31 85 488 5920

Hi there! How can we help you today?