Grout in one even colour across the whole wall or floor: that is what you want. In this blog we explain how the hybrid R...

How to plaster a wall: step-by-step DIY guide
A bare, bumpy or damaged wall looks like new again with a fresh, smooth coat of plaster. Plastering is a precision job, but with good preparation and the right tools you can tackle smaller walls and repairs yourself. This DIY blog takes you through it step by step, from preparing and priming to applying the plaster and finishing.
What do you need to plaster a wall?
Which materials do you need?
- Plaster that suits your substrate and job, for example a hand-applied plaster such as Knauf Hand Plaster Goldband Quick, intended for smaller plastering projects. For the smooth top layer there is Speedline Professional Finish (filler and finishing plaster). Check on the packaging that the product suits your substrate, layer thickness and room.
- A primer to even out the wall’s absorbency and improve adhesion, such as the deep-penetrating primer for highly absorbent substrates or the universal wall primer. Always choose a primer that the manufacturer of your plaster recommends.
- Mesh tape to reinforce cracks and joints.
- Masking tape for sockets, frames and skirting boards, and masking film or a plasterer’s drop cloth to protect the floor.
- Sanding blocks, for example a grit 120 sanding block for levelling and a grit 220 sanding block for the fine finish.
Which tools do you need?
- A stainless steel trowel to apply and smooth the plaster, and a small plastering trowel for corners and repairs.
- A putty knife to fill cracks and holes and to scrape leftovers off the wall.
- A bucket and a plaster mixer for a lump-free mix, preferably with a drill.
- A paint roller and paint tray to apply the primer evenly.
- A straightedge or long straight batten, a spirit level, a sponge, clean water, a vacuum cleaner and a stepladder.
- Protective equipment: work gloves, safety glasses, an FFP2 dust mask and knee pads. Choose your own size.
How do you prepare the wall?
A good substrate is half the work. Remove everything from the wall: pictures, switch covers and skirting boards. Switch off the power to nearby sockets and tape them off. Cover the floor with masking film or a plasterer’s drop cloth and tape off frames and skirting boards with masking tape.
Is there wallpaper, loose paint or old, hollow-sounding plaster on the wall? Remove it first. A sound substrate is free of dust, grease and loose particles. Is there a textured spray coating or an old decorative layer on the wall in a home built before 1994, or could asbestos or lead-based paint be present? Do not sand or scrape it yourself; have an expert assess what can be done.
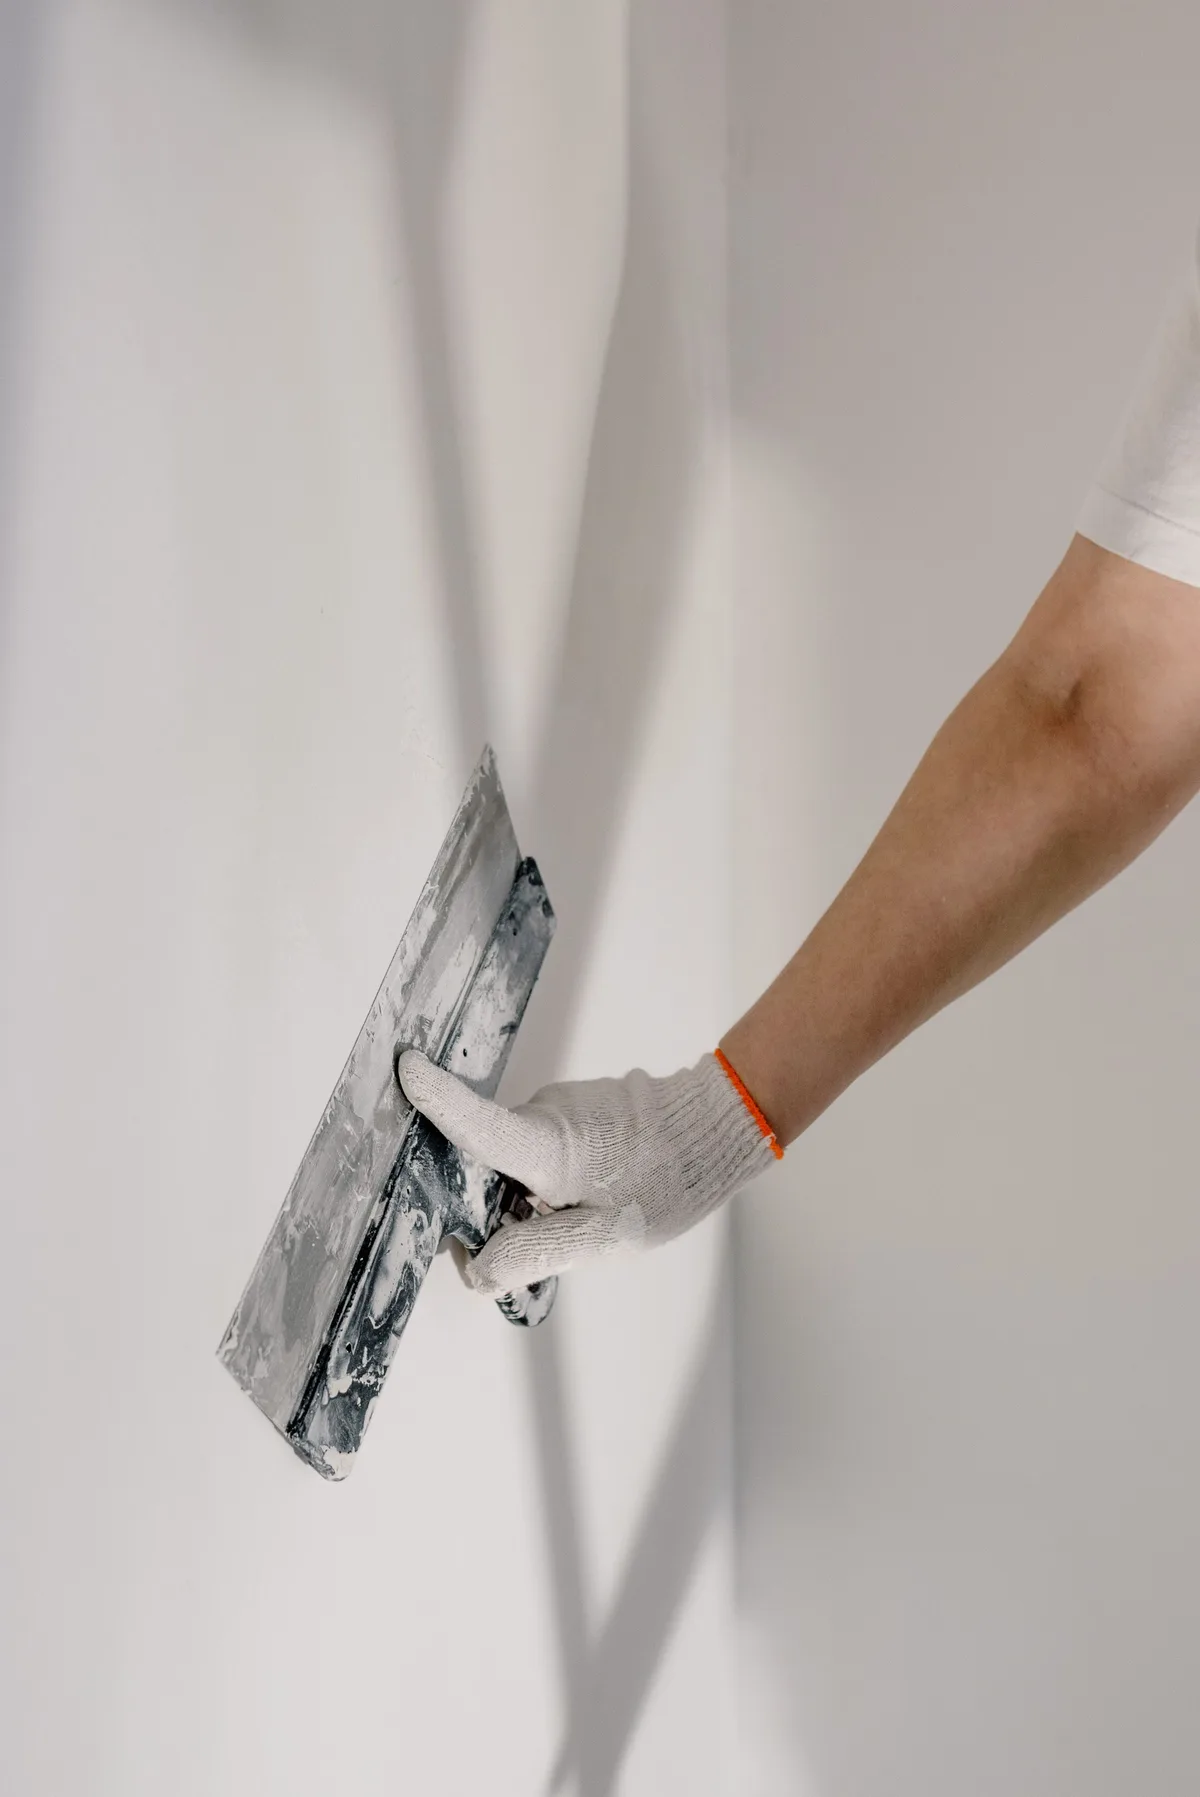
Step by step: preparing and priming
- Assess the wall. Check with a straightedge whether the wall is flat, and tap the wall to find hollow spots. For damp patches or large cracks, find the cause before you start plastering.
- Repair and clean. Remove loose parts, fill holes and small cracks with a putty knife and sand away bumps with a sanding block. Wear an FFP2 mask and safety glasses. Vacuum the dust and wipe the wall with a slightly damp cloth.
- Reinforce cracks and joints. Stick mesh tape over cracks and joints between boards, so they do not show through or crack again later.
- Prime. Apply the primer evenly with a roller, as the manufacturer prescribes: for example the deep-penetrating primer or the universal wall primer. The primer controls the wall’s absorbency, so the plaster does not dry out too fast, and improves adhesion. Let the primer dry according to the packaging.

Step by step: applying the plaster and finishing
- Mix the plaster. Pour clean water into the bucket first, then add the powder as the packaging states. Mix with the mixer until smooth and lump-free. Only mix as much as you can use within the working time, which is short for some products. As a beginner, start with a small batch and a small area.
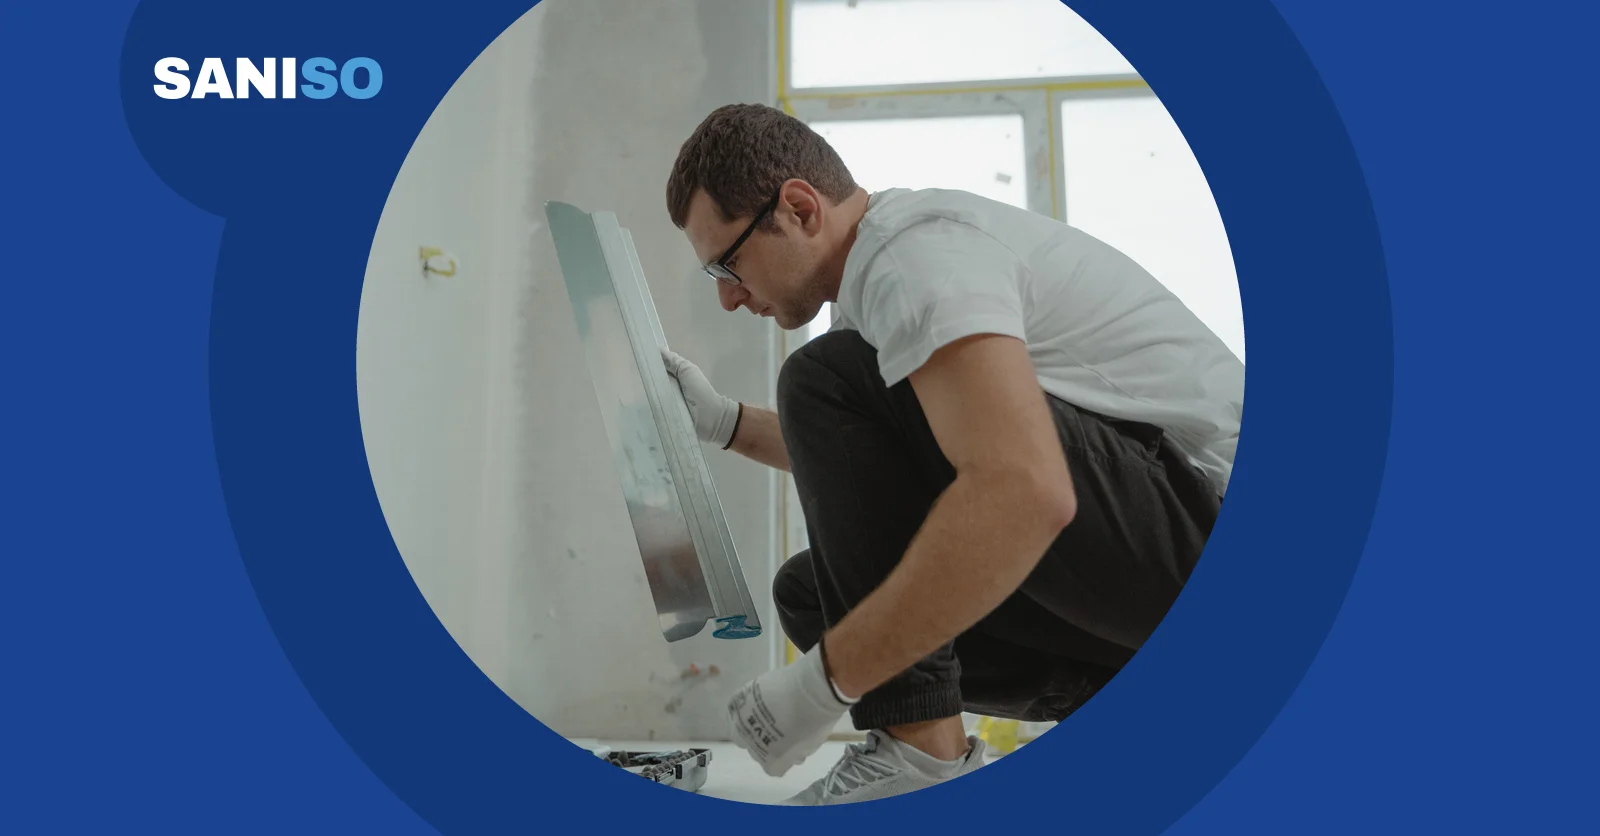
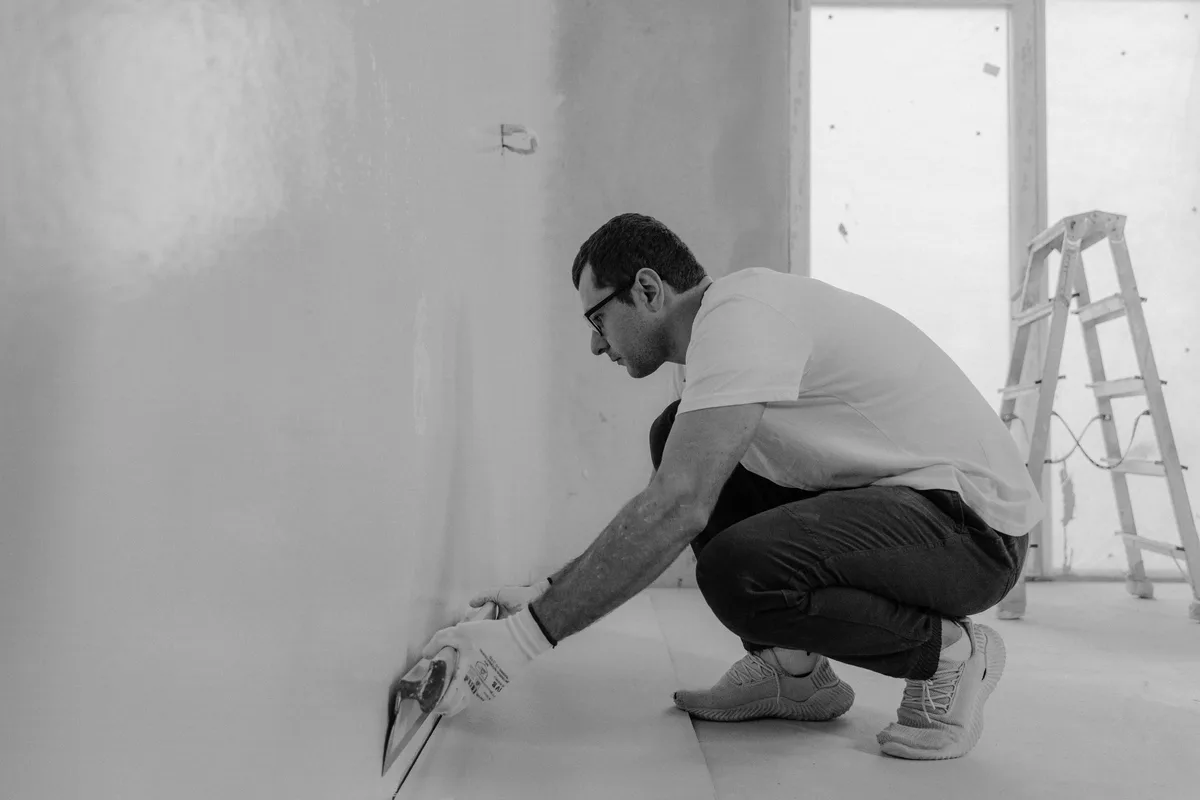
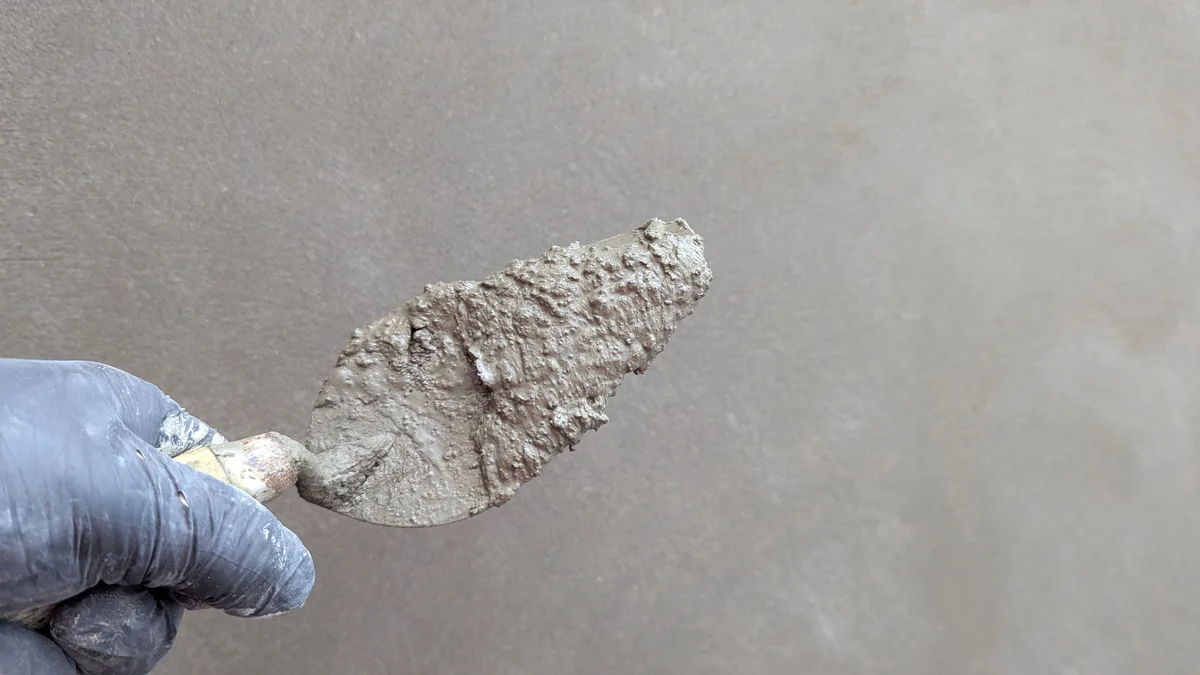
- Apply the plaster. Load some plaster on the trowel and press it onto the wall in a thin, even layer, working from the bottom up. Work in strips about an arm’s length wide and overlap them. Use a small trowel for corners and edges.
- Level the surface. Use the straightedge or a wide trowel to pull off excess plaster so the wall becomes flat. Fill dents straight away. Check the result with the spirit level or straightedge.
- Finish smooth. Wait until the plaster has stiffened as far as the manufacturer states. Then smooth the surface with the clean trowel, optionally with a lightly dampened sponge or trowel. Finishing takes patience and practice: rubbing too early or too late leaves streaks.

- Let it dry properly. Let the plaster dry and cure according to the packaging. This takes longer with thick layers, low temperatures and high humidity. Do not place a heater or hairdryer close to the wall: drying too fast causes cracks.
- Sand and touch up. Is the wall completely dry? Lightly sand away small bumps with a fine sanding block and wear a dust mask. If you want the wall extra smooth, apply a thin layer of finishing plaster and sand it lightly after it dries.
- Clean up. Rinse tools, bucket and mixer with water straight after use, before the plaster hardens. Do not pour leftover material or rinse water down the sink or drain; let it harden in the bucket and take it to the waste collection point. Remove the tape and film.

How do you get the wall ready for paint or wallpaper?
Let the wall dry completely, dust it off and, if needed, apply a primer that suits the paint or wallpaper going on top. You can read how to paint in our DIY blog on painting. Do you want to tile the wall instead, for example in the bathroom or kitchen? Then read our tile blog: how to tile a wall.
What mistakes do DIYers often make?
- No primer or the wrong primer. An absorbent wall draws water out of the plaster too fast, so it bonds poorly or cracks.
- Mixing too much at once. The plaster has set before you are done. Mix small batches.
- Applying too thick or too thin. Stick to the layer thickness on the packaging.
- Finishing too early or too late. Rubbing a wall that is still too wet leaves streaks; rubbing too late makes the surface rough.
- Drying too fast. Sunlight, draughts and heating can cause cracks. Ventilate gently.
- An uneven substrate. A bumpy or cracked wall stays visible, even after plastering.
💡 Tip: practise first on a piece of board or a hidden part of the wall before plastering the visible wall, and work with two people: one mixes and the other finishes.
How do you work safely when plastering?
Plaster and sanding dust are fine and irritating. Wear an FFP2 dust mask when mixing and sanding and safety glasses to protect your eyes, including from splashes of wet plaster. Wear gloves: wet, lime- or gypsum-based products can irritate the skin. Working on your knees at the bottom of the wall? Knee pads spare your knees. Make sure you have good lighting, ventilation and a sturdy, safe stepladder. You can find all personal protective equipment in our workwear and safety category. You can read more tips in our guide to working safely on the construction site.
What do DIYers often ask about plastering walls?
Can I plaster a wall myself?
Small walls, repairs and practice areas are very doable yourself. A large, high or uneven wall, a ceiling or a very smooth end result takes a lot of experience.
Do I always need to prime?
Usually, yes. The primer controls absorbency and improves adhesion. Which primer fits best depends on the substrate and the plaster: read the packaging of both products.
How long does the plaster need to dry?
That depends on the product, the layer thickness, the temperature and the humidity. Check the packaging. Rushing often leads to cracks or discolouration.
Can I plaster directly onto an old layer of paint?
That depends on the paint and the substrate. A glossy or flaking paint layer must first be roughened or removed and the wall must be primed. Read the plaster manufacturer’s instructions.
How do I prevent cracks?
Work on a sound substrate, reinforce joints and cracks with mesh tape, use the right primer, stick to the layer thickness and let the plaster dry gently.
When should I call a professional?
If you are unsure about the substrate, with damp problems, with large or high walls, with ceilings, with possible asbestos or lead-containing layers, or if you want a perfectly smooth result without practising. A professional quickly knows which approach fits.
Where do you find everything to plaster your wall?
At Saniso, the online DIY store for building and renovating, you will find tools, masking materials and personal protective equipment for your plastering job.
- Browse our construction tools and our workwear and safety.
- Create a customer account and order easily.
- Working on a bigger project, or want to hand the job over? Request a project quote.
- Book a showroom visit in Zwaag, at least 24 hours in advance.
- Not sure which material suits your job? Contact us.
Unsure about the substrate or the approach? Do not hesitate to call in a professional.
Read also: How to paint a ceiling: step-by-step guide for a smooth finish
Saniso – Build your home with Saniso.
Also read: Custom cabinet: have it made or build it yourself
Read also: Stalco at Saniso: tools, paint accessories and batteries from one brand
Read also: How many bags of sand-cement do I need?
Read also: How to finish a plasterboard wall with joint tape and filler
Read also: Plastering a wall: DIY or professional? How to choose
Read also: How to repair plaster
Share: