Grout in one even colour across the whole wall or floor: that is what you want. In this blog we explain how the hybrid R...

How to repair plaster
Plaster is strong, but not indestructible. Houses settle, wood and masonry shrink and expand, and a door that keeps hitting the wall also leaves its mark. The result: hairline cracks, holes from old wall plugs, damaged corners or spots where the plaster sounds hollow or even falls off. Fortunately, you can repair most small damage yourself. In this blog you will read how to assess the damage, which materials to use for which repair and how to get a smooth result step by step that you can then paint.
👷 Calling in a professional is never superfluous. A plasterer sees whether a crack is only in the plaster or goes deeper, and finishes large areas smoothly in one go. With large, recurring or diagonal cracks, a professional is also needed to find the cause.
First assess: what kind of damage is it?
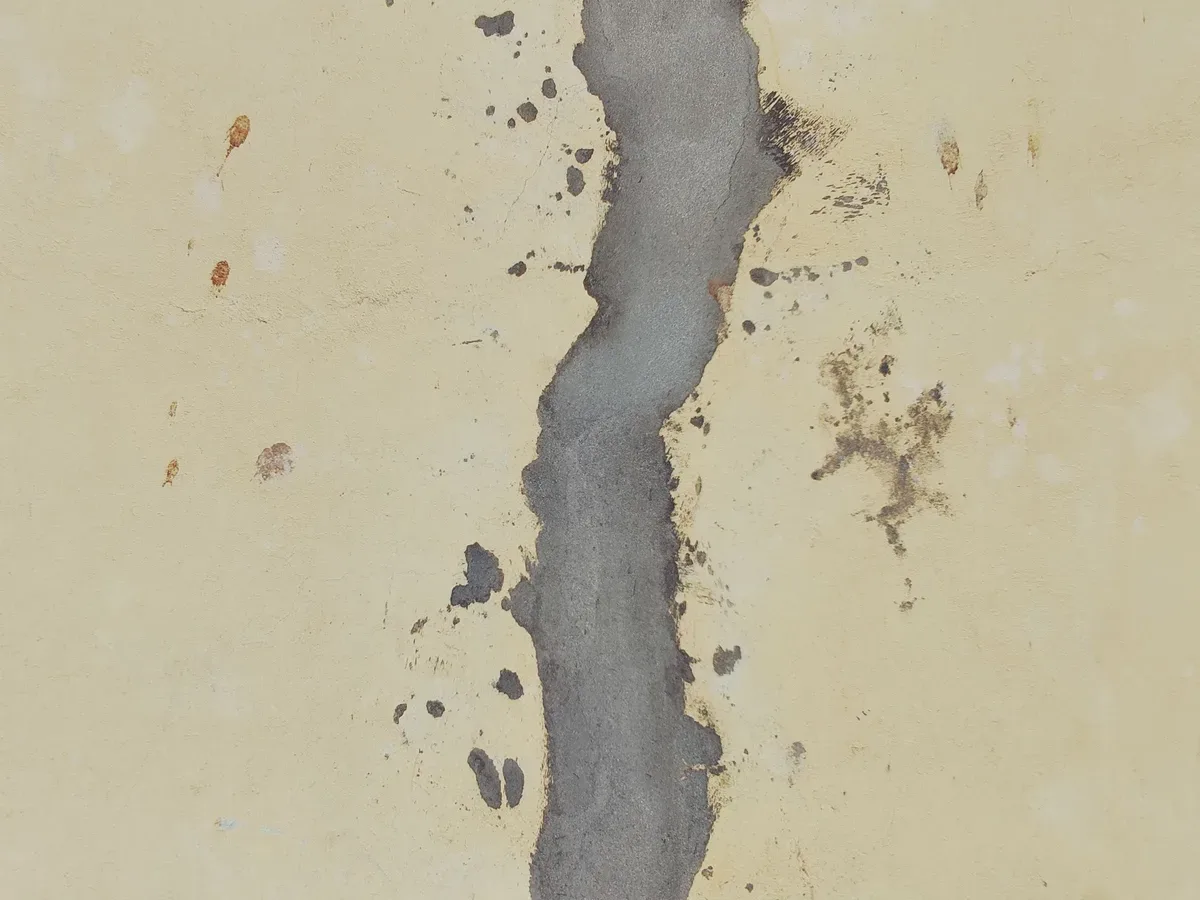
- Hairline cracks: thin, often straight cracks, for example above doors or at the joint between two materials. Usually the result of shrinkage and easy to repair yourself.
- Holes: from wall plugs, nails or a slipped drill. Small and local, fine to do yourself.
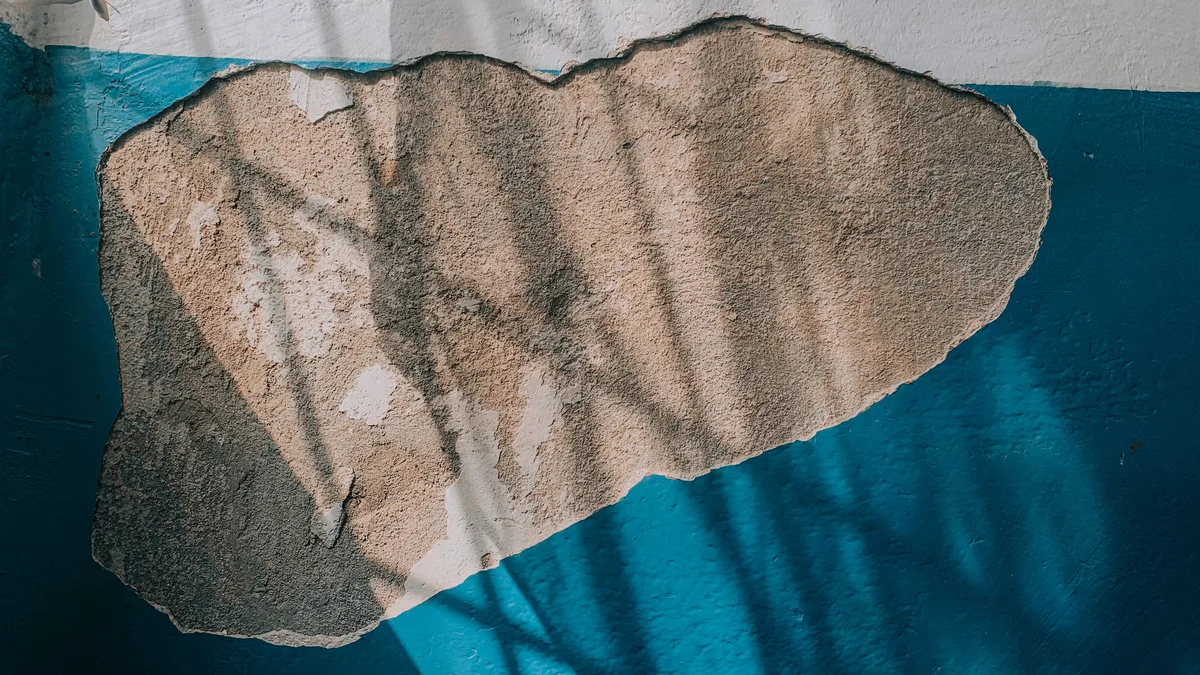
- Hollow or loose spots: tap the wall with your knuckles. If it sounds hollow, the plaster has come away from the substrate.
- Flaking plaster: often caused by damp. Solve the cause first, otherwise the damage returns. See also our blog on removing mould from walls.
- Wide, diagonal or growing cracks: these may indicate settlement or a structural problem. Always have them assessed by a contractor or structural engineer.

What do you need?
- Removing: a paint scraper, a masonry chisel with hand guard and a claw hammer for loose plaster.
- Preparing: deep-penetrating primer to prime the substrate, masking film and blue painter's tape to protect the floor and frames.
- Filling small holes and cracks: Speedline Filler Light or Speedline Filler 45HR (5 kg), with a putty knife with aluminium blade.
- Cracks that keep coming back: Speedline fibreglass joint reinforcement tape to reinforce the repair.
- Larger holes and loose spots: Knauf Goldband Quick hand plaster, mixed in a construction bucket, if needed with a mixing paddle for plaster in a drill at low speed.
- Applying and finishing: a 100 mm stainless steel trowel, a plastering trowel, a wide 400 mm finishing blade and a sponge float.
- Sanding: a sanding block grit 120 or a 400 mm sanding float.
- PPE: see below.
You can read more about putty knives, sanding tools and scrapers in our blog on putty knives, sanding tools and scrapers.
Working safely
- Dust: chipping off plaster and sanding release a lot of fine dust. Wear an FFP2 dust mask and ensure good ventilation.
- Eyes: when chiselling, pieces fly off. safety goggles are no unnecessary luxury then.
- Hands: plaster and fillers dry out the skin. Wear work gloves with nitrile coating.
⚠️ Never chisel or drill blindly into a wall. First check with a multifunction wall detector whether pipes or cables run there, stay away from sockets and switches and switch off the circuit when in doubt. Always leave electrical work to a certified installer.
⚠️ Do you have a home built before 1994 with sprayed or decorative textured plaster on the ceiling or wall? It may contain asbestos. Do not sand or chisel it and have it tested by a certified company first.
Step by step: small cracks and holes
- Open up the crack. Scratch the crack open slightly into a V-shape with the tip of the paint scraper. The filler bonds better this way than in a hairline crack.
- Remove dust. Brush or vacuum away the dust and dampen the spot slightly or prime it with deep-penetrating primer, following the instructions on the packaging.
- Fill. Press the filler firmly into the crack or hole with the putty knife with aluminium blade. Then smooth the spot in two directions.
- Reinforce recurring cracks. Place Speedline fibreglass joint reinforcement tape over the crack and apply a thin layer of filler over it.
- Let it dry and sand. Let the filler dry completely and sand the spot smooth with the sanding block grit 120. If the filler shrinks, apply a second thin layer.

Step by step: larger holes and loose spots
- Protect the surroundings. Put masking film on the floor and mask frames and skirting boards with blue painter's tape. You can read more about this in our blog on masking tape and protective film.
- Remove all loose plaster. Carefully chip away everything that sounds hollow with the masonry chisel with hand guard and the claw hammer, until you reach a solid edge. Do not go further than necessary.
- Clean and prime. Make the spot dust-free and prime the substrate with deep-penetrating primer. Otherwise an absorbent substrate draws the water out of the plaster too quickly.
- Mix the plaster. Mix the Knauf Goldband Quick hand plaster in a clean construction bucket with the amount of water stated on the bag. Do not mix more than you can use within the working time.
- Apply the plaster. Press the plaster firmly into the hole with the 100 mm stainless steel trowel or plastering trowel. For deep holes work in layers; stick to the layer thickness stated by the manufacturer.
- Level off. Level the spot with the wide 400 mm finishing blade, flush with the surrounding wall. Work from the edge towards the centre.
- Finish. When the plaster starts to stiffen, smooth it with the sponge float or trowel it tight with the plastering trowel. Touch up small irregularities with filler after drying.
- Let it dry thoroughly. Let the repair dry completely before painting. Then prime it with deep-penetrating primer.
If you want to replaster a whole wall, read our blog on plastering a wall. If you are unsure whether to do it yourself, our blog on plastering a wall: DIY or professional helps you choose.
After the repair: painting
A repaired spot absorbs differently from the surrounding wall. So always prime it, and preferably paint the whole wall, so you do not see patches or differences in sheen. You can read how to paint a wall smoothly in our blog on painting a wall.
When do you call in a plasterer or contractor?
- With large areas of loose plaster, or if the plaster sounds hollow in several places.
- With cracks that widen, run diagonally or keep coming back.
- With damp problems, such as rising damp or leaks.
- With ceilings: plastering overhead is heavy work and requires a lot of experience.
- If you want a perfectly smooth result on a large, visible wall.
In those cases a plasterer is never superfluous: he works faster and smoother and knows which substrate needs which treatment.
Frequently asked questions
What is the difference between filler and plaster?
Filler is meant for small holes, cracks and thin layers. Plaster is used for larger holes and loose spots, where you need thicker layers.
How long does a repair need to dry?
That depends on the product, the layer thickness, the temperature and the ventilation. Follow the drying time on the packaging and only paint once the spot is evenly dry.
My crack keeps coming back. What now?
Reinforce the repair with fibreglass tape. If the crack still returns or gets wider, have a professional look at the cause.
Can I wallpaper over repaired plaster?
Yes, if the spot is flat, dry and dust-free and you have primed the substrate.
Where can you find everything for this job?
At Saniso, the online store for DIYers and professionals, you will find tools, materials and personal protective equipment for your job.
- Browse our construction tools and our workwear and safety.
- Create a customer account and order easily.
- Working on a bigger project or want to hand over the job? Request a project quote.
- Book a showroom visit, at least 24 hours in advance.
- Not sure which material suits your job? Get in touch with us.
In doubt about the approach? Feel free to call in a professional.
Saniso – Build your home with Saniso.
Share: