






Grout in one even colour across the whole wall or floor: that is what you want. In this blog we explain how the hybrid R...

Your online building supplies store for building and renovation
 English
✓
English
✓
 Nederlands
✓
Nederlands
✓
A bare, bumpy or damaged wall looks like new again with a fresh, smooth coat of plaster. Plastering is a precision job, but with good preparation and the right tools you can tackle smaller walls and repairs yourself. This DIY blog takes you through it step by step, from preparing and priming to applying the plaster and finishing.
A good substrate is half the work. Remove everything from the wall: pictures, switch covers and skirting boards. Switch off the power to nearby sockets and tape them off. Cover the floor with masking film or a plasterer’s drop cloth and tape off frames and skirting boards with masking tape.
Is there wallpaper, loose paint or old, hollow-sounding plaster on the wall? Remove it first. A sound substrate is free of dust, grease and loose particles. Is there a textured spray coating or an old decorative layer on the wall in a home built before 1994, or could asbestos or lead-based paint be present? Do not sand or scrape it yourself; have an expert assess what can be done.
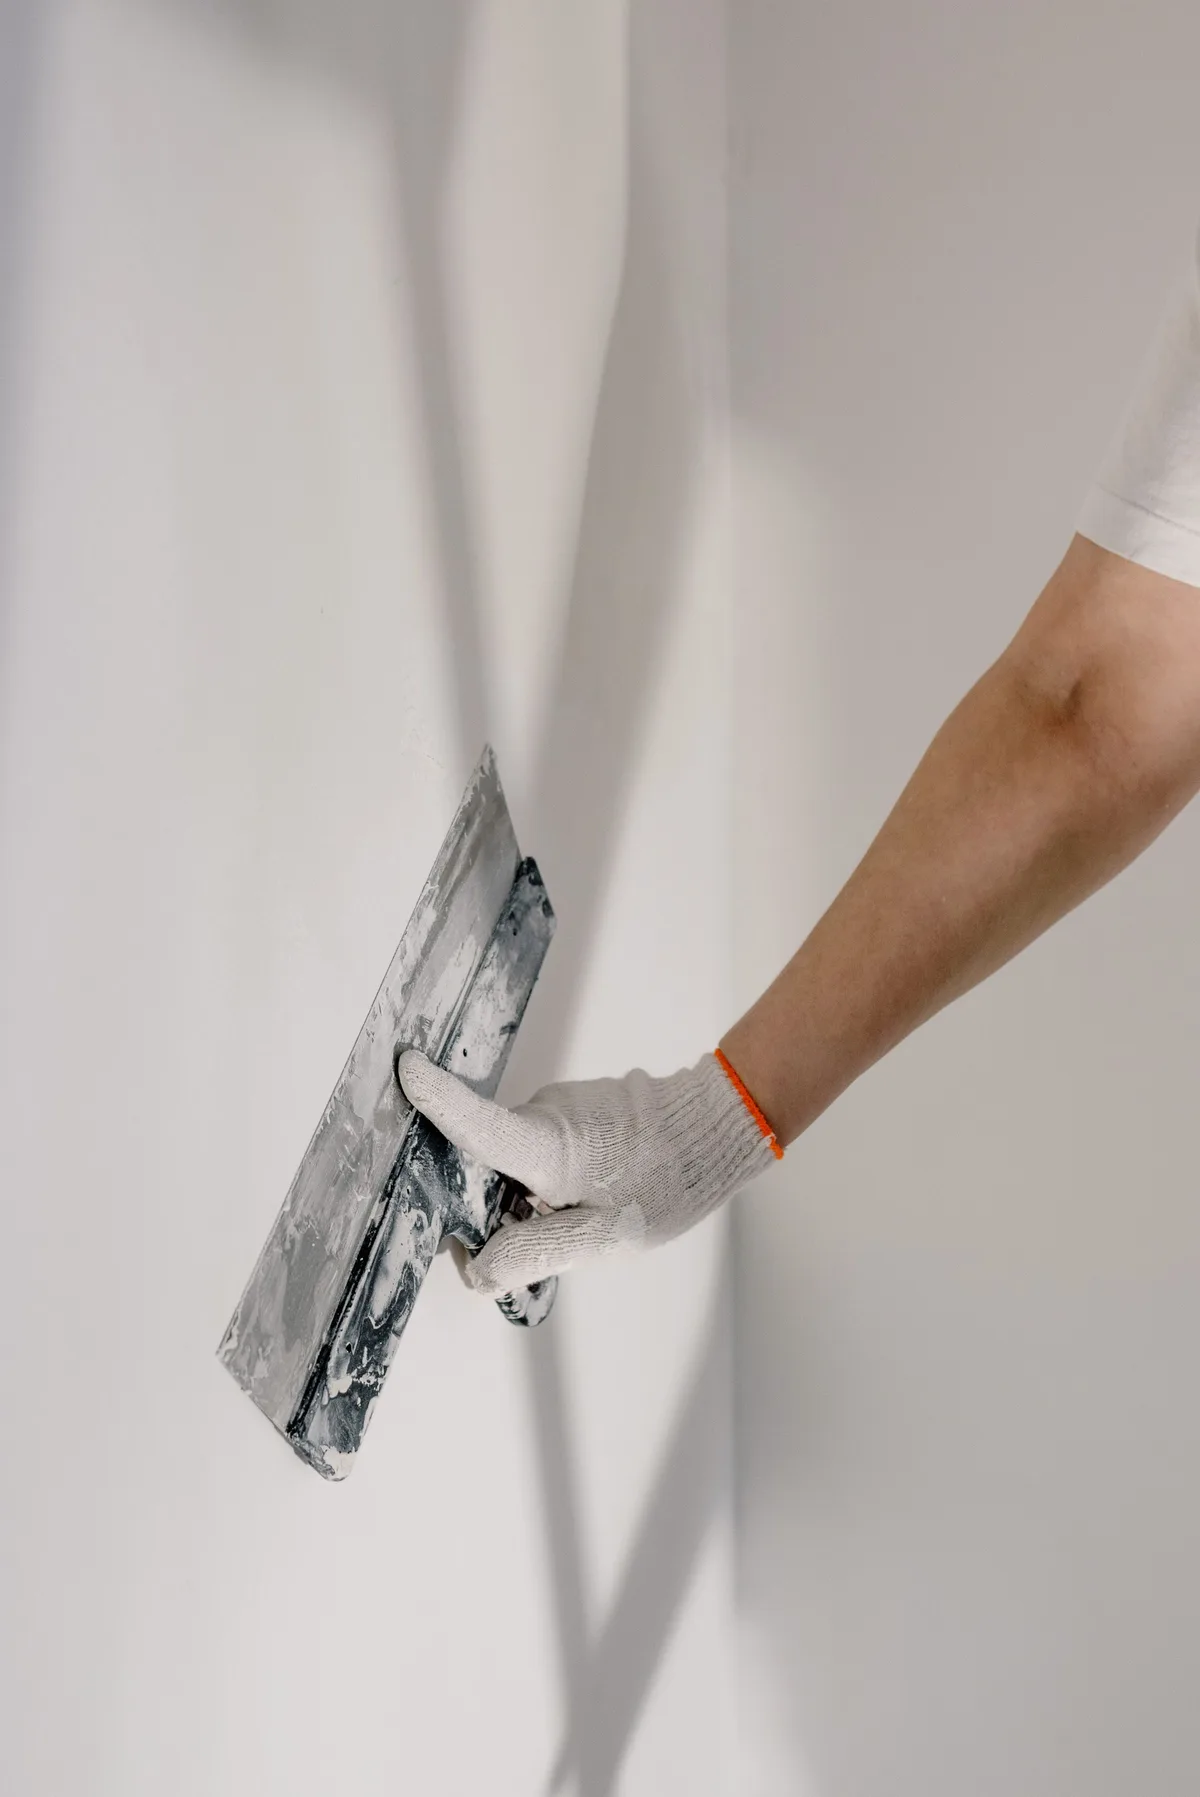
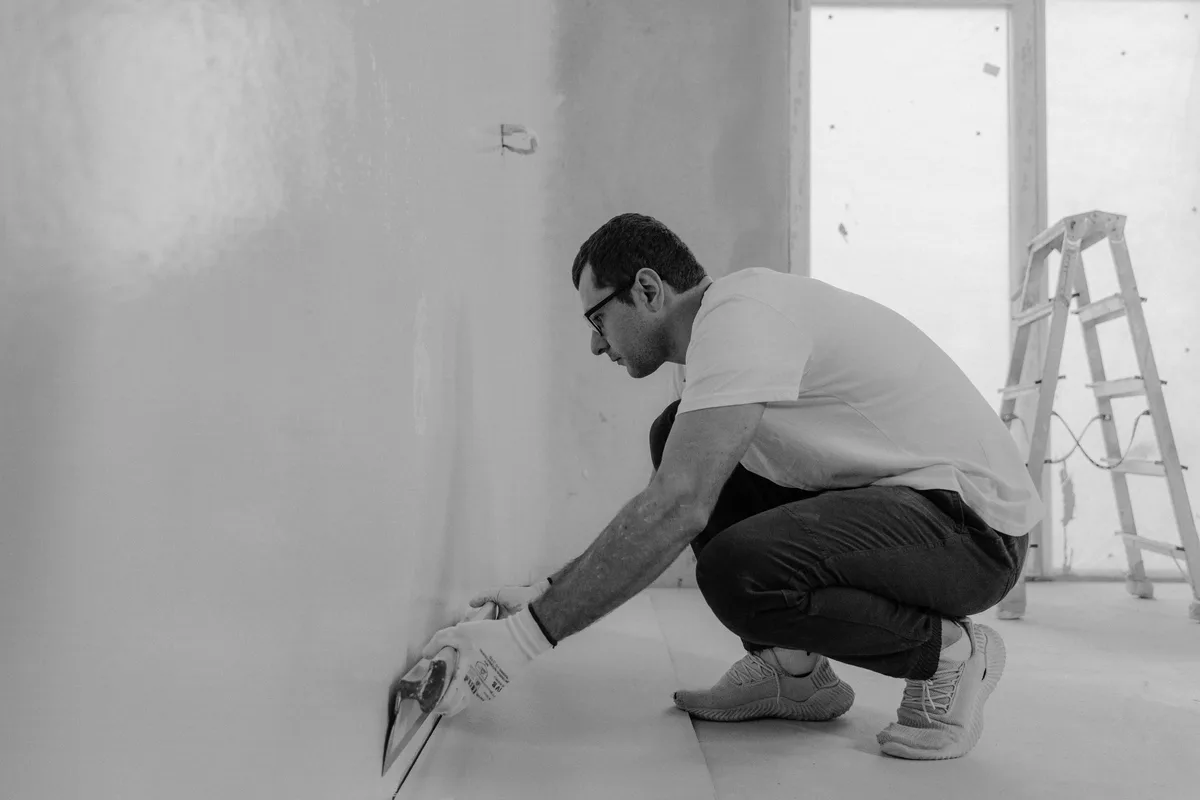
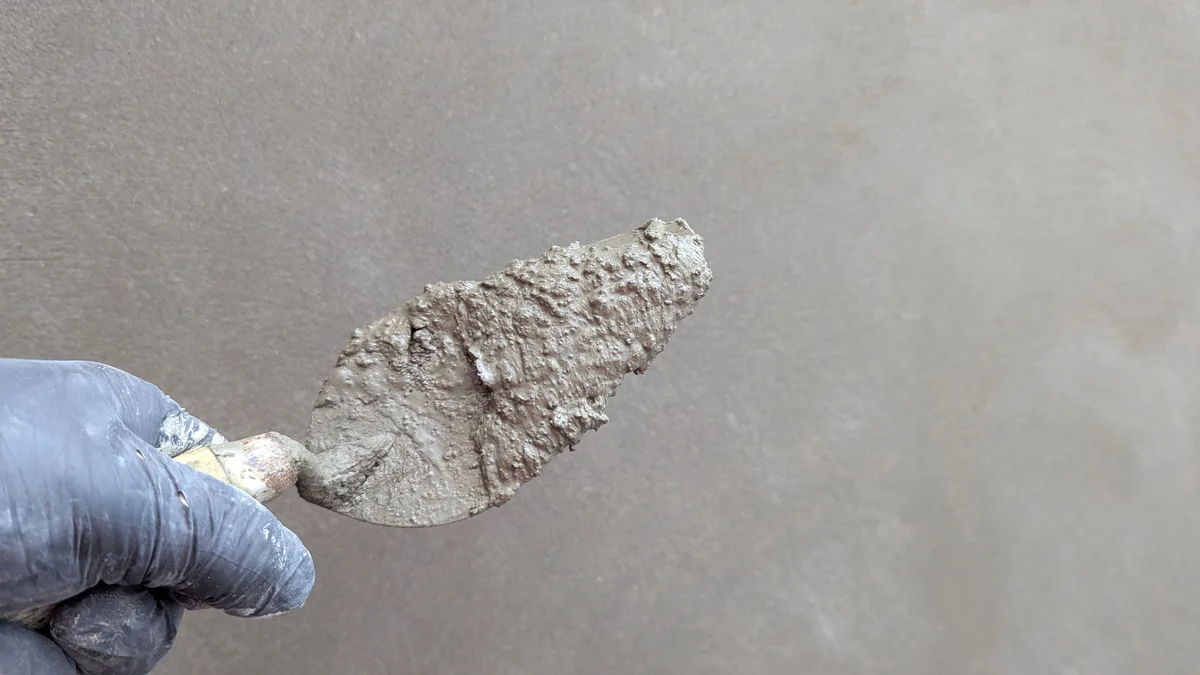
Let the wall dry completely, dust it off and, if needed, apply a primer that suits the paint or wallpaper going on top. You can read how to paint in our DIY blog on painting. Do you want to tile the wall instead, for example in the bathroom or kitchen? Then read our tile blog: how to tile a wall.
💡 Tip: practise first on a piece of board or a hidden part of the wall before plastering the visible wall, and work with two people: one mixes and the other finishes.
Plaster and sanding dust are fine and irritating. Wear an FFP2 dust mask when mixing and sanding and safety glasses to protect your eyes, including from splashes of wet plaster. Wear gloves: wet, lime- or gypsum-based products can irritate the skin. Working on your knees at the bottom of the wall? Knee pads spare your knees. Make sure you have good lighting, ventilation and a sturdy, safe stepladder. You can find all personal protective equipment in our workwear and safety category. You can read more tips in our guide to working safely on the construction site.
Small walls, repairs and practice areas are very doable yourself. A large, high or uneven wall, a ceiling or a very smooth end result takes a lot of experience.
Usually, yes. The primer controls absorbency and improves adhesion. Which primer fits best depends on the substrate and the plaster: read the packaging of both products.
That depends on the product, the layer thickness, the temperature and the humidity. Check the packaging. Rushing often leads to cracks or discolouration.
That depends on the paint and the substrate. A glossy or flaking paint layer must first be roughened or removed and the wall must be primed. Read the plaster manufacturer’s instructions.
Work on a sound substrate, reinforce joints and cracks with mesh tape, use the right primer, stick to the layer thickness and let the plaster dry gently.
If you are unsure about the substrate, with damp problems, with large or high walls, with ceilings, with possible asbestos or lead-containing layers, or if you want a perfectly smooth result without practising. A professional quickly knows which approach fits.
At Saniso, the online DIY store for building and renovating, you will find tools, masking materials and personal protective equipment for your plastering job.
Unsure about the substrate or the approach? Do not hesitate to call in a professional.
Read also: How to paint a ceiling: step-by-step guide for a smooth finish
Saniso – Build your home with Saniso.
Also read: Custom cabinet: have it made or build it yourself
Read also: Stalco at Saniso: tools, paint accessories and batteries from one brand
Read also: How many bags of sand-cement do I need?
Read also: How to finish a plasterboard wall with joint tape and filler
Read also: Plastering a wall: DIY or professional? How to choose
Read also: How to repair plaster
Share:
Grout in one even colour across the whole wall or floor: that is what you want. In this blog we explain how the hybrid R...

Learn how to level a floor yourself: prepare the subfloor, prime, mix and pour self-levelling compound. Step-by-step wit...

Installing a kitchen: do it yourself or hire a professional? Read what is involved, which parts you can do yourself and...
Cersanit Ares cement-look tiles for bathroom, kitchen and living room: 30×30 to 60×120, matt or satin, plus mosaic, skir...