Your online building supplies store for building and renovation

0 Your Cart 0.00€

Cart (0)

No products in the cart.

How many bags of sand-cement do I need?

How many bags of sand-cement do I need?

Halfway through the job you find the bags have run out, or you are left with half a pallet: it is one of the most common questions with a masonry job. How much sand-cement you need depends on what you are making, how thick the layer will be and how much is lost along the way. One simple formula lets you work it out yourself. In this blog you will find the calculation method, the consumption per application, a table and six worked examples, plus the safety rules that go with cement.

Note: cement is caustic. Always wear gloves, safety glasses, an FFP2 dust mask and knee pads (see the safety section below). All figures in this blog are guide values; the consumption stated on the bag of your own product always takes priority.

What is sand-cement and what bags does it come in?

Sand-cement (also called a cement-sand mix) is a dry mix of cement and sand. You only add water. It is usually sold in bags of 25 kg, sometimes also 20 or 30 kg. It is suitable for screeds, tile beds, brickwork, pointing and rendering in small to medium jobs. Note: sand-cement contains no gravel and is therefore not concrete. For concrete, for example a foundation, you need a ready-to-pour concrete mix with gravel. Which product suits your job is stated on the packaging.

What do you need?

What materials do you need?

  • Sand-cement in bags of 25 kg, or another mix that suits your application (note: concrete, bricklaying mortar and pointing mortar each have their own product).
  • Clean water. A good indication is an earth-moist mix that you can hold in your hand as a cohesive ball.
  • A cement haze remover for cleaning tiles and natural stone after the job, following the packaging.

What tools do you need?

What personal protection is mandatory?

  • Work gloves that fit well (nitrile is common; rubber or PVC gloves also work well). Dry your hands and keep the inside of the glove dry.
  • Safety glasses against splashes and dust. Do not wear contact lenses.
  • An FFP2 dust mask when tearing open bags, shovelling and mixing dry powder.
  • Knee pads: if you work on your knees in wet mortar, cement can get under your clothing and cause burns.
  • Long sleeves, long trousers over your boots and waterproof boots. You will find more personal protective equipment in our workwear and safety category.

How do you calculate the number of bags of sand-cement?

The calculation method is the same for every application. You need three figures: the area, the thickness and the consumption. Consumption is the number of kilos of dry mix per square metre per centimetre of thickness.

  1. Measure the area. Measure length and width with the tape measure and multiply them: length × width = m². Divide an irregular shape into sections and calculate them separately.
  2. Determine the thickness in centimetres. Measure the average thickness of the layer, not the thinnest point. If the substrate is uneven, measure from the highest point of the floor or substrate.
  3. Choose the consumption. Use the consumption stated on the bag. If it is not stated, take the guide value from the table below.
  4. Multiply. Area × thickness × consumption = total kilos of dry mix.
  5. Add the loss. Allow at least 10% extra for spillage, material left in the bucket, an uneven substrate and drying out. For an uneven substrate or a larger job, 15% is safer. So: total × 1.10 (or 1.15).
  6. Divide by the bag weight and round up. A result of 10.6 bags means 11 bags. It is better to have one bag left over than to have to stop halfway: you pour a floor or tile bed in one go, so no cold joints form.

The formula: number of bags = area (m²) × thickness (cm) × consumption (kg/m² per cm) × 1.10 ÷ bag weight (kg), rounded up.
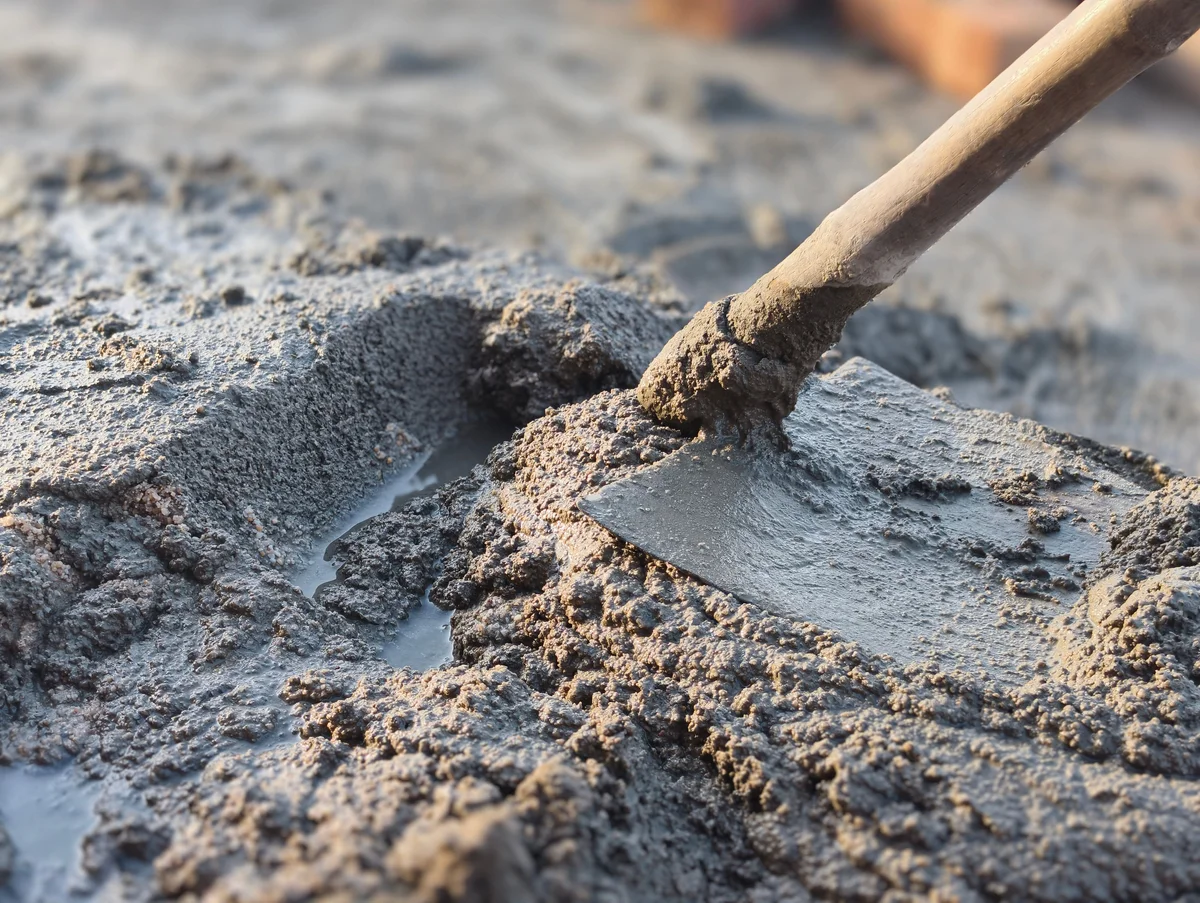
Grey wet sand-cement mortar with a shovel in it, close-up on a building site

You mix sand-cement to an earth-moist mortar that holds together as a ball in your hand.

How much sand-cement do you need per application?

The table gives guide values for a bag of 25 kg. The actual consumption depends on the product, the grain size of the sand, the moisture content and the substrate. Always read the packaging.

ApplicationConsumption (guide value)Approx. per 25 kg bagNote
Screed or levelling layer20 kg per m² per cm (17 to 20 in practice)about 0.25 m² at 5 cm thickA sand-cement screed is usually 5 to 7 cm thick; with underfloor heating a professional determines the thickness.
Tile bed (2 to 4 cm)20 kg per m² per cmabout 0.4 m² at 3 cm thickYou lay a tile bed on a firm, dry substrate.
Bricklaying mortar, half-brick wallabout 45 kg per m² of wall (36 to 51, depending on brick and joint)about 0.55 m² of wallA full-brick wall takes roughly double. Bricklaying mortar has its own mixing ratios.
Pointing (Waal format, 12 mm joint)about 7.5 kg per m² of wallabout 3.3 m² of wallMore for a deep or wide joint or for flush pointing.
Cement rendering or plasteringabout 19 kg per m² per cm (1.9 kg per mm)about 0.9 m² at 1.5 cm thickIndoors you usually work with gypsum; cement plaster is for wet areas and outdoors.
Concrete and foundationsabout 2,100 kg per m³ of dry mix (21 kg per m² per cm)about 0.12 m² at 10 cm thick; approx. 84 bags per m³Needs gravel: use a ready-to-pour concrete mix. Have foundations assessed by a professional.

Want to know how many tiles you need or how a tile bed is applied? Then read our blogs how to tile a floor and how to tile a wall. If it concerns plastering, read how to plaster a wall.
Which worked examples help you on your way?

Example 1: screed of 10 m² and 5 cm thick

  • Area 10 m², thickness 5 cm, consumption 20 kg per m² per cm.
  • 10 × 5 × 20 = 1,000 kg of dry mix.
  • With 10% loss: 1,000 × 1.10 = 1,100 kg.
  • 1,100 ÷ 25 = 44 bags of 25 kg.

Example 2: garden path 6 m long and 1 m wide, tile bed of 4 cm

  • Area 6 × 1 = 6 m², thickness 4 cm.
  • 6 × 4 × 20 = 480 kg; with 10% loss 528 kg.
  • 528 ÷ 25 = 21.1, so 22 bags.

Example 3: tile bed in the bathroom of 4 m² and 3 cm thick

  • 4 × 3 × 20 = 240 kg; with 10% loss 264 kg.
  • 264 ÷ 25 = 10.6, so 11 bags.

Example 4: small garden wall 3 m long and 1 m high (half-brick), laying and pointing

  • Area 3 × 1 = 3 m².
  • Bricklaying mortar: 3 × 45 = 135 kg; with 10% 148.5 kg; 148.5 ÷ 25 = 5.9, so 6 bags.
  • Pointing: 3 × 7.5 = 22.5 kg; with 10% 24.8 kg; that is 1 bag.
  • Total about 7 bags. A wall taller than a low garden wall or one that has to carry something is work for a bricklayer.

Example 5: plastering a wall of 12 m² with cement plaster, 1.5 cm thick

  • 12 × 1.5 × 19 = 342 kg; with 10% loss 376 kg.
  • 376 ÷ 25 = 15.05, so 16 bags (which shows why you always round up).

Example 6: small concrete slab of 1 m × 1 m, 10 cm thick

  • Volume 1 × 1 × 0.10 = 0.10 m³. At about 2,100 kg per m³ that is 210 kg; with 10% loss 231 kg.
  • 231 ÷ 25 = 9.2, so 10 bags of ready-to-pour concrete mix.
  • For a garden bench or a small base this is a good estimate; for a load-bearing foundation it is not (see below).

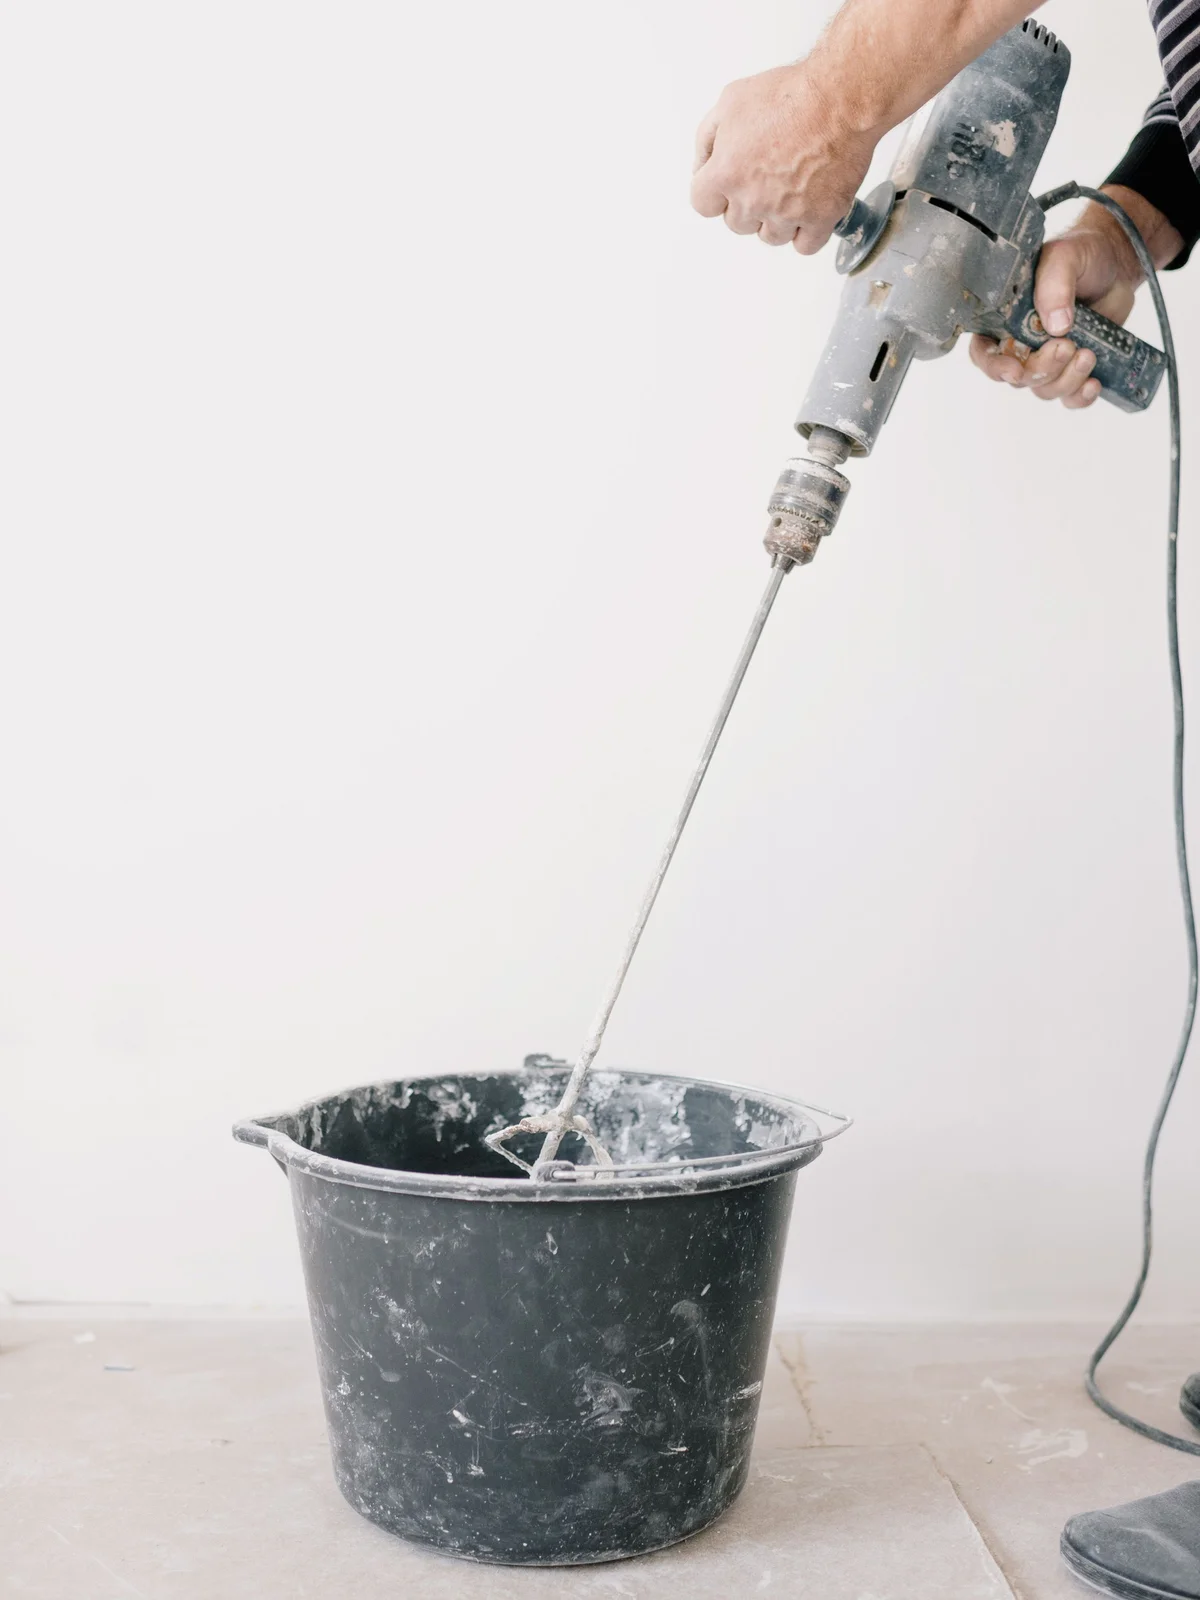
A person mixes mortar in a black bucket with a mixer on a drill

Mix in a sturdy bucket with a mixer for heavy mortars: that gives an even, lump-free mix.

How do you mix sand-cement properly?

  1. Put part of the water in the bucket first. Then add the dry mix and mix with the mixer until there are no dry spots left.
  2. Add water in small amounts. Stick to the quantity on the bag. Too much water weakens the layer and causes shrinkage cracks.
  3. Test the mix. A screed mix is earth-moist: a ball in your hand holds together and does not break apart when tossed. For bricklaying and pointing the mix is more plastic.
  4. Do not mix more than you use within the working time. It is stated on the packaging. Do not re-wet mortar that has already started to set with extra water.
  5. Clean your tools straight after use. Dry cement is hard to remove. Use a sponge and water.

What is the right mixing ratio for a cement-sand mix you make yourself?

If you have a ready-made sand-cement mix, the ratio and the amount of water are stated on the bag. If you mix cement and sand yourself, you use parts by volume:

  • Screed under a finishing layer (tiles, parquet): 1 part cement to 4 parts sand (1:4).
  • Screed without a finishing layer: 1:3.
  • Bricklaying mortar: 1 part masonry cement to 3 parts sand (1:3).
  • Pointing: often 1:4, sometimes with lime.

In practice about half a part of water is added to a screed. Sand from a bag is dry; loose sand usually already contains water, which you take into account. The sand must be suitable: sharp, clean and with the right grain size. If in doubt, use a ready-made mix.

How do you store sand-cement?

  • Keep it dry. A damp bag clumps and loses strength. Store bags indoors, in a dry room or under a sturdy cover.
  • Put the bags on a pallet or planks, not directly on the ground or on a damp floor.
  • Do not stack too high and stack so that the oldest bags are used first.
  • Close an opened bag well in a sturdy, sealed bag or a bucket with a lid.
  • Check the shelf life on the packaging. Bags with hard lumps should no longer be used for work where strength matters.

How do you work safely with cement?

Wet cement is strongly alkaline and can cause serious burns after a short time, especially if it stays under clothing, gloves or boots. You do not always feel it straight away. Therefore:

  • always wear gloves and safety glasses, and an FFP2 dust mask when dust is created;
  • use knee pads if you have to work on your knees, and avoid it as much as possible;
  • rinse cement on the skin off immediately with plenty of water and take off contaminated clothing;
  • rinse cement in the eyes for at least 15 minutes with clean water and contact a doctor;
  • do not wear rings or a watch while working and wash your hands after every break.

You can read more general safety tips in our guide working safely on the construction site.

When do you call in a professional?

Doing a garden path, a small tile bed or a low garden wall yourself is feasible for an experienced DIYer. But sand-cement is not just a matter of calculating kilos: the right thickness, mixing ratio, adhesion, curing time and preventing cracks are craftsmanship. Always call in a professional for:

  • Foundations, load-bearing walls and anything that has to carry weight or involves a structural engineer;
  • Structural floors and large screeds, where flatness, level and cracking risk are significant;
  • Underfloor heating, where the thickness above the pipes, the expansion joints and the heating-up procedure must be right;
  • Outdoor work with frost, falls or loads (driveway, terrace against a facade, garage);
  • Damp or damaged substrates, or work in homes built before 1994 where asbestos may be present in old adhesive or boards.

A professional does not only work out the bags but assesses the substrate, the level, the moisture and what is happening in the construction. That is experience that no formula replaces. Even for jobs you dare to do yourself, it pays to have a professional look along beforehand.

What mistakes do DIYers often make?

  • Not allowing for loss. Without at least 10% extra you are quickly short.
  • Not measuring the average thickness. An uneven substrate makes the layer much thicker than expected in places.
  • Using sand-cement for concrete. Without gravel the layer does not have the strength a foundation needs.
  • Adding too much water. That gives a weak, crack-prone layer.
  • Bags stored damp. Lumps mean a loss of strength.
  • Doing the job in two goes. You pour a floor or tile bed in one go; an unplanned stop gives a cold joint.

💡 Tip: calculate the total first, but mix the first bucket and test the mix. Use it to see how many square metres you get from one bucket and adjust your calculation if needed.

Where do you find everything for your job?

At Saniso, the online DIY and building store, you will find tools and personal protective equipment for your job.

Unsure about the substrate or the approach? Feel free to call in a professional: a good professional is never superfluous.

Saniso – Build your home with Saniso.

Read also: How to clean while tiling

« Previous
Next »
Saniso Support Online +31 85 488 5920

Hi there! How can we help you today?