






Grout in one even colour across the whole wall or floor: that is what you want. In this blog we explain how the hybrid R...

Your online building supplies store for building and renovation
 English
✓
English
✓
 Nederlands
✓
Nederlands
✓
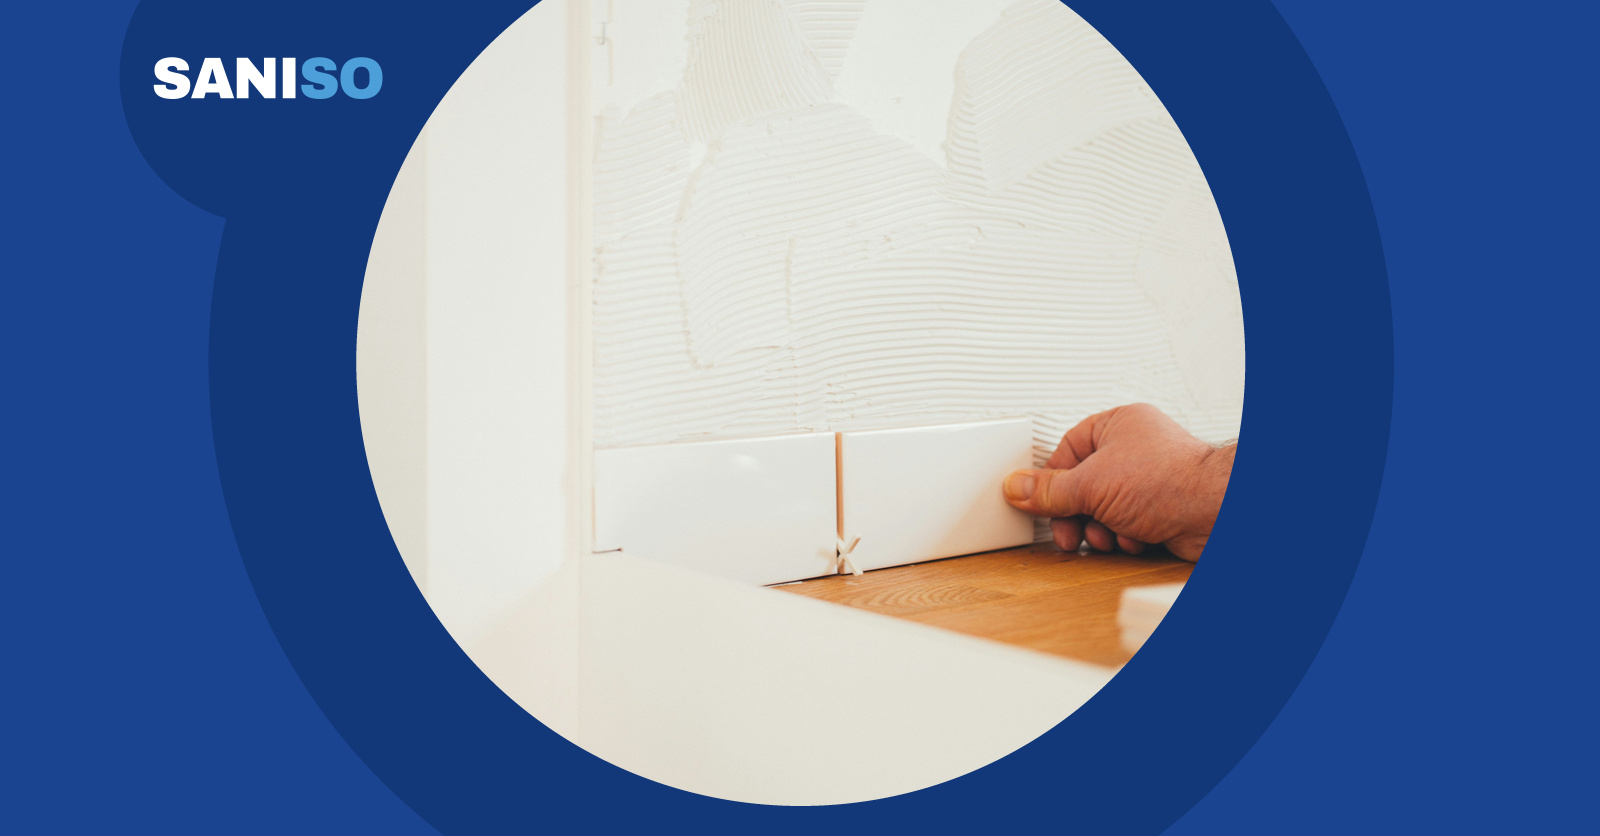
A tiled wall in the bathroom, kitchen or toilet looks sleek and is easy to keep clean. With good preparation and the right tools, you can do it yourself. This DIY blog takes you through it step by step, from substrate to final sealant joint.
The substrate must be clean, dry, flat and sound. Fill holes and remove dust, grease and loose material. Then prime the wall: this helps the adhesive bond and stops an absorbent substrate from drawing the water out of the adhesive too quickly. Let the primer dry as stated on the packaging.
Tiling a bathroom? First waterproof the wet zones, such as the shower corner, with a waterproofing system of sealing tape and coating. This keeps moisture out from behind the tiles.
Are there sockets or switches in the wall? Switch off the circuit before you remove any cover plates. If anything in the electrics needs to be moved or modified, have it done by a certified electrician.
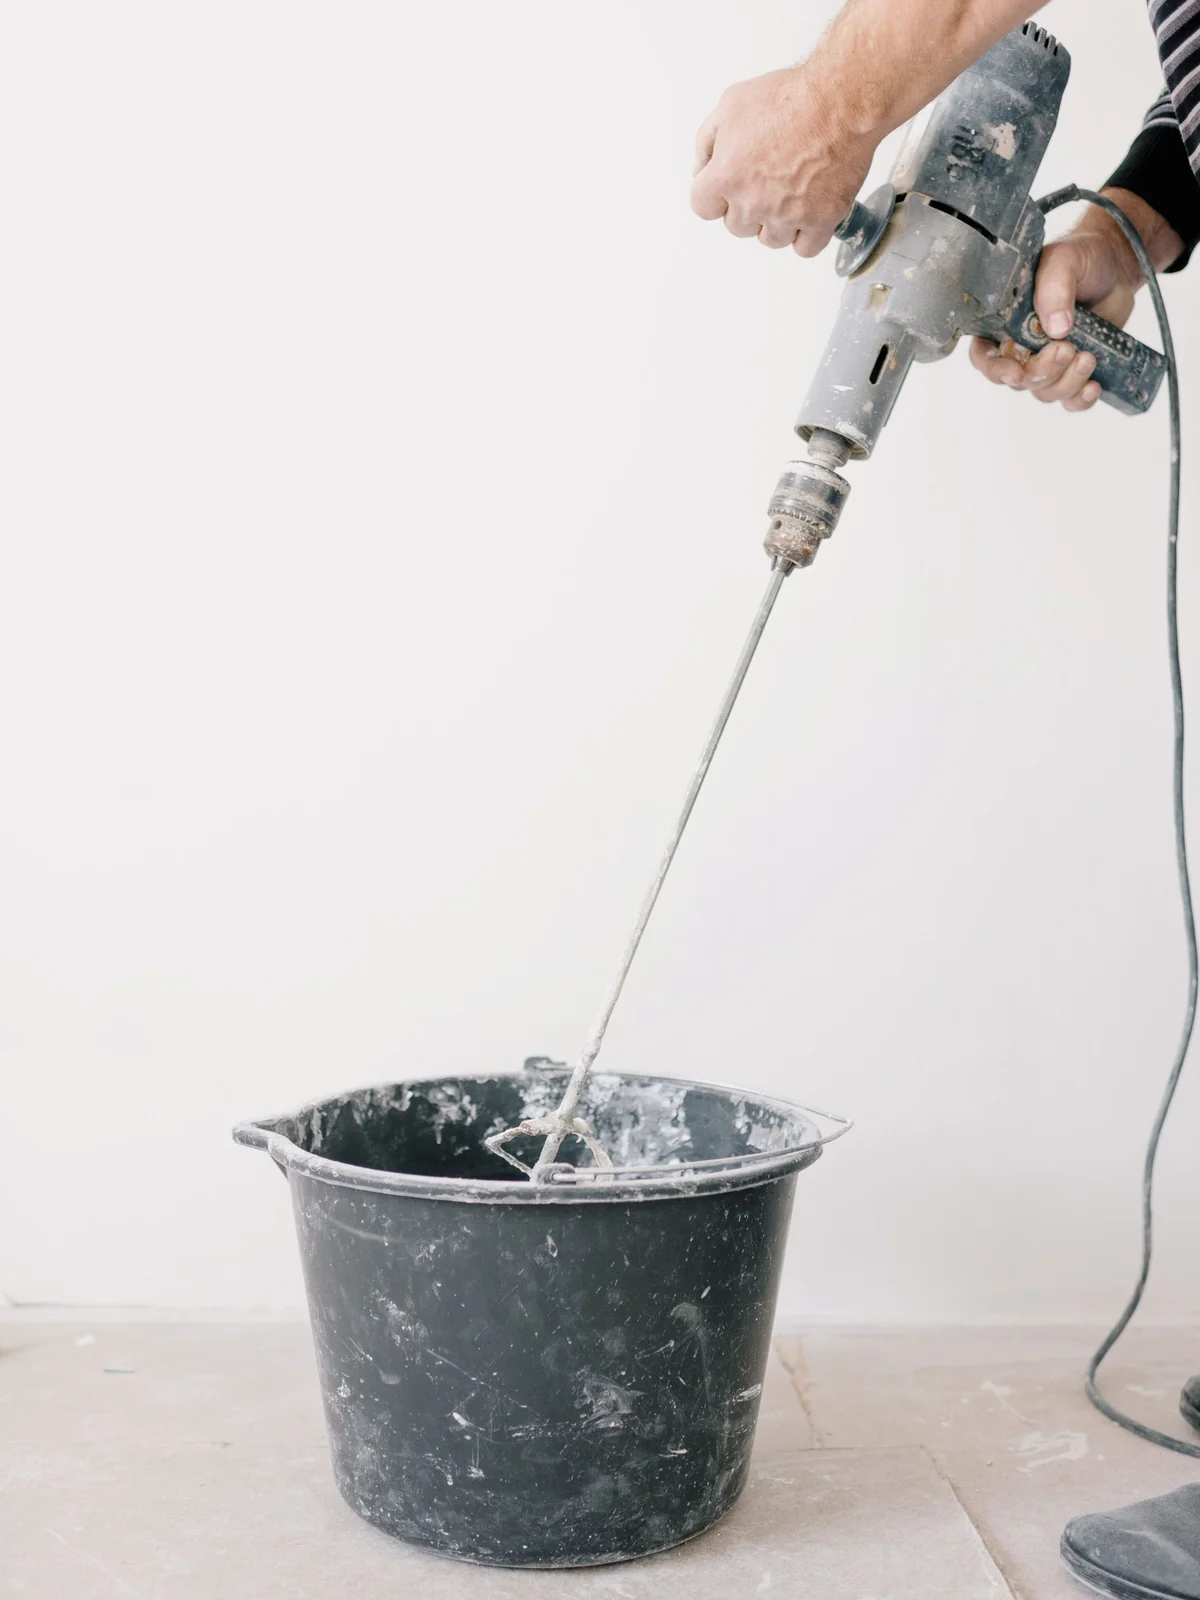
💡 Tip: now and then, lift a freshly placed tile off the wall and check the back. Well covered with adhesive? Then you are doing it right. Mainly separate ridges? Press harder or use a trowel with larger notches.
Tile adhesive and grout often contain cement. Cement is strongly alkaline and can irritate your skin or cause an allergy. So wear good nitrile-coated gloves and wash your hands after work. Wear safety glasses when mixing and cutting.
Grinding or sawing tiles? This can release quartz dust, which is harmful to your lungs. Ideally work outdoors, wet or with dust extraction, and wear suitable respiratory protection, such as an FFP3 dust mask. Knee pads help with the bottom rows. Safety shoes protect your toes if a tile or bag of adhesive falls, and sturdy workwear keeps adhesive and dust off your skin. You will find all personal protective equipment in our workwear and safety range. For more tips, read our guide to safe working on the construction site.
Often, as long as the old tiles are firmly attached and flat. Clean and degrease them and use a primer for non-absorbent substrates. The wall will get thicker, so pay attention around sockets and window frames.
Divide the wall area by the area of one tile. Add extra for cutting waste and breakage; many DIY guides allow around 15 per cent extra. Keep a few spare tiles for future repairs.
Only once the tile adhesive has fully cured. This differs per adhesive, so always check the packaging.
That depends on the tile size and the adhesive: smaller tiles need finer notches, larger tiles coarser ones. Also check the adhesive packaging.
In corners and at junctions with the bath, shower tray or floor, materials move slightly. A rigid grout joint can crack there; silicone sealant stays flexible and keeps out moisture and dirt.
Yes. Behind tiles in the shower you need a waterproofing system with sealing tape in the corners and a coating. Grout and sealant alone will not keep moisture out.
At Saniso, the online DIY store for building and renovating, you will find everything for your tiling job.
Saniso – Build your home with Saniso.
Read also: How to lay laminate: step-by-step DIY guide
Read also: How many spots do you need in the bathroom?, because the tiles on your wall reflect the light of your ceiling spots.
Read also: How many bags of sand-cement do I need?
Read also: How to clean while tiling
Read also: How to clean, remove and renew discoloured grout
Read also: Sustainable tile adhesive and grout: what to look out for
Read also: How to tile a bathroom: step-by-step DIY guide
Read also: How to tile a kitchen splashback
Share:
Grout in one even colour across the whole wall or floor: that is what you want. In this blog we explain how the hybrid R...

Learn how to level a floor yourself: prepare the subfloor, prime, mix and pour self-levelling compound. Step-by-step wit...

Installing a kitchen: do it yourself or hire a professional? Read what is involved, which parts you can do yourself and...
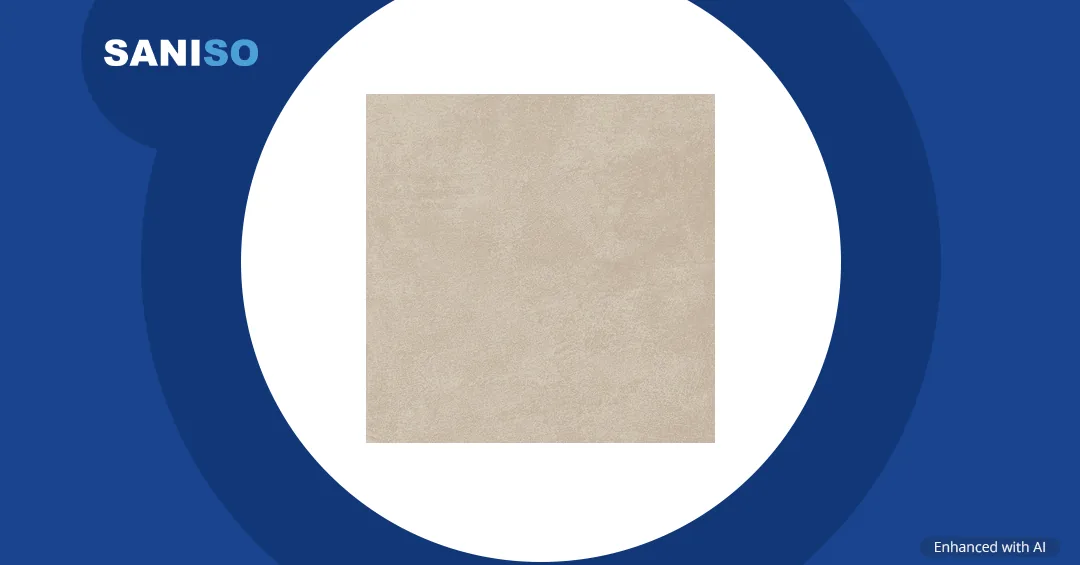
Cersanit Ares cement-look tiles for bathroom, kitchen and living room: 30×30 to 60×120, matt or satin, plus mosaic, skir...