Grout in one even colour across the whole wall or floor: that is what you want. In this blog we explain how the hybrid R...

How to tile a kitchen splashback
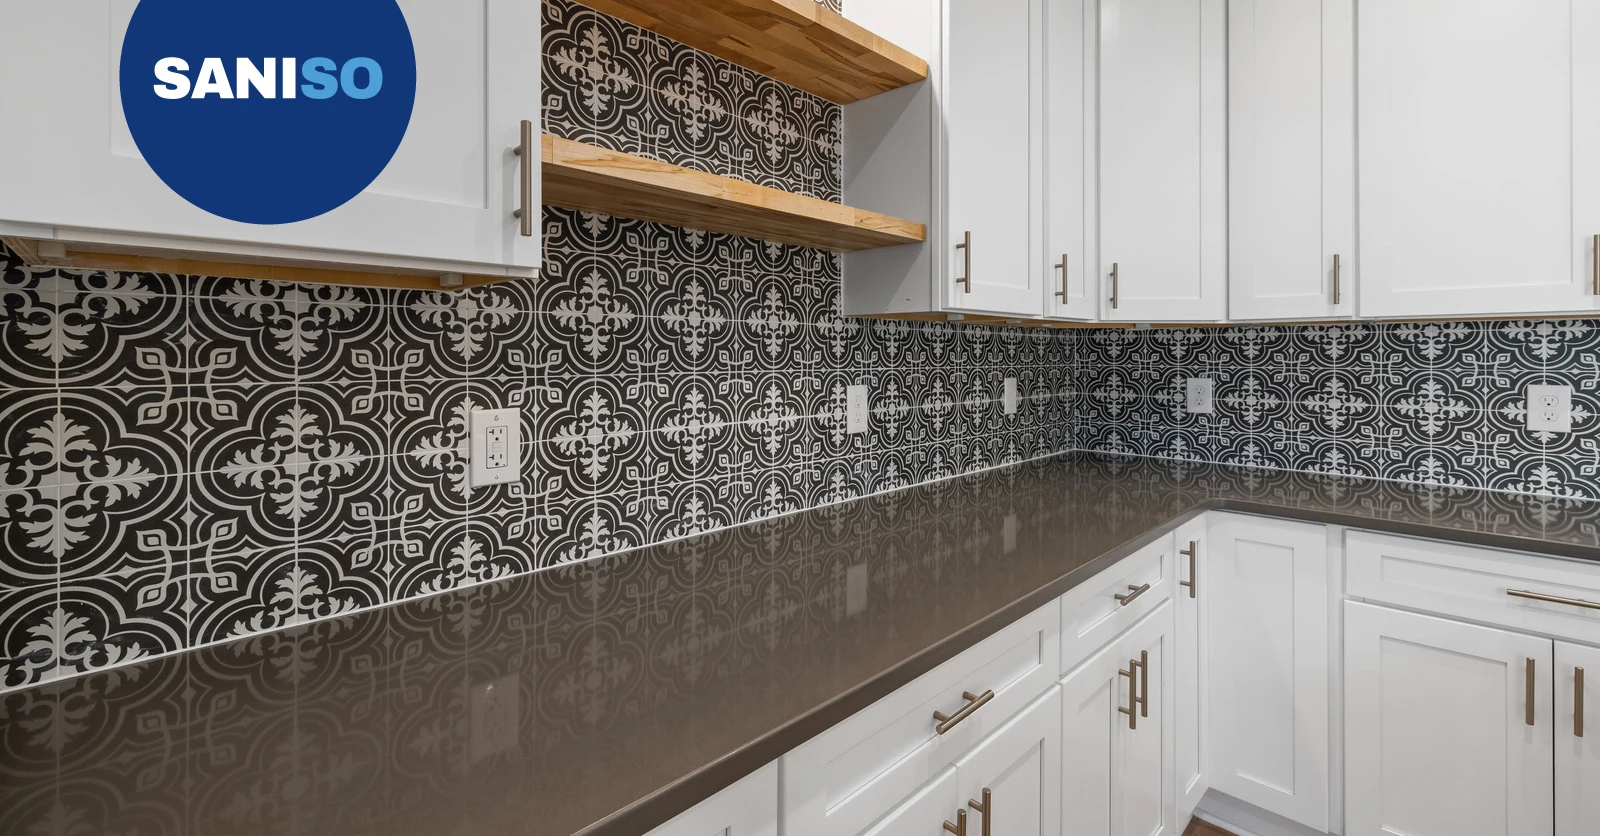
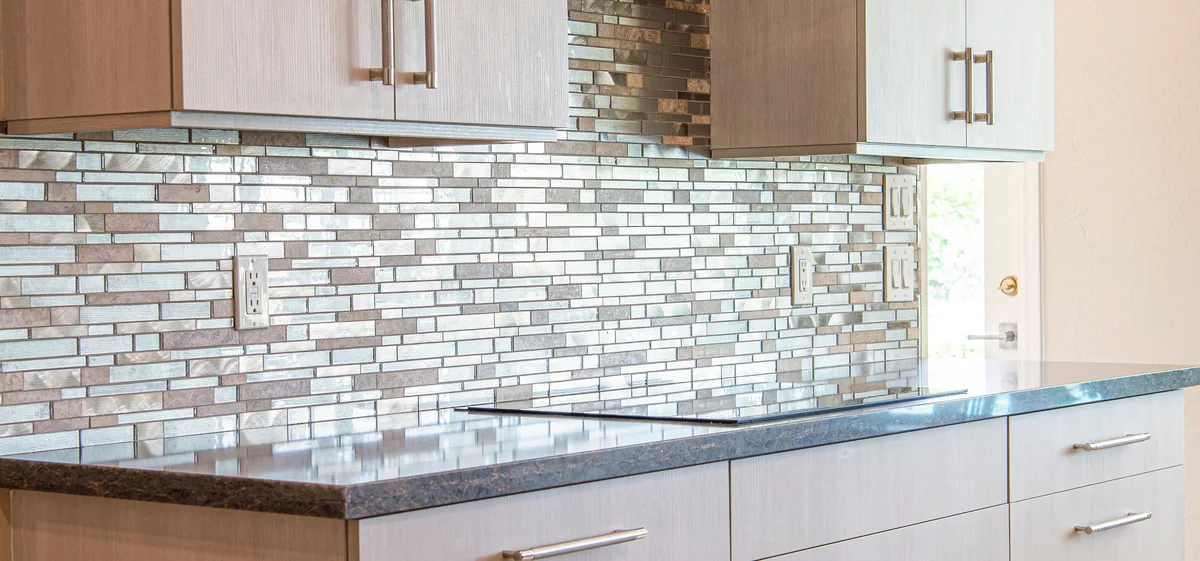
The splashback between the worktop and the wall cabinets has a lot to endure: grease splashes, steam, water and the occasional knock from a pan. Tiles are ideal there. They are easy to keep clean and instantly give your kitchen a new face, whether you choose classic metro tiles, a patterned tile or narrow mosaic strips. A kitchen splashback is also a manageable area, making it a great first tiling job. In this blog you will read how to plan the job, prepare the wall and fix, grout and seal the tiles.
👷 Calling in a professional is never superfluous. A tiler sets out the tiling so that no narrow slivers are created, works neatly around sockets and cabinets and knows which adhesive and grout suit your tile and substrate. Especially with large formats or natural stone, that craftsmanship makes the difference.
Planning the job
- Measure the wall with a tape measure with auto-lock: the width and the height between the worktop and the wall cabinets. Order some extra tiles for cuts and breakage.
- Choose the tile. Small tiles and mosaic are forgiving on a slightly uneven wall. Large tiles require a very flat substrate.
- Decide on the layout. Lay a row of tiles dry on the worktop with adjustable 4 mm tile spacers in between and see where the cut edges end up. Preferably start in the middle or at a striking point, such as the hob, so you get equally wide cut tiles on both sides.
- Sockets and switches: plan where the tiles will meet the cover plates.
⚠️ Are there sockets in the splashback? Always switch off the circuit first and leave removing the cover plates and, if needed, raising the back boxes to a certified installer. If you have a gas hob, also have a certified installer disconnect and reconnect the gas supply. Work on electricity and gas is not a DIY job.
What do you need?
- Preparation: masking film and blue painter's tape to protect the worktop and cabinets, deep-penetrating primer to prime the wall and a multifunction wall detector.
- Fixing: Kerakoll H40 gel adhesive, white (white, so it does not show through light joints or glass mosaic), mixed in a construction bucket with a Raimondi mortar mixer, and a Raimondi notched trowel.
- Aligning: a 60 cm spirit level, a carpenter pencil, adjustable 4 mm tile spacers or 2 mm tile spacers for narrow joints, and possibly a levelling set with clips and knobs (2 mm) for larger tiles.
- Cutting: a Raimondi Kompass tile cutter or the Raimondi T-Cut tile cutter set.
- Grouting: Kerakoll Fugabella Color grout or another suitable grout, a grout spreader and a ABS sponge float.
- Finishing: Fila Deterdek Pro cement haze remover against cement haze, neutral sanitary silicone and a sealant gun.
- PPE: see below.
You can read more about Kerakoll adhesives and grouts in our blog on the Kerakoll tile system.
Working safely
- Eyes: sharp splinters fly off when cutting and breaking tiles. Wear safety goggles.
- Hands: tile adhesive and grout are cement-based and can irritate the skin. Wear work gloves with nitrile coating, and be careful with sharp cut edges.
- Dust: fine dust is released when mixing adhesive and grout and when sawing or grinding. Wear an FFP2 dust mask and ventilate well.
Step by step: preparing the wall
- Protect the kitchen. Cover the worktop with masking film and tape off cabinet edges with blue painter's tape.
- Clean and degrease the wall. A kitchen wall is often greasy; degrease it thoroughly and let it dry.
- Check the wall. Loose paint, wallpaper or loose plaster must come off. Fill holes and unevenness beforehand. Check with the 60 cm spirit level that the wall is flat.
- Prime with deep-penetrating primer, so the adhesive bonds well and an absorbent wall does not draw the water out of the adhesive too quickly.
- Draw a starting line. Worktops are not always level. Use the 60 cm spirit level and the carpenter pencil to draw a straight line at the height of the first or second row, and work from there.
Step by step: fixing the tiles
- Mix the adhesive according to the bag, with clean water in the construction bucket. Let it stand for a moment and mix again.
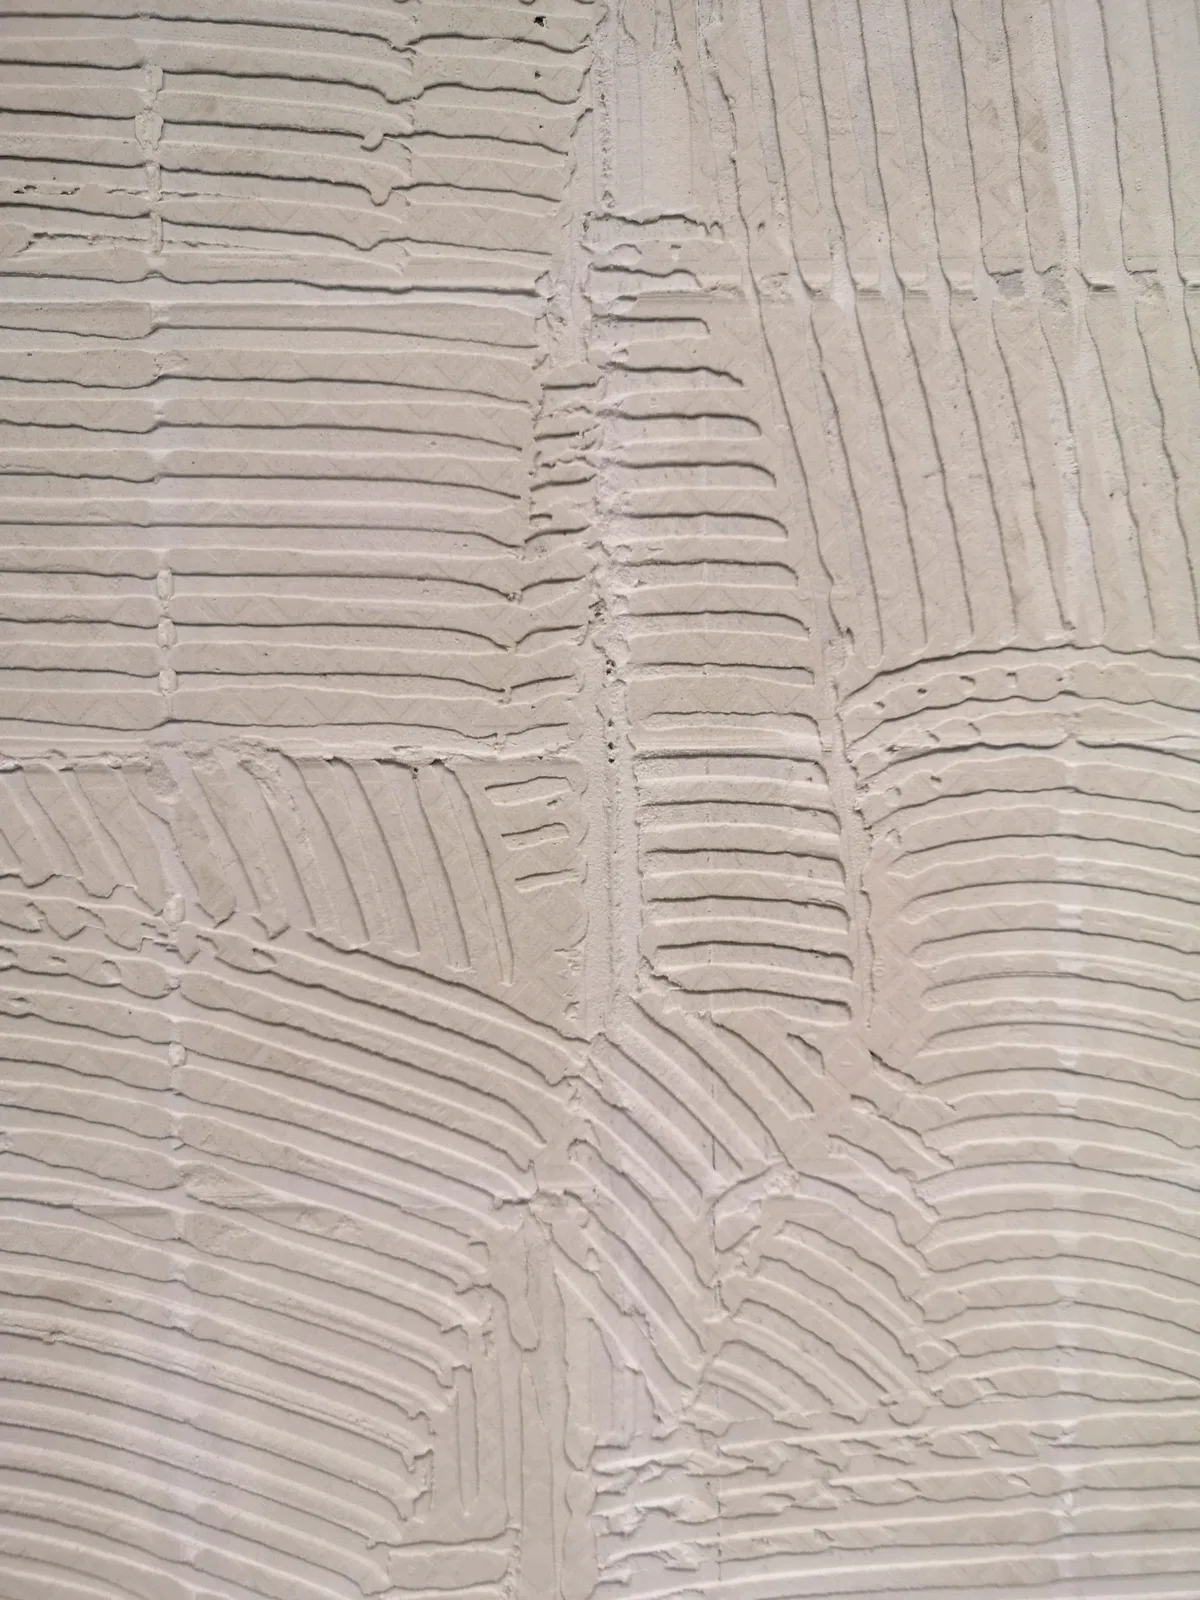
- Apply the adhesive to an area of about one square metre. Comb the adhesive with the Raimondi notched trowel into straight ridges. Choose the notch size to suit the tile format.

- Place the tiles. Press each tile firmly into the adhesive with a small sliding movement so it makes full contact.
- Keep the joints even with tile spacers. With larger tiles, a levelling system prevents height differences between tiles.
- Check regularly with the 60 cm spirit level that the rows are straight and flat.
- Cut the edge tiles with the Raimondi Kompass tile cutter. Around sockets, measure accurately and work calmly; a cover plate will later overlap the edge.
- Leave a gap at the worktop. Keep a small joint free between the bottom row and the worktop. This will be sealed later, not grouted.
- Clean adhesive residue from the joints and tiles straight away, and let the adhesive cure according to the packaging.
Step by step: grouting and sealing
- Remove the tile spacers that cannot stay in the joint.
- Mix the grout and apply it diagonally across the joints with the grout spreader. Press the grout in well.
- Wash off. As soon as the grout starts to stiffen, wash the tiles clean with a damp ABS sponge float. Rinse the sponge often.
- Remove cement haze. If a grey haze remains after drying, use Fila Deterdek Pro cement haze remover according to the packaging. First check that the product is suitable for your tile.
- Seal the joints. Seal the joint between the tiles and the worktop, and in internal corners, with neutral sanitary silicone. This lets the worktop move slightly without the joint cracking. You can read how to seal neatly in our blog on resealing a bathroom with new silicone.

You can read which grout colour suits your tiles in our blog on choosing the right grout colour. If you want to finish the edge of the tiling neatly, tile profiles help; see our blog on Progress Profiles tile profiles.
Tips for a neat result
- Work from bottom to top and from the middle outwards.
- Lay metro tiles in a half-bond pattern for a classic look, or stacked for a modern look.
- Behind the hob: keep to the distance prescribed by the hob manufacturer and use materials that can withstand heat.
- You can read more about tiling walls in our blog on tiling a wall.
When do you call in a professional?
- With large tile formats, natural stone or glass, which require a very flat substrate and experience.
- If the wall is crooked, damp or in poor condition.
- If sockets need to be moved or added: that is done by a certified installer.
- If you want a neat, seamless result in a kitchen that has to look good for years.
A tiler is never superfluous in those cases: he works faster and more neatly and knows exactly which materials suit your kitchen.
Frequently asked questions
Can I tile over old tiles?
Sometimes, if the old tiles are firmly fixed, flat and clean and you use a suitable primer and adhesive. Keep in mind that sockets and cabinets will then end up further forward. If in doubt, ask a professional.
Which joint width should I choose?
With rectified tiles and mosaic you often choose a narrow joint of about 2 millimetres, with tiles with a less precise edge a slightly wider joint. Follow the tile manufacturer's advice.
Should I grout or seal the joint at the worktop?
Seal it. The worktop and the wall move slightly in relation to each other. A sealant joint absorbs this, a cement joint cracks.
How long should I wait before cooking after tiling?
Follow the curing times on the packaging of the adhesive, grout and sealant. Only use the hob once everything has fully cured.
Read also: How to install a kitchen cabinet and How to lay tiles diagonally or in a pattern.
Where can you find everything for this job?
At Saniso, the online store for DIYers and professionals, you will find tools, materials and personal protective equipment for your job.
- Browse our construction tools and our workwear and safety.
- Create a customer account and order easily.
- Working on a bigger project or want to hand over the job? Request a project quote.
- Book a showroom visit, at least 24 hours in advance.
- Not sure which material suits your job? Get in touch with us.
In doubt about the approach? Feel free to call in a professional.
Saniso – Build your home with Saniso.
Share: