






Grout in one even colour across the whole wall or floor: that is what you want. In this blog we explain how the hybrid R...

Your online building supplies store for building and renovation
 English
✓
English
✓
 Nederlands
✓
Nederlands
✓
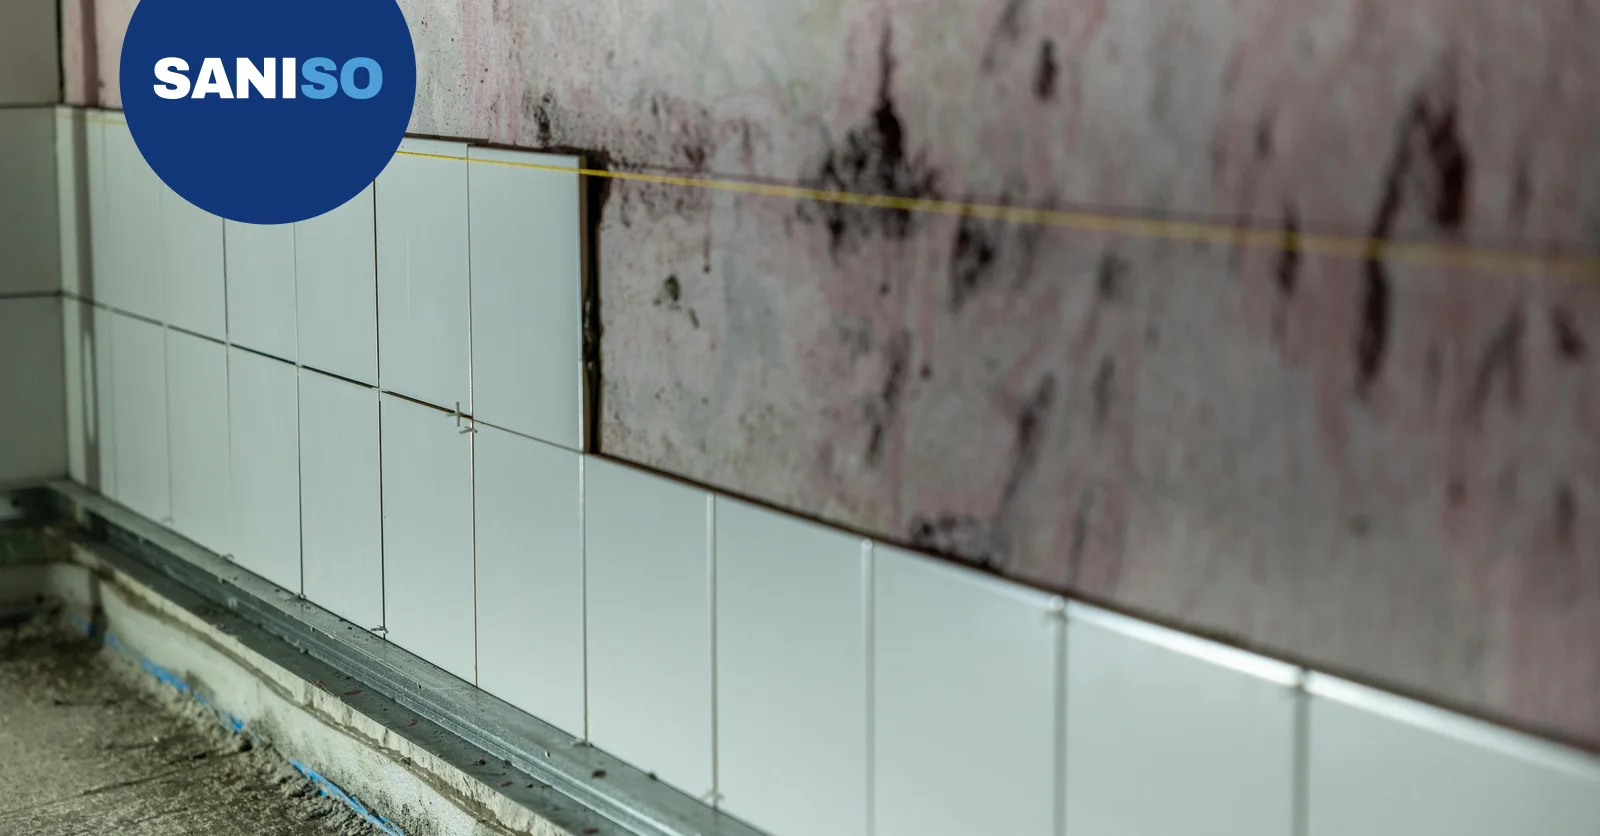
A new bathroom with tiles that suit you: many DIYers take on this job. A bathroom is a wet room, though, so good preparation and a watertight build-up are important. This blog explains what you need, how to work step by step and when to call in a tiler.
⚠️ In a bathroom everything depends on a good, watertight substrate and sealing. If you are unsure about the floor build-up, moisture protection or drains, call in a registered tiler or plumber. A professional is never superfluous.
work gloves with nitrile coating, safety goggles when cutting, FFP2 dust mask against dust and Raimondi knee pads with gel for work on the floor. You can read more about tile tools in our blog on Raimondi tile tools.
Check that the substrate is flat, dry, firm and clean. Measure the room, determine the starting line and lay the tiles out dry so that you can plan the cuts. For the substrate and sealing, always follow the tile and adhesive manufacturers' instructions. You can read more about tiling in our blog on tiling a wall and our blog on tiling a floor.
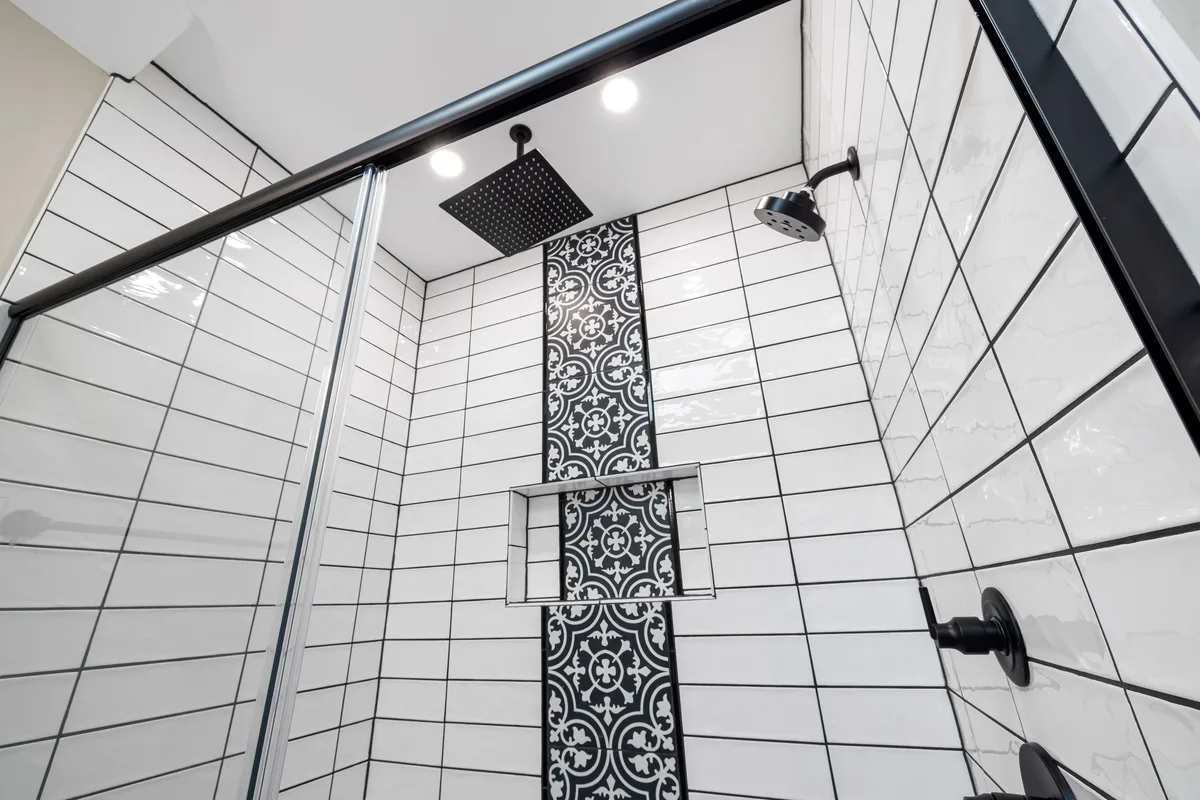
💡 Plan the last row and the corners in advance. This avoids narrow strips in visible places.
Wear glasses when cutting and a dust mask when grinding. Ventilate the room. You can read more about safe working in our blog on safe working on the construction site.
That depends on the size and the preparation. Plan enough time for the adhesive and grout to cure.
In wet zones a suitable sealing system is important. Follow the manufacturer's instructions.
Sometimes, provided the old tiles are firm and the substrate is suitable. Have this checked.
Read our blog on choosing the right grout colour for inspiration.
For large-format tiles, doubts about the substrate or if you do not have the time.
Read also: How to repair broken wall or floor tiles and How to clean while tiling
Read also: How to lay tiles diagonally or in a pattern
Read also: Renovating a bathroom: DIY or professional?
At Saniso, the online store for DIYers and professionals, you will find tools, materials and personal protective equipment for your job.
In doubt about the approach? Feel free to call in a professional.
Saniso – Build your home with Saniso.
Share:
Grout in one even colour across the whole wall or floor: that is what you want. In this blog we explain how the hybrid R...

Learn how to level a floor yourself: prepare the subfloor, prime, mix and pour self-levelling compound. Step-by-step wit...
Why Cersanit tiles at Saniso: wood, floral, stone, monocolour and outdoor collections for walls and floors, with 5 price...

Installing a kitchen: do it yourself or hire a professional? Read what is involved, which parts you can do yourself and...