






Grout in one even colour across the whole wall or floor: that is what you want. In this blog we explain how the hybrid R...

Your online building supplies store for building and renovation
 English
✓
English
✓
 Nederlands
✓
Nederlands
✓
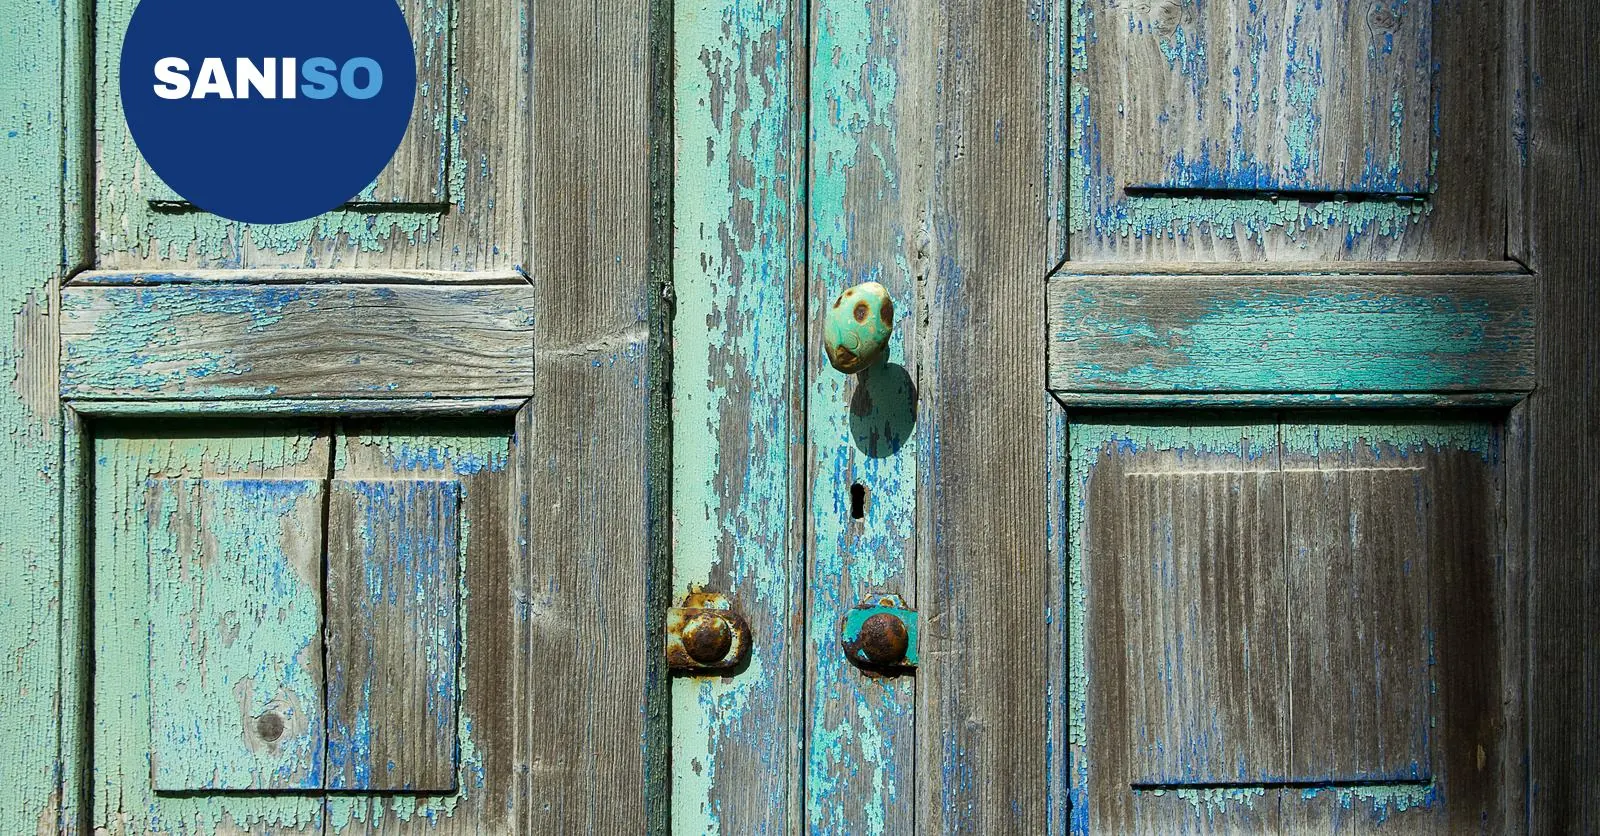
An exterior door is the calling card of your home, but it has a hard time. Sun, rain, frost and daily use make the paint dull after a few years, or make it crack and peel. If you wait too long, moisture gets into the wood and you get wood rot. With good preparation and the right order, you can paint an exterior door perfectly well yourself. In this blog you will read step by step how to go about it.
👷 Calling in a professional is never superfluous. If there is wood rot in the door or frame, the door is warped, or it concerns an old house with possibly lead-based paint, have it assessed by a painter or carpenter first. A painter also knows which paint system suits your door and its exposure best.
For exterior painting, choose a dry period with temperatures between about 10 and 25 degrees. Late spring and early autumn are ideal. Pay attention to the following:
💡 A door facing south or west gets a lot of sun. If possible, choose a light colour: it heats up less, so the wood moves less and the paint lasts longer.
You can read more about choosing rollers and brushes in our blog on paint rollers and brushes.
Remove the door handle, letterbox, door knob and, if necessary, the lock plate with the screwdriver. Keep the screws in a small tray. That way you can paint neatly everywhere. Mask the glass, glazing beads with rubber seals and the threshold. Lay film on the ground to catch splashes and sanding dust.
Dirt, grease and green algae prevent the new paint from adhering properly. Wash the entire door with lukewarm water and a degreasing cleaner. Rinse with clean water and let the door dry thoroughly.
Scrape away all loose paint until you reach well-adhering paint or bare wood. Work with the grain of the wood. If the paint is cracked and coming off over large areas, you can remove the old layers with a heat gun and a scraper. Keep the gun moving and only heat the paint until it starts to bubble, not until it burns.
⚠️ In homes built before about 1960, the old paint may contain lead. Never heat or dry-sand that paint, because the fumes and dust are harmful. If in doubt, have the paint tested first or call in a painter. Also never use the heat gun close to glass (it can crack) or near flammable materials.
Check whether the wood is still sound by prodding it with a screwdriver. Soft, spongy wood indicates wood rot. Small spots can be scraped out and filled with a wood rot filler or exterior filler. For larger spots, or rot in the bottom of the door or frame, call in a carpenter or painter. Fill small holes and dents with the putty knife and let them dry well.
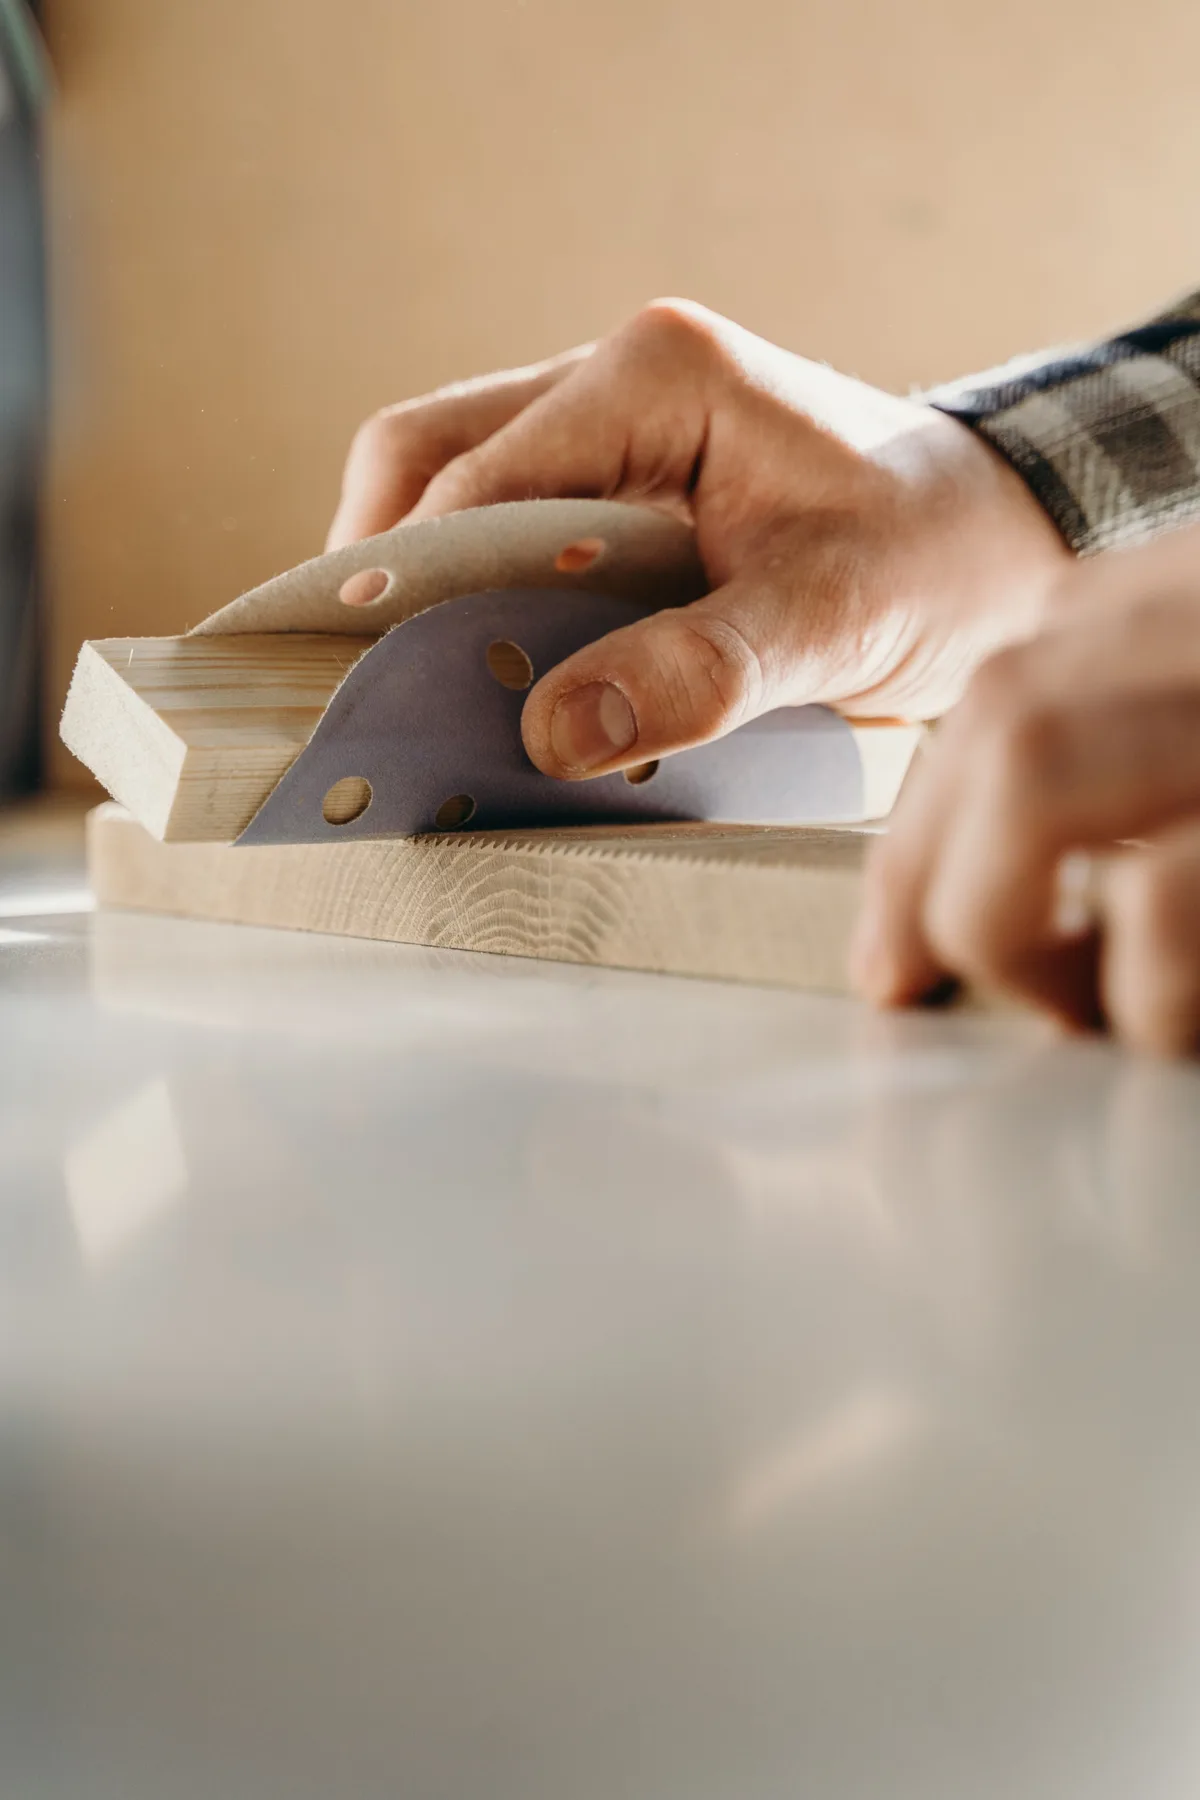
Lightly sand the entire door with grit 120. This smooths the transitions between old paint and bare wood and roughens the existing gloss layer so that the new paint adheres well. Then sand the bare spots and the filler smooth with grit 220. After sanding, make the door completely dust-free with a damp cloth.
Prime bare spots and filled wood. This protects the wood and ensures good adhesion of the lacquer. If more than half of the door is bare, prime the whole door. Let the primer dry according to the instructions on the tin, then sand very lightly with grit 220.
Always paint a panelled door in a fixed order, so that you do not get lap marks:
Work in thin coats and finish in the direction of the wood grain. On a flat door, you can first apply the paint with the foam roller and then lightly lay it off with the brush. Apply two coats of lacquer and sand lightly between coats with grit 220. You can read more tips on technique in our blog on painting a door.
Leave the door open or ajar for as long as possible, so that the paint does not stick to the frame or draught strips. Remove the tape as soon as the last coat is touch-dry, so you do not pull off paint edges. Only refit the fittings once the paint has fully hardened.
💡 Does the door stick after painting? This is often due to coats of paint that are too thick. In our blog on fixing a sticking door you can read how to fix that.
Wear safety goggles when scraping and when working with the wire brush and the heat gun. When sanding, wear a dust mask: an FFP2 mask for ordinary paint layers and an FFP3 mask for old layers. When painting with solvent-based paint, work in the open air and keep the area well ventilated. Protect your hands with work gloves with nitrile coating. Never leave the heat gun unattended and let it cool down on a non-flammable surface. If you need to stand on steps to reach the top of a tall door or frame, use sturdy steps and never a chair.
That depends on its exposure and the paint. A south-facing door often needs a new coat after four to six years, while a north-facing door usually lasts longer. Check the door every spring for small cracks and do not let it get to the point of peeling.
Yes, if the old paint adheres well. Clean the door, sand it thoroughly and apply a new coat in the same paint system.
Both are possible. Water-based lacquer dries faster, does not yellow and smells less. Solvent-based lacquer often flows out more smoothly. Stay within the same system as your primer, or ask a painter for advice.
That is not necessary. You can paint an exterior door perfectly well while it is on its hinges. Just make sure you can leave it open for a few hours to dry.
At Saniso, the online store for DIYers and professionals, you will find tools, materials and personal protective equipment for your job.
In doubt about the approach? Feel free to call in a professional.
Saniso – Build your home with Saniso.
Share:
Grout in one even colour across the whole wall or floor: that is what you want. In this blog we explain how the hybrid R...

Learn how to level a floor yourself: prepare the subfloor, prime, mix and pour self-levelling compound. Step-by-step wit...

Installing a kitchen: do it yourself or hire a professional? Read what is involved, which parts you can do yourself and...
Cersanit Ares cement-look tiles for bathroom, kitchen and living room: 30×30 to 60×120, matt or satin, plus mosaic, skir...