Grout in one even colour across the whole wall or floor: that is what you want. In this blog we explain how the hybrid R...

Buying sanding blocks and sandpaper: what to look for
Anyone who paints, fills or works with wood sands. Yet many people hesitate when choosing sandpaper: which grit, which size, paper or cloth, by hand or by machine? The differences are big. The right choice means faster sanding, a flatter result and better paint adhesion. The wrong choice leaves scratches you will see through the lacquer for years. In this buying guide you will read what to look for.
Grit: the most important number
The grit is stated on every abrasive, often preceded by a P or G. The lower the number, the coarser the abrasive.
- Grit 40 to 60 (coarse): removing old paint, rough timber and large irregularities. A sanding block grit 60 or abrasive cloth grit 80 does this well.
- Grit 80 to 120 (medium): smoothing wood, sanding filler flat and keying existing paint for a new coat. The sanding block grit 120 is the workhorse for most jobs.
- Grit 150 to 240 (fine): light sanding between coats of lacquer or paint and a smooth final result. Choose a sanding block grit 220 or abrasive cloth grit 240.
- Grit 320 and higher (very fine): very fine sanding between coats of lacquer.
💡 Never skip more than one or two grit steps. Going straight from grit 60 to 220 takes longer, because the fine grit does not quickly remove the deep scratches of the coarse one.
Sanding block, sandpaper or abrasive cloth?
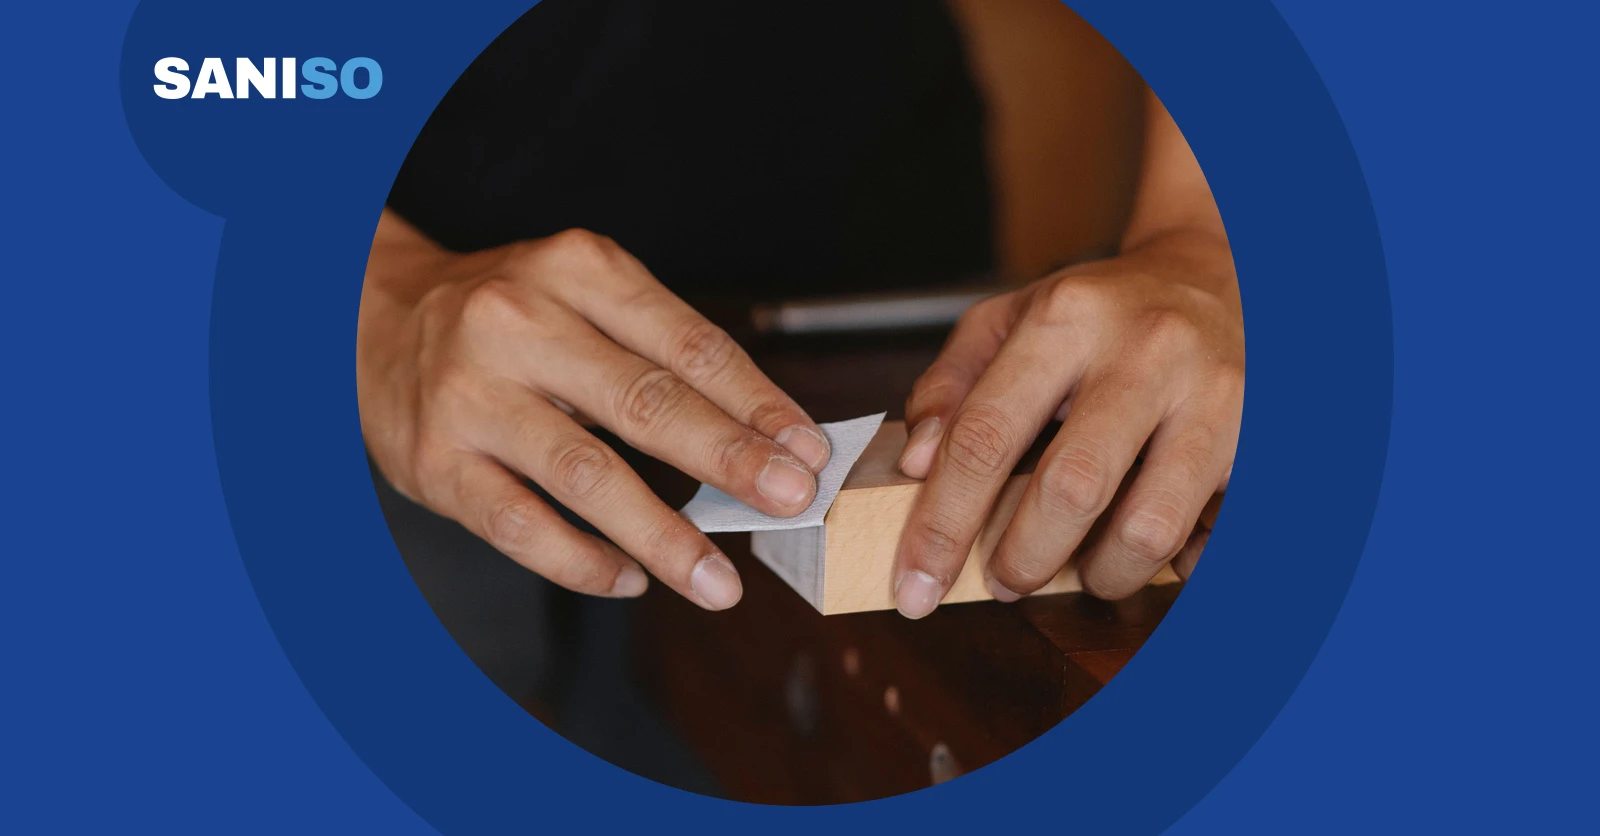
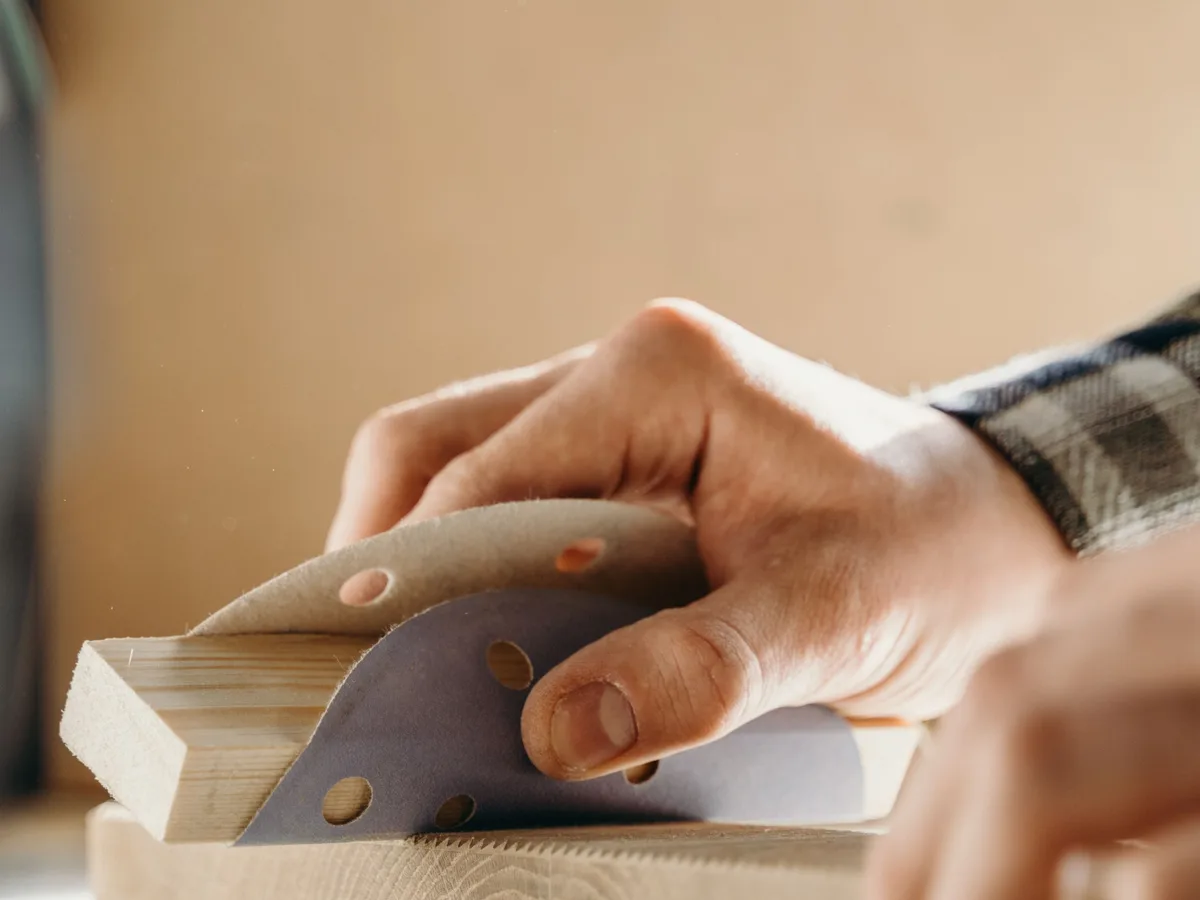
- Sanding block: a block with an abrasive layer on all sides. It flexes slightly and sits well in the hand. Ideal for mouldings, frames and corners. With a bevelled sanding block grit 120 you get into corners and rebates more easily.
- Sandpaper on a roll: with a sandpaper roll grit 120 you cut the length you need yourself, for instance to wrap around your own wooden block. That keeps the paper flat so you do not sand hollows into the wood.
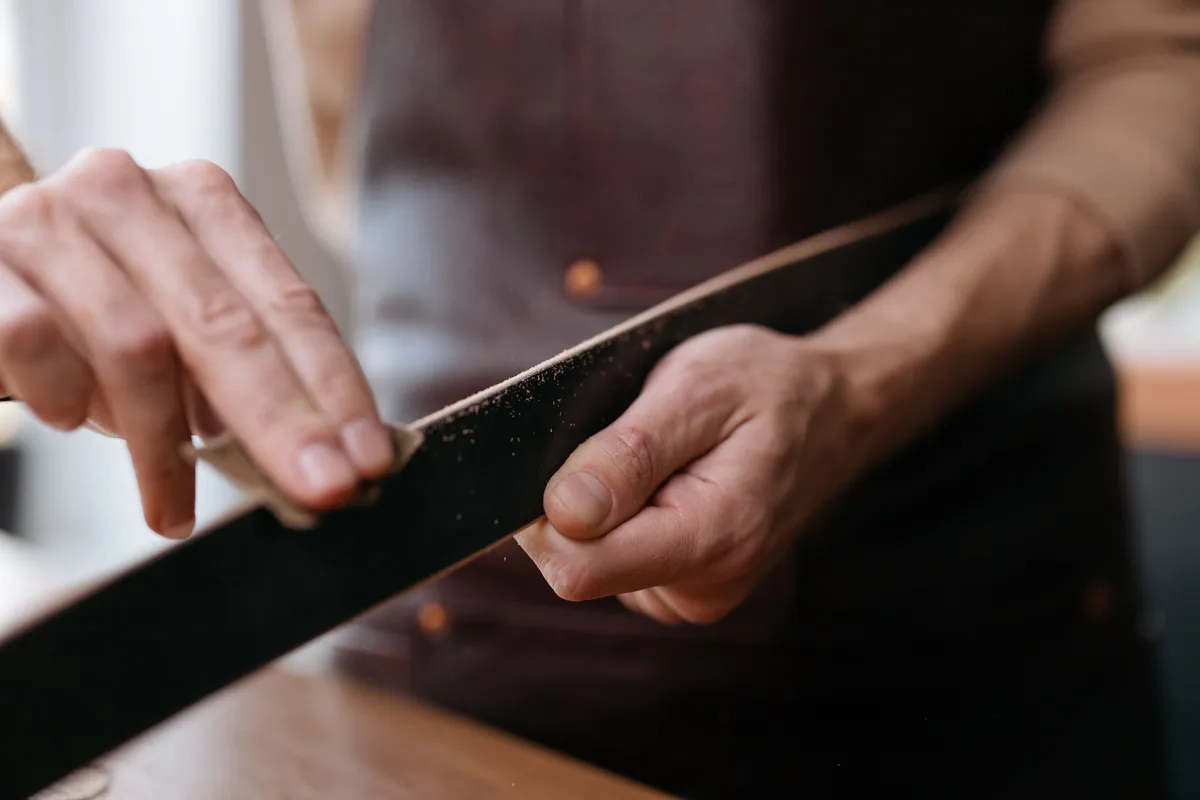
- Abrasive cloth: a sturdy textile backing that tears less easily than paper. Useful on wood and metal and for profiles where you fold the cloth around an edge.
- Abrasive mesh: an open mesh structure that clogs less quickly. The abrasive mesh grit 120 fits a sanding float with clamping screws and works well on filler and plasterboard.

By hand or by machine?
For small areas, profiles and the final fine sanding, sanding by hand is often best: you can feel what you are doing. On larger surfaces a machine saves a lot of time.
- Random orbital sander: for doors, table tops and large timber surfaces. Use a random orbital sander with a sanding disc such as a self-adhesive 125 mm sanding disc grit 120 or a 125 mm mesh sanding disc grit 180. When buying, check that the hole pattern of the disc matches the pad so that the dust extraction works.
- Delta sander: the triangular pad reaches into corners. A cordless delta sander is handy for window frames and stairs.
- Drywall sander: for large plasterboard walls and ceilings. A drywall sander with dust extraction works faster and with less dust than sanding by hand. For smaller walls a 400 mm sanding float is a good alternative.
Read more about finishing plasterboard in our blog on finishing a plasterboard wall with joint tape and filler.
Which abrasive for which job?
- Bare wooden door or board: grit 80, then 120 and possibly 180 for lacquer. Also read our blog on painting a door.
- Keying existing lacquer: grit 120 to 180, just removing the gloss, not down to the wood.
- Between two coats of lacquer: grit 220 to 240, lightly and with little pressure.
- Filler: grit 120 with a sanding block or sanding float, then remove the dust. Read more about putty knives and sanding tools in our blog on putty knives, sanding tools and scrapers.
- Plasterboard and joints: abrasive mesh or a drywall sander, carefully so you do not damage the paper face of the board.
- Metal and rust: abrasive cloth in grit 80 to 120.
How to sand better
- Clean and degrease the surface first, otherwise the abrasive will clog.
- Always sand wood along the grain.
- Let the abrasive do the work: too much pressure causes scratches and wears the paper faster.
- Tap or vacuum the abrasive clean in between, and replace it when it stops cutting.
- After each grit step, remove the dust with a construction vacuum cleaner so loose grains do not scratch during the next step.
- Fill small holes first with a putty knife with aluminium blade and only sand once the filler is completely dry.

Working safely
Sanding dust is fine and gets deep into your lungs. Especially with old paint layers, MDF and filler, good protection is needed.
- Wear a FFP2 dust mask when sanding. With a lot of dust and machine sanding, a mask with a good seal is particularly important.
- Protect your eyes with safety goggles, especially when working overhead.
- Wear work gloves with nitrile coating against splinters and abrasions.
- Use earmuffs during prolonged machine sanding.
- Vacuum dust instead of sweeping or blowing it away, and ventilate the room.
⚠️ Homes built before around 1960 may contain lead-based paint. Never dry-sand it and have it tested first if in doubt. If you suspect asbestos-containing material, stop and call in a certified company.
When to call a professional?
You can easily sand a few doors or a window frame yourself. For complete stairwells, a lot of lacquer work, old paint layers or a whole floor of plasterboard, a professional painter or finisher is never unnecessary. A professional knows exactly which grit steps go with which paint and delivers a crisp result, with the right dust extraction and protection.
Common mistakes
- Starting too coarse on lacquer, causing deep scratches.
- Skipping grit steps.
- Sanding a flat surface with just your fingers, without a block or float.
- Leaving dust behind before painting.
- Not wearing a dust mask.
Frequently asked questions
What does P120 or G120 mean?
Both indicate the grit. The higher the number, the finer the abrasive.
Can I clean a sanding block?
Tap it out or vacuum it clean in between. Whether a block may also be rinsed with water is stated on the packaging; let it dry well afterwards.
Which grit do I need for wall paint?
For keying an existing wall, grit 120 is usually enough. Remove the dust afterwards before you paint.
Where can you find everything for this job?
At Saniso, the online store for DIYers and professionals, you will find tools, materials and personal protective equipment for your job.
- Browse our construction tools and our workwear and safety.
- Create a customer account and order easily.
- Working on a bigger project or want to hand over the job? Request a project quote.
- Book a showroom visit, at least 24 hours in advance.
- Not sure which material suits your job? Get in touch with us.
Read also: How to paint a door · How to finish a plasterboard wall with joint tape and filler
In doubt about the approach? Feel free to call in a professional.
Saniso – Build your home with Saniso.
Share: