






Grout in one even colour across the whole wall or floor: that is what you want. In this blog we explain how the hybrid R...

Your online building supplies store for building and renovation
 English
✓
English
✓
 Nederlands
✓
Nederlands
✓
Anyone who paints, fills or works with wood sands. Yet many people hesitate when choosing sandpaper: which grit, which size, paper or cloth, by hand or by machine? The differences are big. The right choice means faster sanding, a flatter result and better paint adhesion. The wrong choice leaves scratches you will see through the lacquer for years. In this buying guide you will read what to look for.
The grit is stated on every abrasive, often preceded by a P or G. The lower the number, the coarser the abrasive.
💡 Never skip more than one or two grit steps. Going straight from grit 60 to 220 takes longer, because the fine grit does not quickly remove the deep scratches of the coarse one.
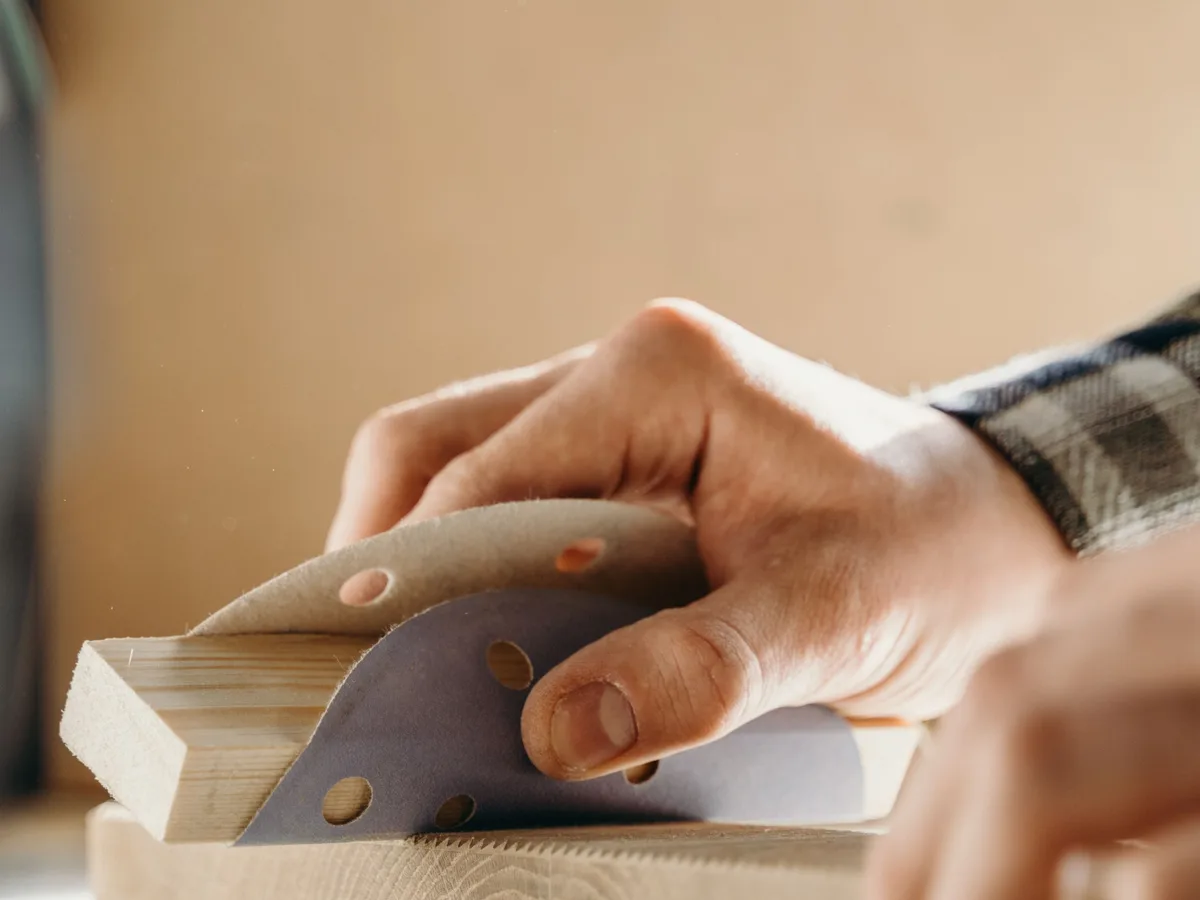
For small areas, profiles and the final fine sanding, sanding by hand is often best: you can feel what you are doing. On larger surfaces a machine saves a lot of time.
Read more about finishing plasterboard in our blog on finishing a plasterboard wall with joint tape and filler.
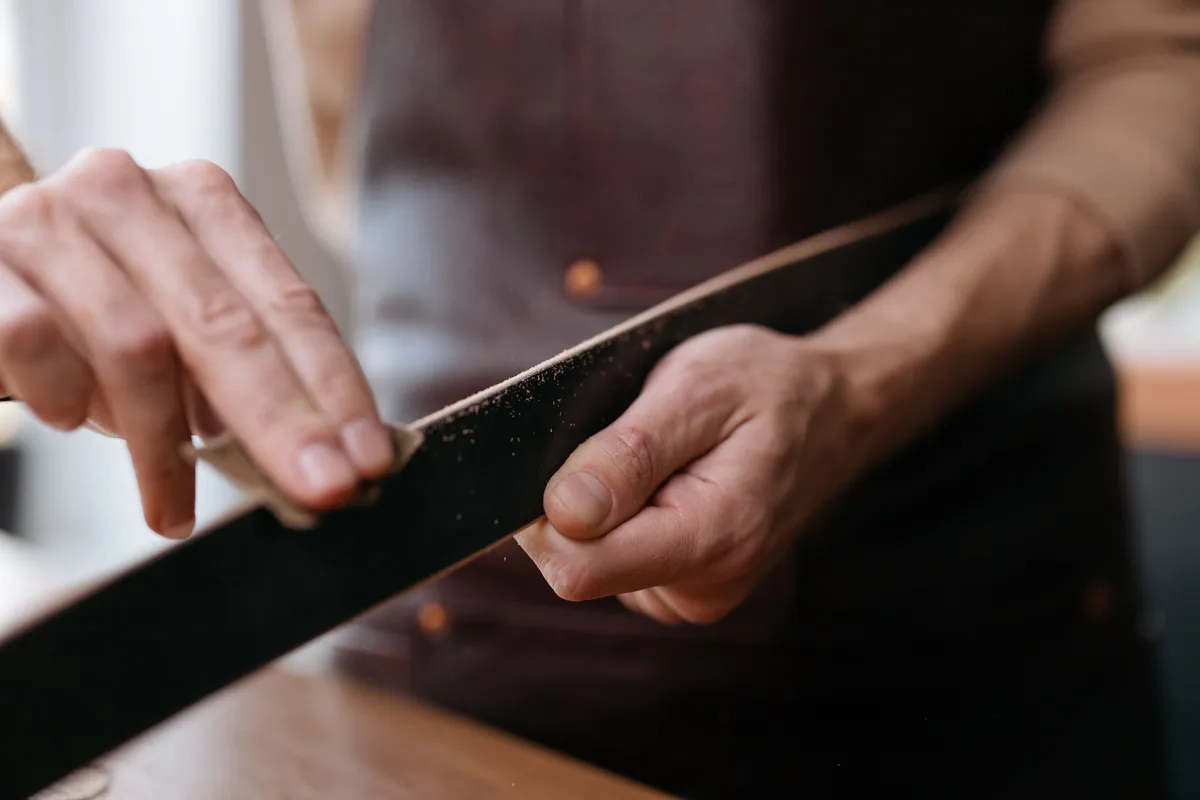
Sanding dust is fine and gets deep into your lungs. Especially with old paint layers, MDF and filler, good protection is needed.
⚠️ Homes built before around 1960 may contain lead-based paint. Never dry-sand it and have it tested first if in doubt. If you suspect asbestos-containing material, stop and call in a certified company.
You can easily sand a few doors or a window frame yourself. For complete stairwells, a lot of lacquer work, old paint layers or a whole floor of plasterboard, a professional painter or finisher is never unnecessary. A professional knows exactly which grit steps go with which paint and delivers a crisp result, with the right dust extraction and protection.
Both indicate the grit. The higher the number, the finer the abrasive.
Tap it out or vacuum it clean in between. Whether a block may also be rinsed with water is stated on the packaging; let it dry well afterwards.
For keying an existing wall, grit 120 is usually enough. Remove the dust afterwards before you paint.
At Saniso, the online store for DIYers and professionals, you will find tools, materials and personal protective equipment for your job.
Read also: How to paint a door · How to finish a plasterboard wall with joint tape and filler
In doubt about the approach? Feel free to call in a professional.
Saniso – Build your home with Saniso.
Share:
Grout in one even colour across the whole wall or floor: that is what you want. In this blog we explain how the hybrid R...

Learn how to level a floor yourself: prepare the subfloor, prime, mix and pour self-levelling compound. Step-by-step wit...

Installing a kitchen: do it yourself or hire a professional? Read what is involved, which parts you can do yourself and...
Cersanit Ares cement-look tiles for bathroom, kitchen and living room: 30×30 to 60×120, matt or satin, plus mosaic, skir...