






Grout in one even colour across the whole wall or floor: that is what you want. In this blog we explain how the hybrid R...

Your online building supplies store for building and renovation
 English
✓
English
✓
 Nederlands
✓
Nederlands
✓
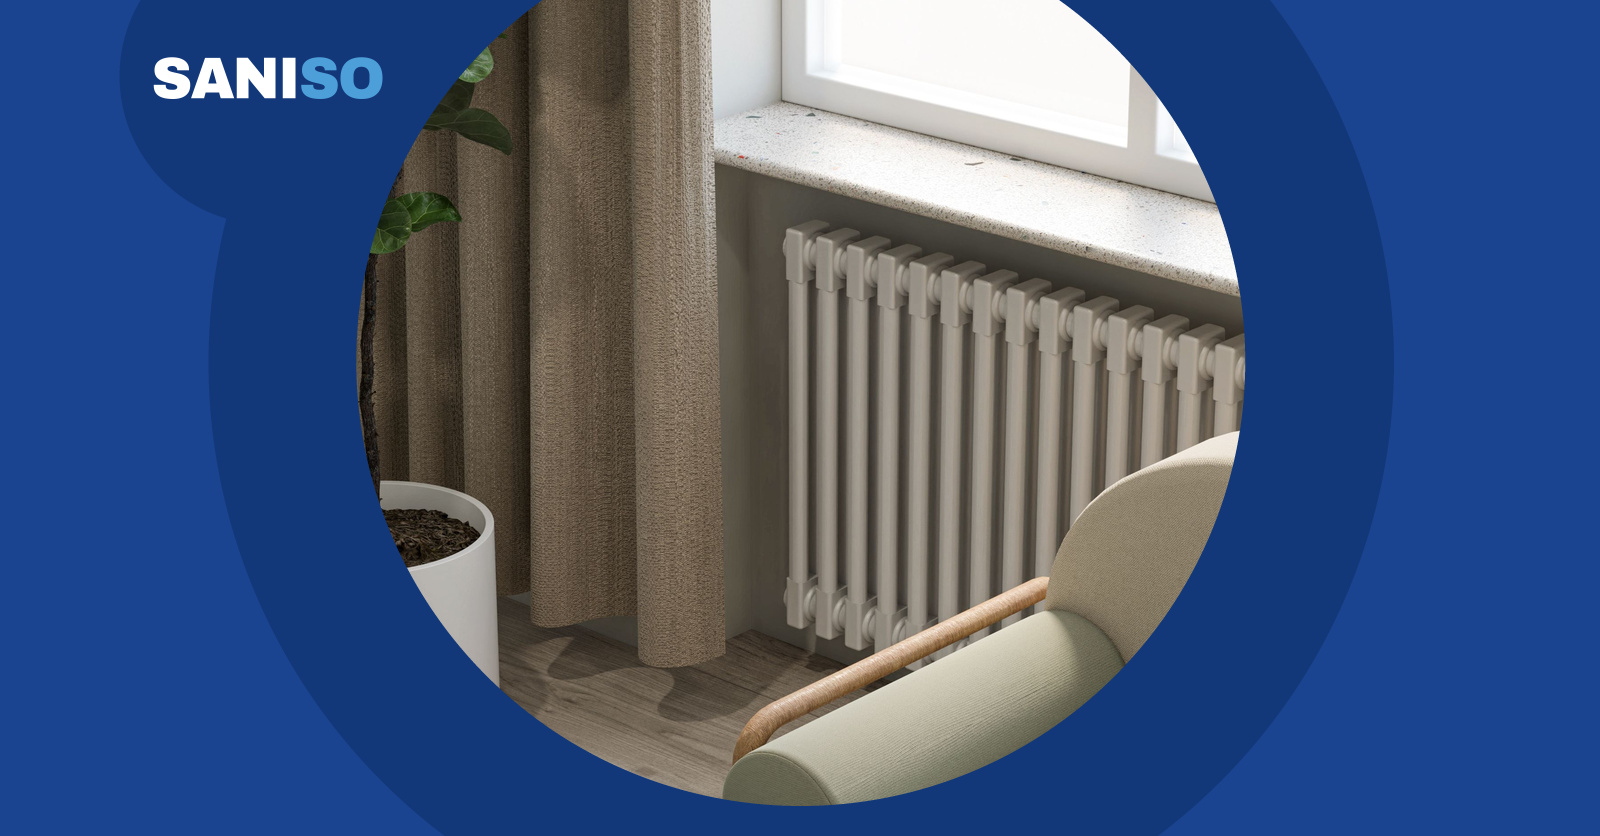
A radiator stands out more than you might think. After years, the paint has often yellowed, there are scratches or small rust spots and the colour no longer matches the wall. A fresh coat of paint makes a big difference. Painting a radiator does take patience: the shape is awkward, the paint has to withstand heat and it is best to work in thin coats. In this blog you will read step by step how to go about it.
👷 Calling in a professional is never superfluous. If you want to take the radiator off the wall to paint it all round, or if it needs to be replaced or moved, have it done by a qualified heating engineer. Removing a radiator means the heating system has to be isolated, drained and then refilled and bled.
A radiator gets hot. So use a paint that is suitable for radiators and heating pipes, such as a special radiator enamel. Ordinary wall paint or a lacquer that cannot withstand heat will yellow or blister. Check the label of the paint to see whether it is suitable for metal and for the temperature of your radiator, and whether a primer is needed. Bare spots and rust spots are usually treated first with a suitable metal primer.
💡 Preferably choose a colour that matches the wall. A radiator in the same colour as the wall stands out the least.
Read more about choosing the right rollers and brushes in our blog on paint rollers and brushes.
Never paint a warm radiator. The paint then dries too quickly, gets streaks and does not adhere well. Close the thermostat and the radiator valve and wait until the radiator is completely cold. Also leave it off for at least a day after painting, or as long as the paint label states.
⚠️ If your house was built before 1994 and you have doubts about old paint layers or asbestos-containing material behind or near the radiator, do not sand or scrape. Have it tested first by a specialist company.
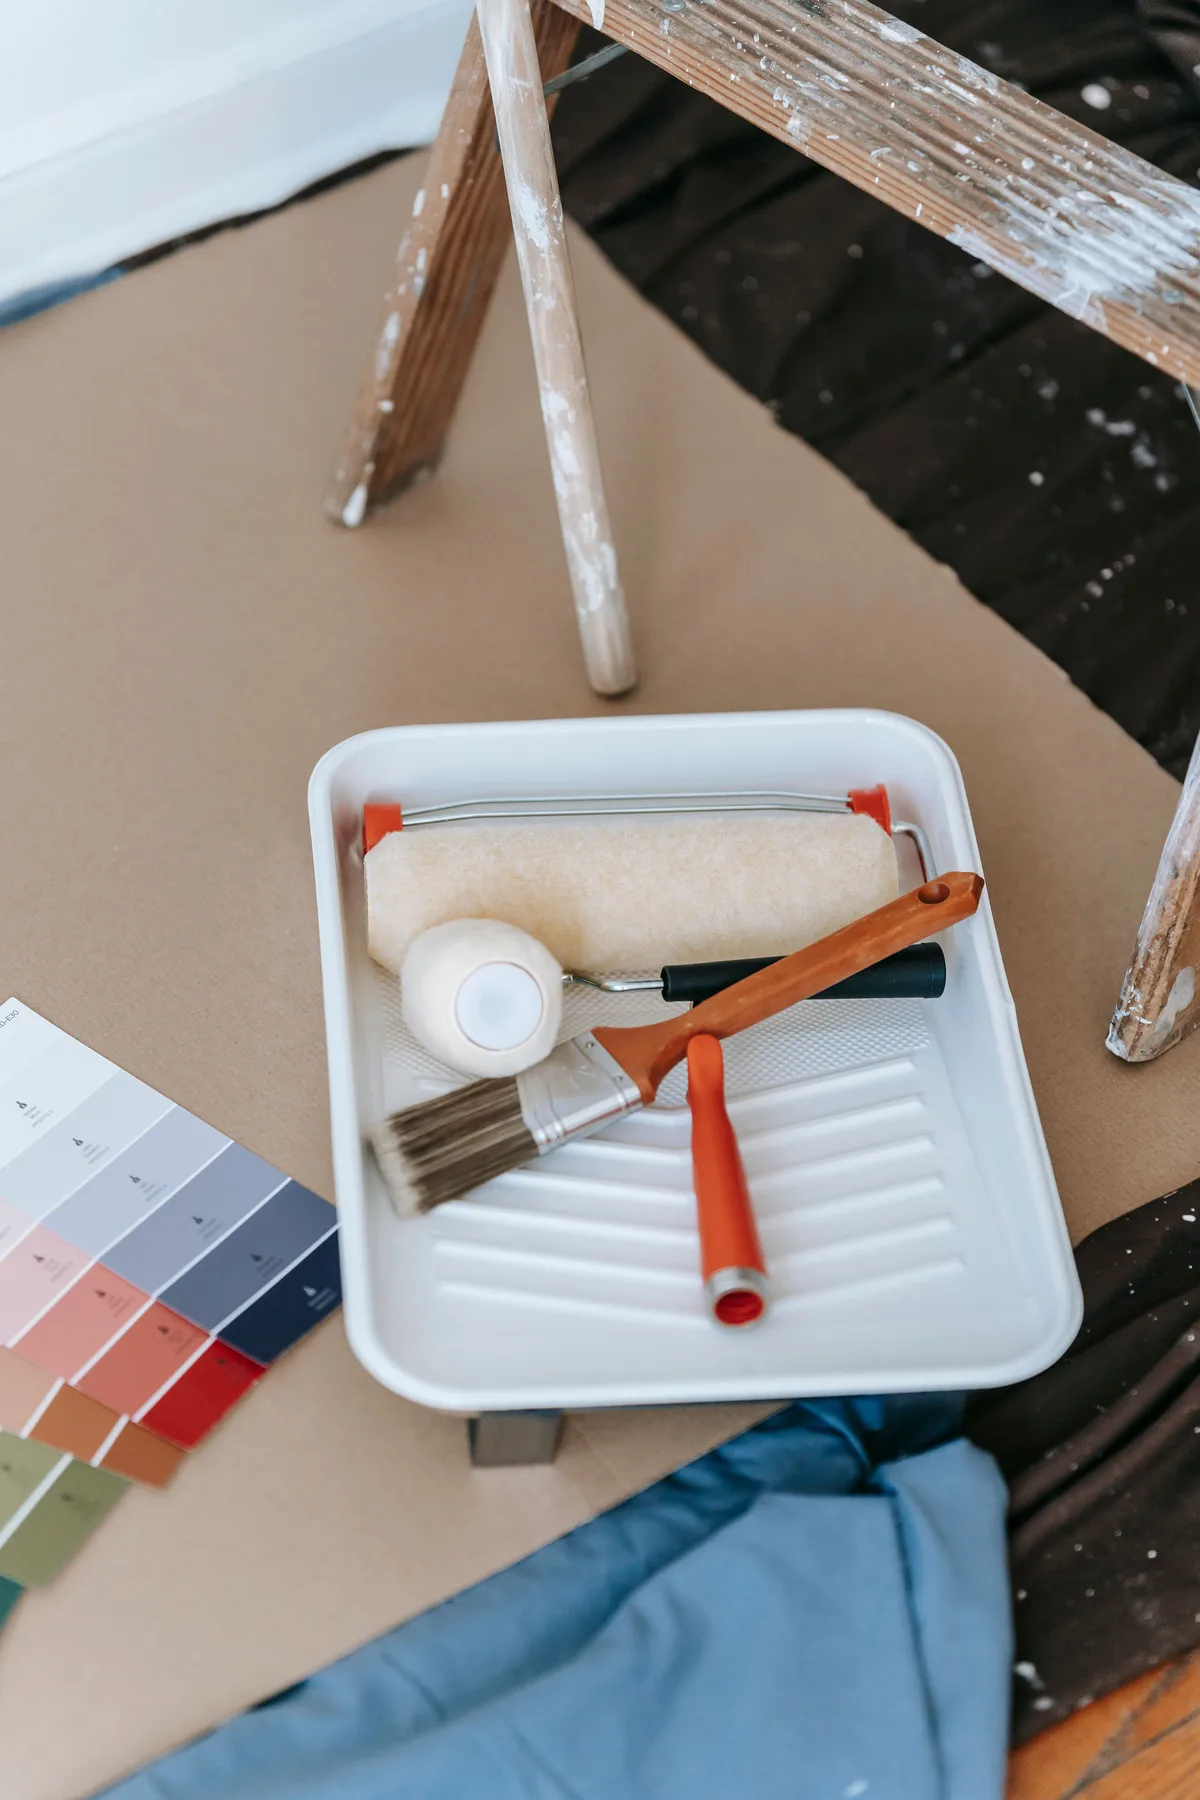
Lay masking paper on the floor under and in front of the radiator and tape it down. Slide a piece of cardboard or film between the radiator and the wall so you do not touch the wall when working on the back. Mask the radiator valve, the thermostatic head and the brackets. Read how to mask neatly in our blog on masking tape and protective film.
Dust and grease often sit deep between the columns. Vacuum or brush away the coarse dust first. Then wash the radiator with lukewarm water and a degreasing cleaner. Rinse with clean water and let everything dry thoroughly.
Brush away rust spots and loose paint with the wire brush until you reach a firm surface. Then lightly sand the whole radiator with grit 120 so the new paint adheres well. You do not need to remove the old paint completely, just make it dull. Wipe off the sanding dust with a damp cloth. Touch up bare spots and rust spots with a suitable metal primer. Read more about filling and sanding in our blog on putty knives, sanding tools and scrapers.
💡 Make sure there is good ventilation while painting and drying. Open a window, but keep the room dust-free.
Remove the tape while the last coat is not yet completely hard, for a clean edge. Let the paint cure fully before switching the heating back on. Turn the heating to a low setting the first time; new paint sometimes smells a little the first time it warms up.
Wear gloves and safety goggles when degreasing, brushing and sanding, and an FFP2 mask against the dust from old paint. Work in a well-ventilated room and keep children and pets away while the paint is still wet. Always leave removing, moving or replacing a radiator to a qualified heating engineer.
Usually not. With a radiator brush with a bent handle you can reach between and behind the columns. If you do want to remove the radiator, have it done by a qualified heating engineer.
At least until the paint is properly dry, and preferably as long as the paint manufacturer states. Often that is a day or longer.
That is possible with a suitable spray can or spray equipment, but you then need to cover the surroundings even more carefully. With a large number of radiators, a painter can do this quickly and neatly.
If there is a lot of rust, or you see moisture or drips at the valve or the connections, do not paint. Have the radiator checked first by a qualified heating engineer.
Read also: How to paint a ceiling and How to paint a door
Read also: How to protect your floor during renovation
Read also: How to remove rust
At Saniso, the online store for DIYers and professionals, you will find tools, materials and personal protective equipment for your job.
In doubt about the approach? Feel free to call in a professional.
Saniso – Build your home with Saniso.
Read also: How to paint a wall: step-by-step DIY guide
Share:
Grout in one even colour across the whole wall or floor: that is what you want. In this blog we explain how the hybrid R...

Learn how to level a floor yourself: prepare the subfloor, prime, mix and pour self-levelling compound. Step-by-step wit...

Installing a kitchen: do it yourself or hire a professional? Read what is involved, which parts you can do yourself and...
Cersanit Ares cement-look tiles for bathroom, kitchen and living room: 30×30 to 60×120, matt or satin, plus mosaic, skir...