




Does your shower sputter or spray sideways? Read how to descale a shower head, clean the jets and check whether limescal...

Your online building supplies store for building and renovation
 English
✓
 Nederlands
✓
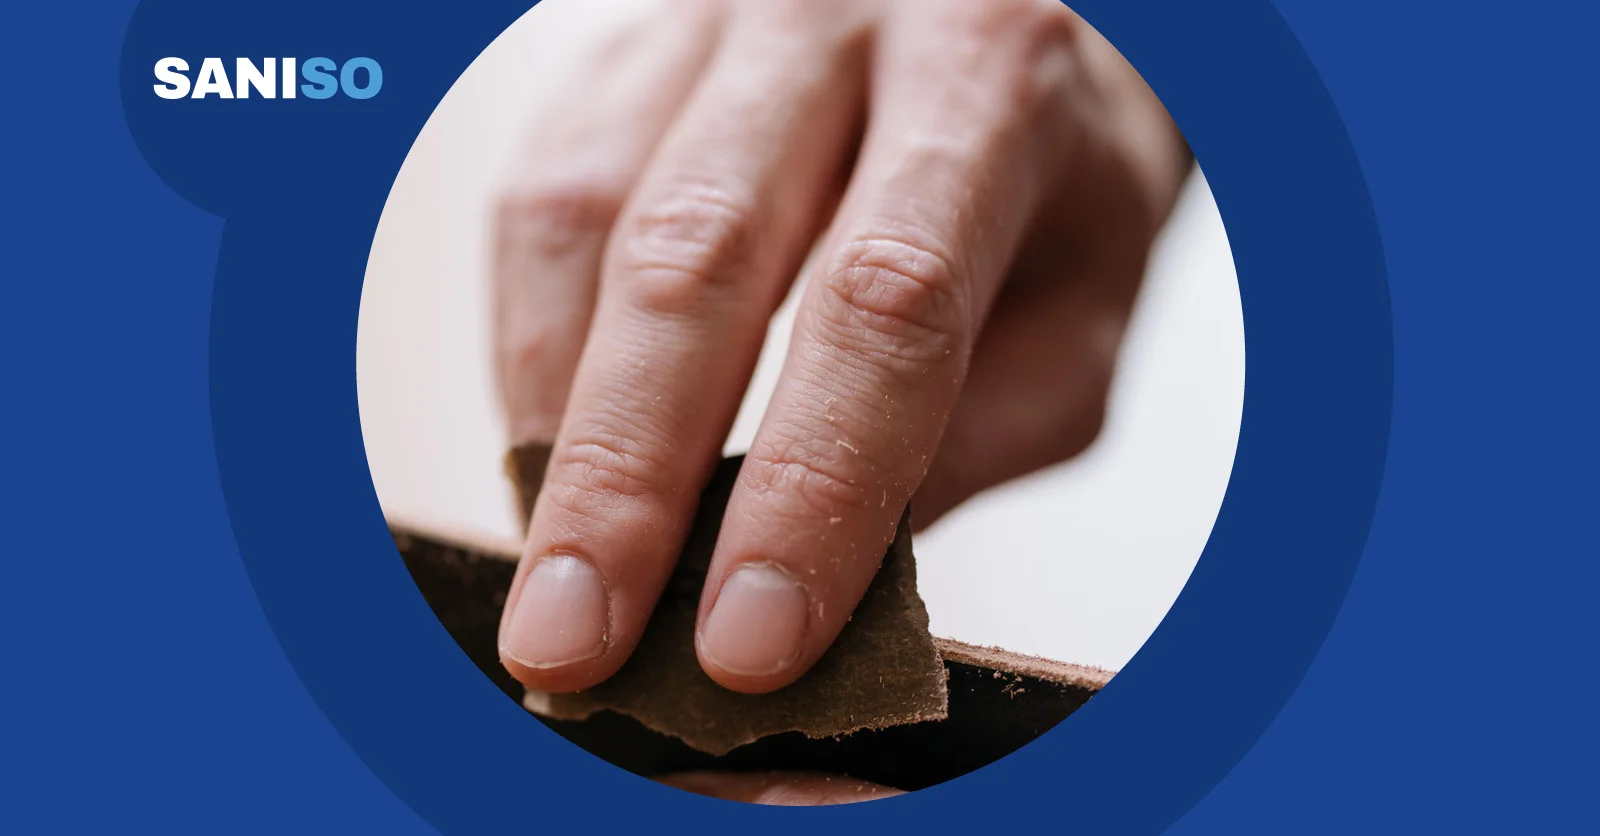
Short answer: only sand between varnish coats when the coat is dry enough, with a fine grit and only to make it matt and flat. The aim is adhesion and a calm surface, not taking the coat off again. After that all dust must go; dust under the next coat can be seen and felt. On edges and corners you work by hand; on flat parts a block can spread pressure evenly.
👷 Calling in a professional is never unnecessary. For a staircase, large furniture or a varnish coat that keeps reacting to the previous one, a painter or cabinet maker remains the safest choice. Have unknown old coats assessed before sanding them fine.
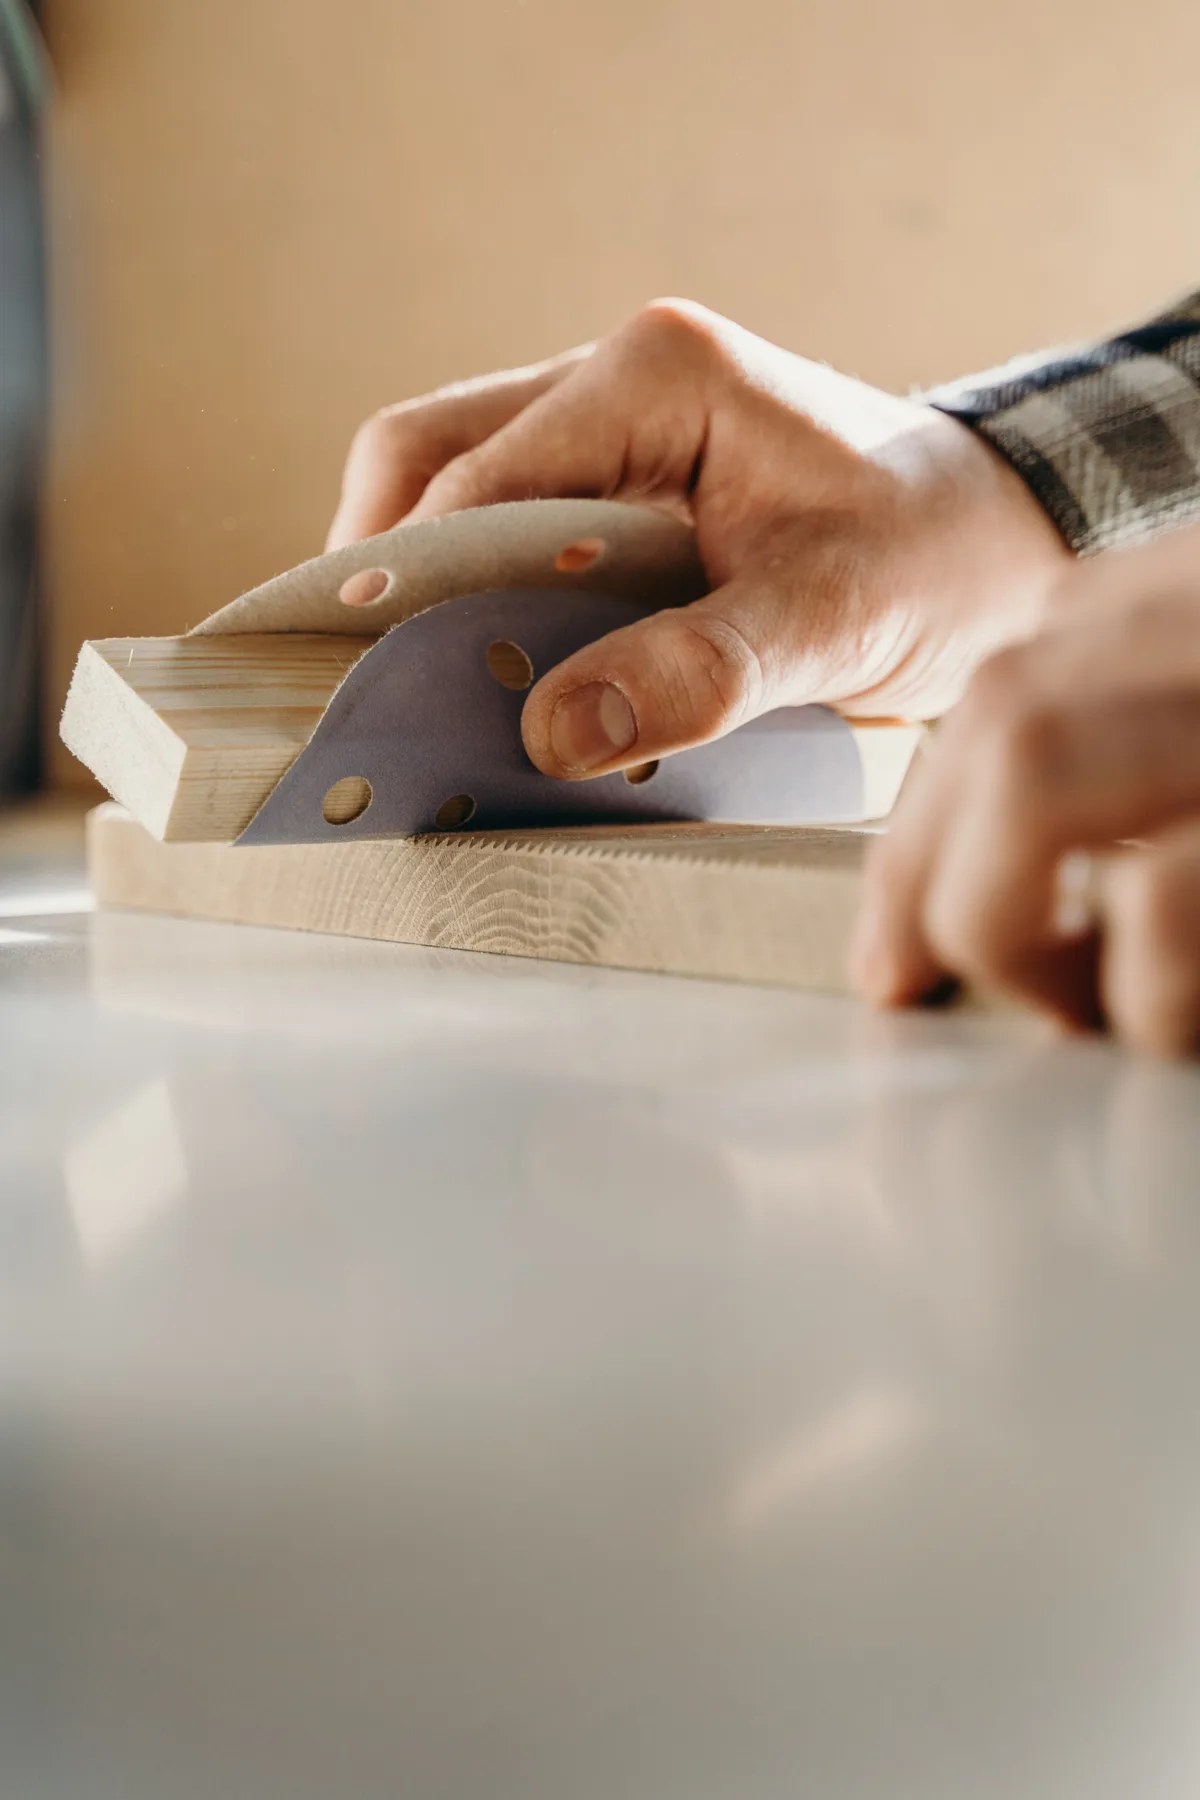
Wear FFP2 dust mask and safety goggles for sanding dust and work gloves with nitrile coating against splinters and paint. Work with ventilation and keep dust away from a pilot flame or sparks. Do not dry-sand old unknown varnish without advice; a professional assesses that first.
Wood fibres can rise and dust can fall into the wet coat. Light intercoat sanding and good dust removal make the second coat smoother.
Only if the varnish system allows it. Water can damage a coat that is not yet hard or give a haze. Follow the varnish directions and test on a test piece.
Intercoat sanding is making lightly matt, not starting again. Fine, dry and dust-free gives the best second coat.
Read also: How to paint a door: step-by-step DIY guide and How to paint a wall: DIY step-by-step guide
At Saniso, the online store for DIYers and professionals, you will find tools, materials and personal protective equipment for your job.
In doubt about the approach? Feel free to call in a professional.
Saniso – Build your home with Saniso.
Share:
Does your shower sputter or spray sideways? Read how to descale a shower head, clean the jets and check whether limescal...
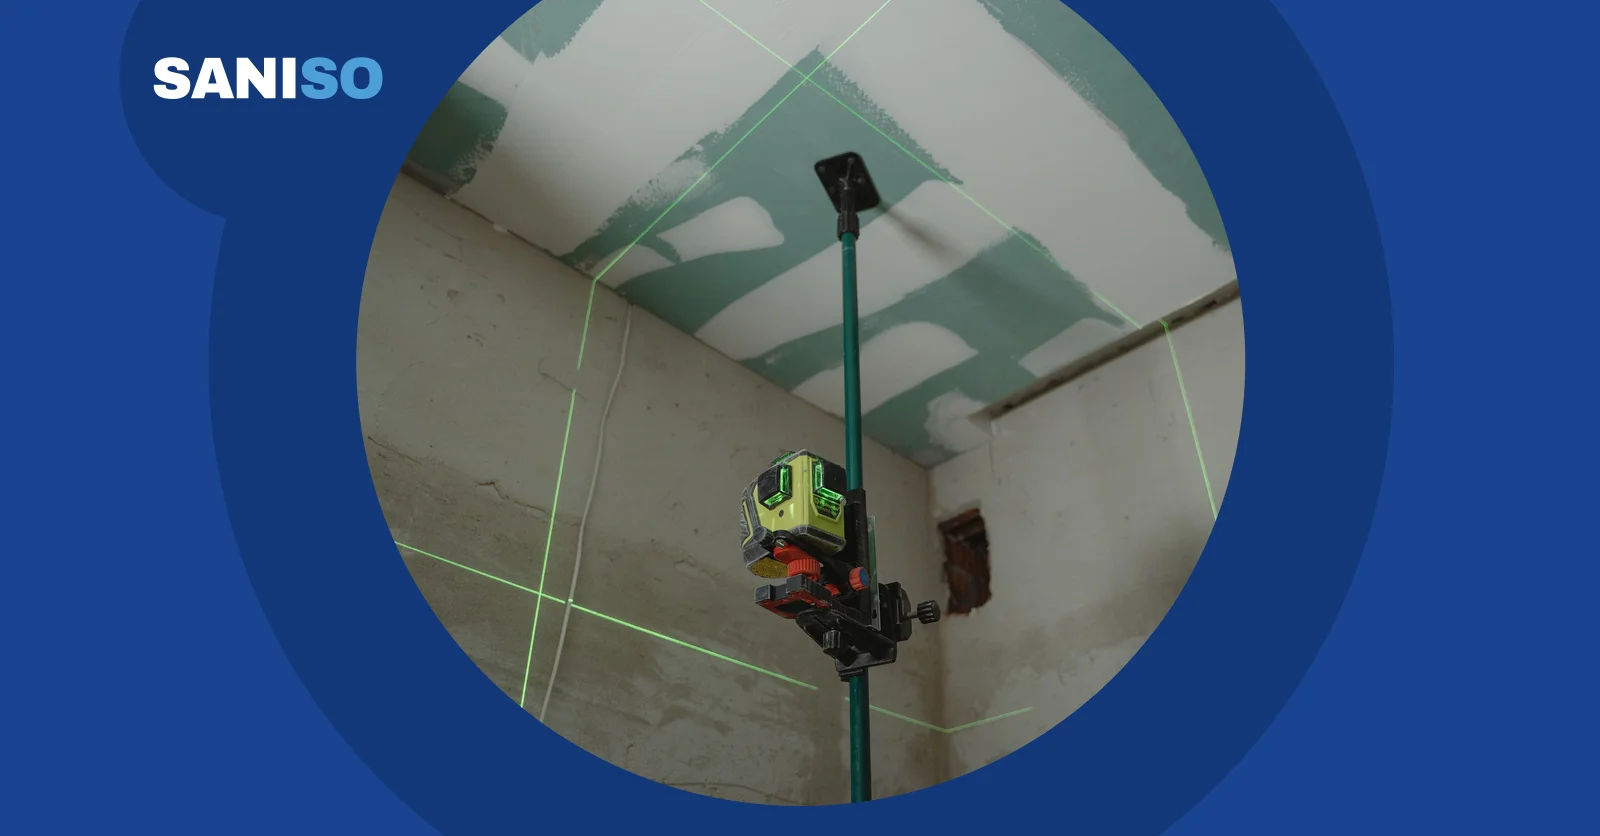
A laser sets out a whole line at once, a spirit level checks tile by tile. Read when to use each and how to avoid crooke...

Want to wallpaper a wall yourself? This guide shows you how to prepare the surface, mark a plumb line, paste non-woven o...

Cold hands and wet feet make outdoor work unsafe. Read how layers, dry socks and suitable footwear keep you warm and sha...