


Does your shower sputter or spray sideways? Read how to descale a shower head, clean the jets and check whether limescal...

Your online building supplies store for building and renovation
 English
✓
 Nederlands
✓
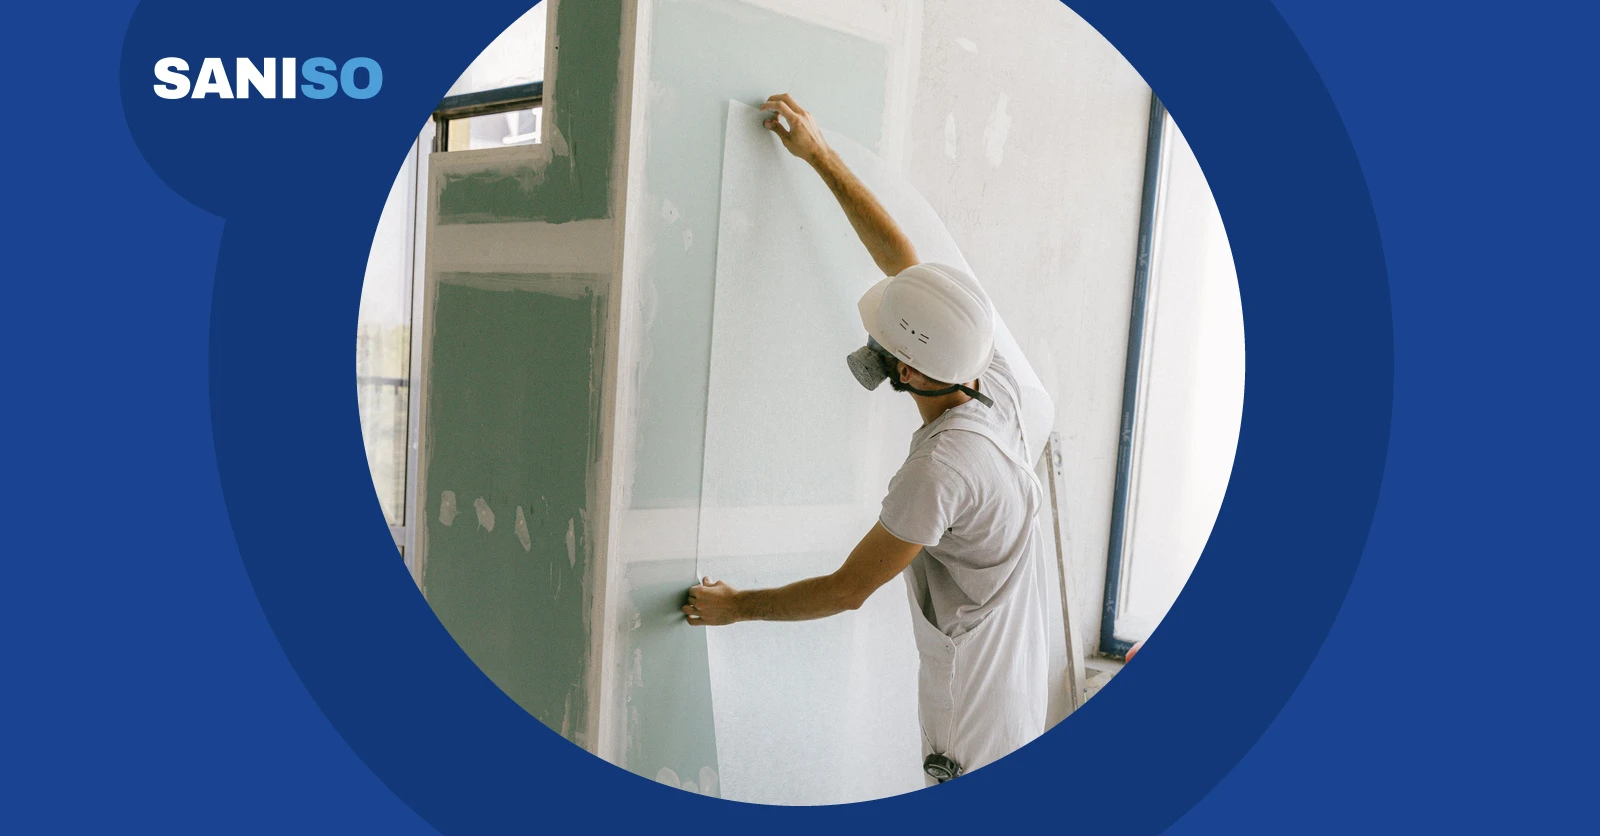
To hang wallpaper, prepare a smooth, clean and dry wall, apply paste to the wall for non-woven wallpaper or to the paper for paper wallpaper, and hang the first strip exactly plumb. Then press each strip on without air bubbles and trim neatly. Below we explain each step.
👷 Calling in a professional is never unnecessary. Is it a high stairwell, a poor or loose surface, damp or mould, or a lot of walls at once? Then call in a paperhanger or plasterer. They see straight away what the surface needs and work faster and more safely.
Most types of wallpaper fall into two groups. With non-woven wallpaper you apply the paste to the wall and hang the dry wallpaper straight into the wet paste. No soaking is needed. Non-woven wallpaper hardly shrinks or stretches, so the seams are easier to match neatly.
With paper wallpaper you apply the paste to the back of the wallpaper. You then fold the strip loosely and let it soak as stated on the packaging. Only then do you hang it. Vinyl and other special wallpapers often have their own method. If in doubt, always follow the manufacturer's instructions.
Wear work gloves with nitrile coating against paste, water and sharp blades, and safety goggles when working overhead, scraping and sanding. Use knee pads when you work low down at the skirting and an FFP2 dust mask when sanding filler and old plaster. Sturdy work trousers and safety shoes with a non-slip sole make the work safer, especially on the stepladder. Choose your own size.
A neat wallpapering job starts with the surface. Wallpaper hides very little: every bump, grain or old seam will show later. The wall must be clean, dry, flat and sound.
Always remove old wallpaper first. New wallpaper over old wallpaper adheres poorly and may come loose later. Wet paper wallpaper with warm water and a sponge or roller, let it soak briefly and scrape it off with the paint scraper. With vinyl and non-woven wallpaper you can often peel off the top layer dry first. Work carefully so you do not damage the plaster. Read more about scrapers and filling knives in our blog on putty knives, sanding tools and scrapers.
⚠️ Do you live in a house built before 1994 and are you unsure about decorative plaster or an old sprayed layer under the wallpaper? Then stop scraping or sanding and have it tested first. Removing asbestos is a job for a certified company.
Fill nail holes, plug holes and small cracks with lightweight filler (Speedline Filler Light) and the 100 mm filling knife. Let the filler dry as stated on the packaging and then sand it flat with the grit 120 sanding block. Wear your dust mask and safety goggles while you do this. Read which grit to choose in our blog on buying sanding blocks and sandpaper. Is the plaster loose or hollow, or are there large holes? Then plastering is needed first. Read our blog on plastering a wall or call in a plasterer.
Brush or vacuum the dust off the wall. Prime absorbent surfaces, such as new plaster, plasterboard or sanded spots, with deep-penetrating primer. This stops the paste from drying out too quickly and lets you slide the strips into place more easily. Let the primer dry as stated on the packaging before you start wallpapering.
Never wallpaper a damp wall or over mould. Find the cause of the damp first. Tackle small mould spots as described in our blog on removing mould from walls. For recurring damp or large patches, call in a professional.
Around switches and sockets you only work on the cover plates. First switch off the circuit in the fuse box that supplies the switches and sockets on this wall. Check that the power is really off, for example with a lamp plugged into that socket. Then use the insulated screwdriver set to unscrew only the cover plates. Leave the wall boxes and wiring alone.
⚠️ Do you see loose wires, a loose wall box or damage to the electrics? Stop and have a registered electrician take a look. Work on the electrical installation is not a DIY job.
Lay strong protective foil on the floor and tape off skirting boards and frames with blue painter's tape. Do you still want to paint the ceiling or another wall? Do that before wallpapering, see our blog on painting a wall. Read more about masking and covering in our blog on masking tape and protective film.
Preferably work in pairs: one person measures, cuts and pastes, the other hangs and smooths. Make sure the room is well lit and free of draughts, bright sun or high heating, so the paste does not dry too quickly.
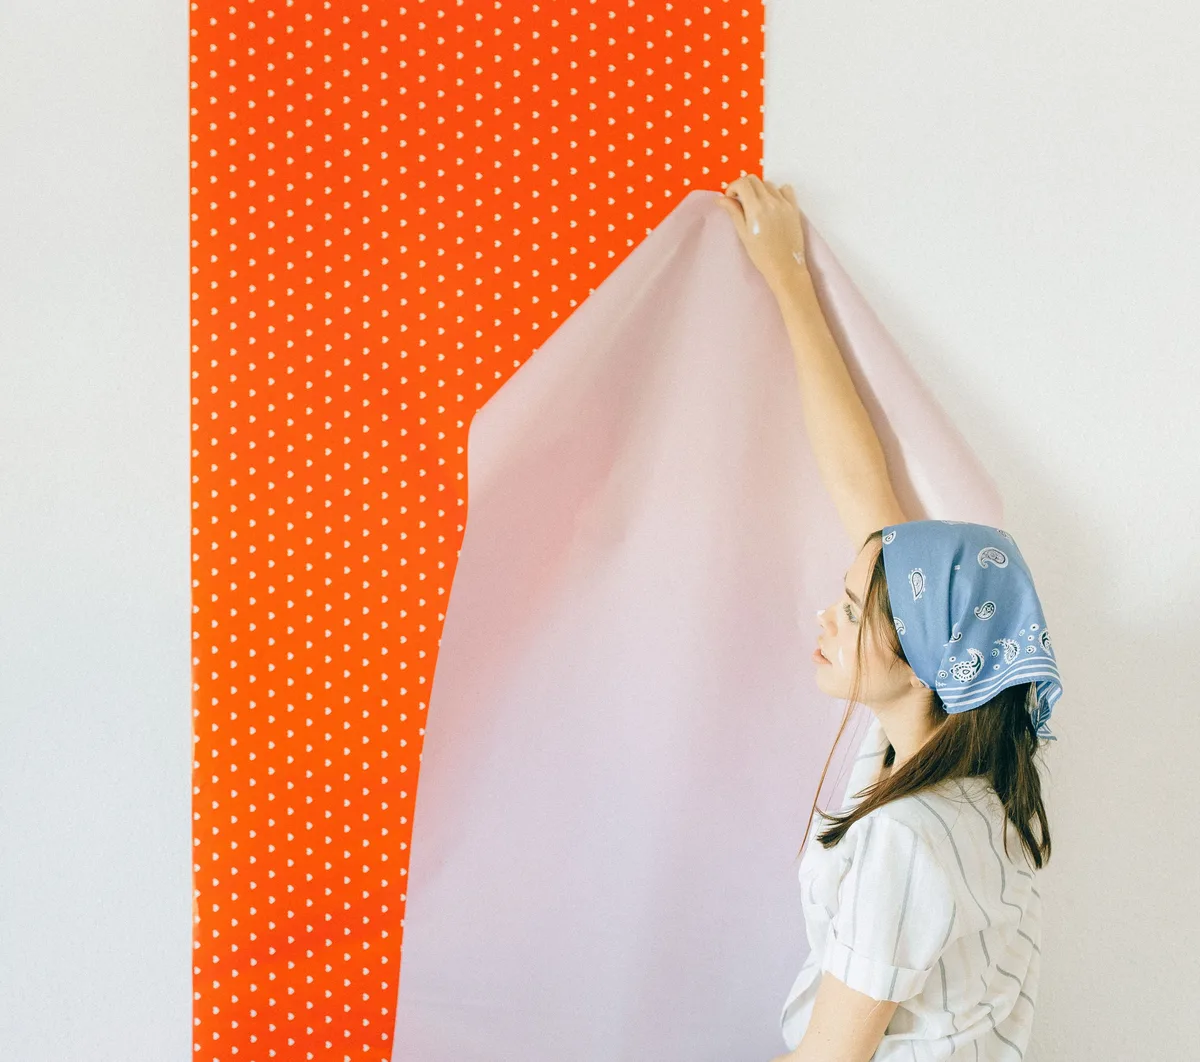
Read more about working safely in our blog on safe working on the construction site.
💡 Put trimmed offcuts straight into a rubbish bag. Wet strips on the floor are slippery and stick to your shoes.
👷 For a high stairwell, a void, a ceiling or many rooms at once, a professional is never unnecessary. A scaffold is often needed there, along with experience in handling long strips. A paperhanger works faster and more safely, and the result is neater.
That depends on the wallpaper. With non-woven wallpaper you apply the paste to the wall. With paper wallpaper you paste the back of the wallpaper and let it soak. The label or packaging tells you what applies to your wallpaper.
We advise against it. The wet paste can loosen the old layer, so everything comes away later. Remove old wallpaper and make the wall smooth, clean and dry.
Measure the width of the walls and the height. Work out how many strips you get from each roll: the roll length divided by the wall height plus extra length and pattern repeat. Always take an extra roll with the same batch number.
Yes, on absorbent surfaces such as new plaster, plasterboard and sanded spots. With deep-penetrating primer the paste dries out less quickly and the wallpaper adheres better. Follow the drying time on the packaging.
Smooth larger bubbles out to the side straight after hanging. Small blisters in fresh wallpaper often disappear as it dries. If a bubble remains after drying, prick it with a sharp blade and press it down.
Yes, if you only unscrew the cover plates after switching off the circuit in the fuse box. Leave wall boxes, wires and everything behind the cover plate alone; that is work for a registered electrician.
Read also: our blog on painting a wall, our blog on putty knives, sanding tools and scrapers and our blog on masking tape and protective film.
At Saniso, the online store for DIYers and professionals, you will find tools, materials and personal protective equipment for your job.
In doubt about the approach? Feel free to call in a professional.
Saniso – Build your home with Saniso.
Share:
Does your shower sputter or spray sideways? Read how to descale a shower head, clean the jets and check whether limescal...
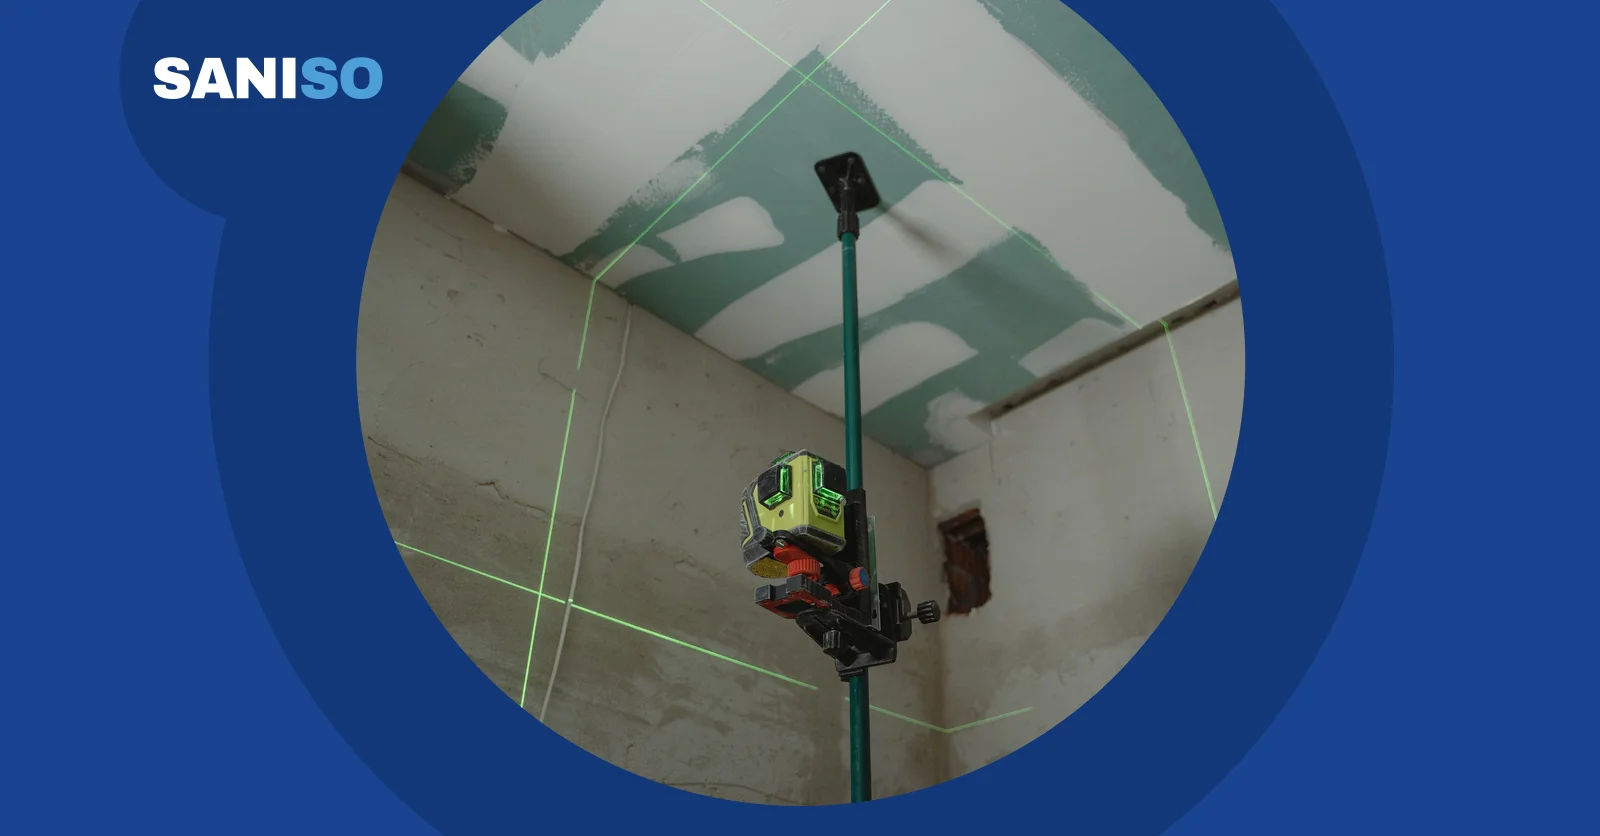
A laser sets out a whole line at once, a spirit level checks tile by tile. Read when to use each and how to avoid crooke...

Cold hands and wet feet make outdoor work unsafe. Read how layers, dry socks and suitable footwear keep you warm and sha...
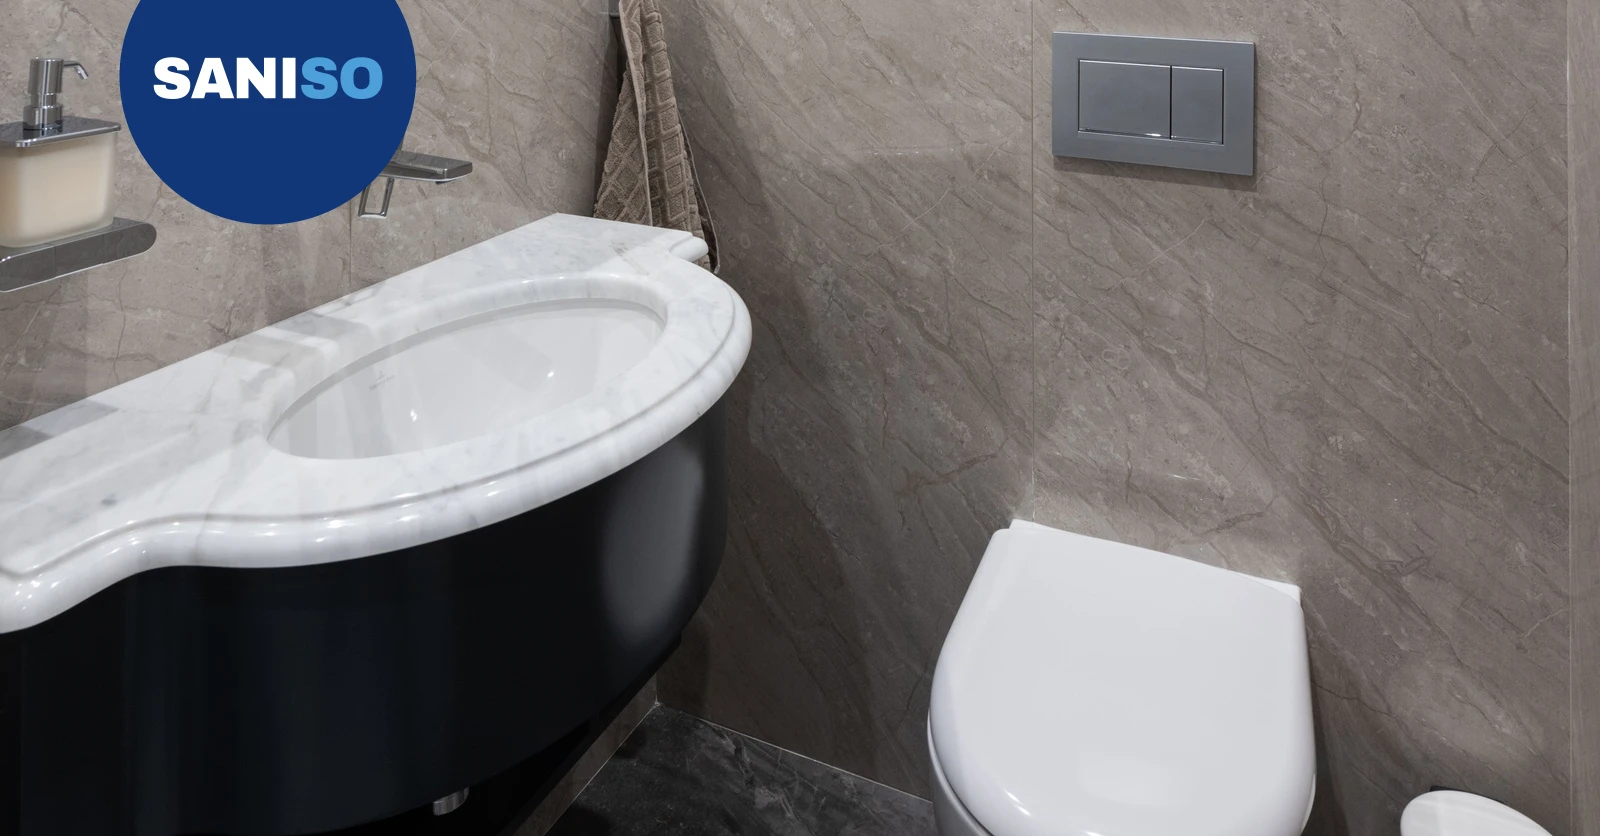
Does the water keep running after flushing? Check the flush plate and cistern first. Read what you can do yourself and w...