





Comparing LED bathroom mirrors before you buy? See how the Saniso+ mirror stacks up on dimming, sizing, and water resist...

Your online building supplies store for building and renovation
 English
✓
English
✓
 Nederlands
✓
Nederlands
✓
A glass shower enclosure looks beautiful, as long as the glass is clear. In large parts of the Netherlands the tap water is fairly hard. After every shower the water evaporates on the glass and leaves limescale and soap residue behind. First you see loose drip marks, then a grey haze and finally a hard white layer that normal cleaning no longer removes. In this blog you will read how to descale a shower enclosure step by step, what you need, how to work safely with descaler and which simple habits stop the limescale from coming back quickly.
👷 Calling in a professional is never superfluous. Is the enclosure loose, is water leaking along the profiles or the tray, or does the water drain away poorly? Then cleaning is not enough. An installer or bathroom specialist can find the cause and repair the enclosure or the drain properly.
Hard water contains a lot of dissolved minerals, mainly calcium and magnesium. When the water dries on the glass, those minerals stay behind. Soap residue, shampoo and body oils stick to that limescale, creating a sticky layer in which dirt easily clings again. The longer you wait, the harder the layer becomes. Regular light maintenance is therefore much easier than one big clean once a year.
Descalers are usually acidic. That is exactly why they dissolve limescale, but it also means you have to handle them with care.
⚠️ Acidic products can attack natural stone such as marble, travertine and limestone, as well as some coatings on glass or taps. If you are unsure which material you have, read the cleaner's label and test on a small spot first, or ask a professional for advice.
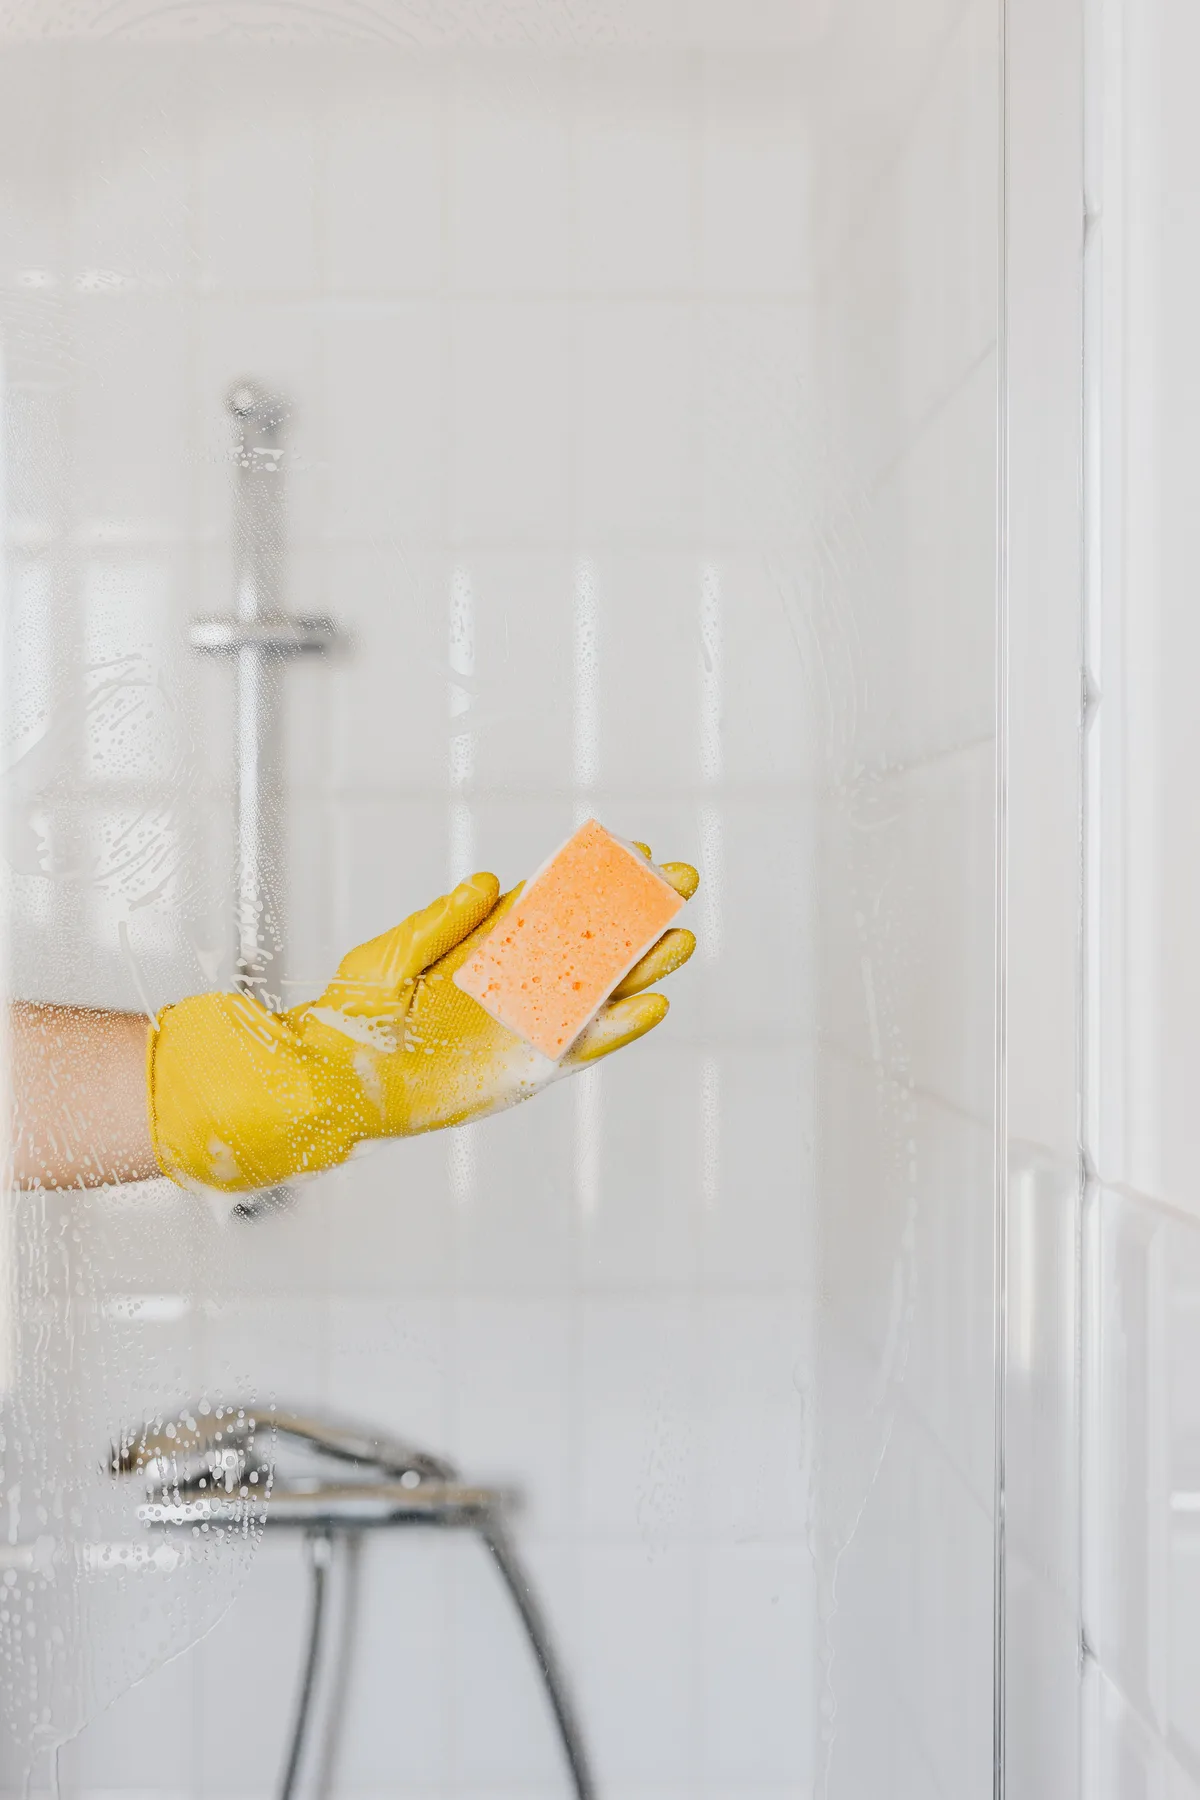
Is the layer not gone after one treatment? Repeat it; two short treatments are better than one that is far too long. Never use a knife or scraper on the glass, because scratches cannot be repaired. On the profiles and the bottom edge you can leave a piece of kitchen paper soaked in descaler for a few minutes, as long as the label allows it. Always rinse thoroughly afterwards.
The Luvio shower head also gets furred up. You notice it by thin, crooked jets. Unscrew the shower head from the hose, put it in a container with diluted descaler according to the label and rinse it through well afterwards. Many shower heads have rubber nozzles that you can rub clean between your fingers after soaking. If the head or the metal shower hose is worn or the connection leaks, replace the part. You can read more about a great shower in our blog about the rain shower.
⚠️ Is water leaking from the tap or the wall connection, or is there a built-in thermostatic mixer that no longer works properly? Then have it checked by a certified installer. Do not work on the water supply yourself.
While cleaning you can clearly see the condition of the sealant joints. Black spots that no longer come off, loose edges or cracks mean that water can get behind the sealant. Then it is time to replace it. Remove the old sealant with a knife and Fila Zero Sil silicone remover, let everything dry well and apply new sanitary silicone sealant with a sealant gun. You can read how to do that step by step in our blog on resealing a bathroom with new silicone.
In those cases a bathroom specialist or installer is never superfluous: leaks behind tiles or under the tray quickly lead to damp and mould problems.
That depends on how hard the water is and how often the shower is used. With light weekly maintenance and daily drying, a thorough descale a few times a year is usually enough.
Vinegar also dissolves limescale, but like other acidic products it can attack natural stone, seals and some coatings. A sanitary descaler with a clear label gives more certainty about how to use the product.
Sometimes the glass itself has been etched by years of limescale or by abrasive cleaners. Cleaning no longer helps then. A professional can assess whether the glass or the door needs replacing.
Steam loosens dirt well, but hard limescale usually does not disappear with it. Do not use steam on sealant joints and seals if the manufacturer of the enclosure advises against it.
At Saniso, the online store for DIYers and professionals, you will find tools, materials and personal protective equipment for your job.
In doubt about the approach? Feel free to call in a professional.
Saniso – Build your home with Saniso.
Share:
Comparing LED bathroom mirrors before you buy? See how the Saniso+ mirror stacks up on dimming, sizing, and water resist...

Grout in one even colour across the whole wall or floor: that is what you want. In this blog we explain how the hybrid R...

Learn how to level a floor yourself: prepare the subfloor, prime, mix and pour self-levelling compound. Step-by-step wit...

Installing a kitchen: do it yourself or hire a professional? Read what is involved, which parts you can do yourself and...