A toilet that flushes powerfully and still stays quiet: that is the idea behind Cersanit Vortex. In this blog you read h...

Your online building supplies store for building and renovation
 English
✓
English
✓
 Nederlands
✓
Nederlands
✓
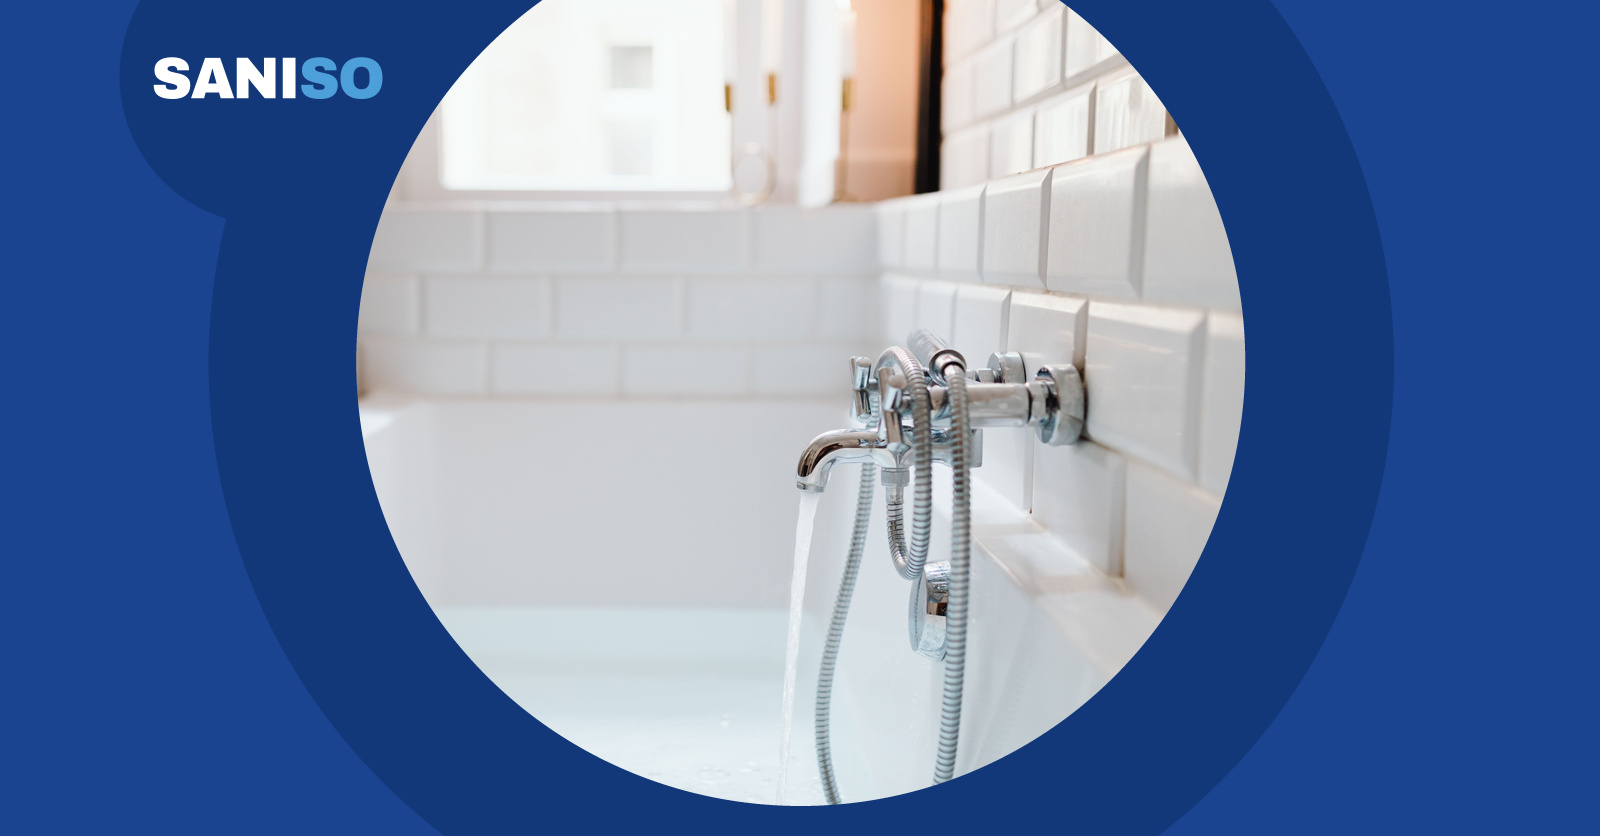
A new bath-shower tap instantly gives your bathroom a fresher look and makes bathing and showering more pleasant again. If the tap is a surface-mounted (exposed) tap on existing wall connections, you can often replace it yourself with good preparation. In this DIY guide you will read step by step how to connect a new exposed bath-shower tap: from shutting off the water and setting the S-unions to the leak test and sealing.
⚠️ Please note: this guide is about an exposed tap on existing wall connections. Is it a concealed (built-in) tap, do pipes need to be moved, or are you unsure about the condition of the pipes in the wall? Then leave the work to a certified installer. Never work on gas or electrics in the bathroom yourself. A professional makes sure everything is safe and leak-free.
Replacing a shower tap without a bath spout? Then read our step-by-step guide how to connect a new shower tap.
Wear nitrile-coated work gloves, safety glasses and knee pads when you kneel next to the bath. Safety shoes and sturdy work trousers make the job safer. Choose your own size.
Shut off the water at the main stopcock or with the bathroom shut-off valves. Not sure which valve belongs to the bathroom? Then read our blog about shut-off valves and ball valves. Then open a tap at a lower point, so the pressure is released and the remaining water can drain.
Measure the centre distance: the distance between the centre of the hot and the cold water connection. For exposed bath-shower taps, 150 mm is common. S-unions can compensate for a small deviation; the manual of your tap states which range is allowed. Hot is usually on the left and cold on the right. Check this, especially with a thermostatic tap.
Take a photo of the old situation and read the installation manual of the new tap. For many taps, you will find it as a download on the product page. Put a thick cloth in the bath to prevent scratches and put the plug in the drain, so no small parts disappear.
Is the wall plate loose, does the connection turn along, do you see rust or a leak in the wall, or is it a tap on the bath rim? Then different steps apply. In those cases, call in an installer. A professional immediately sees what is needed behind the tiles.
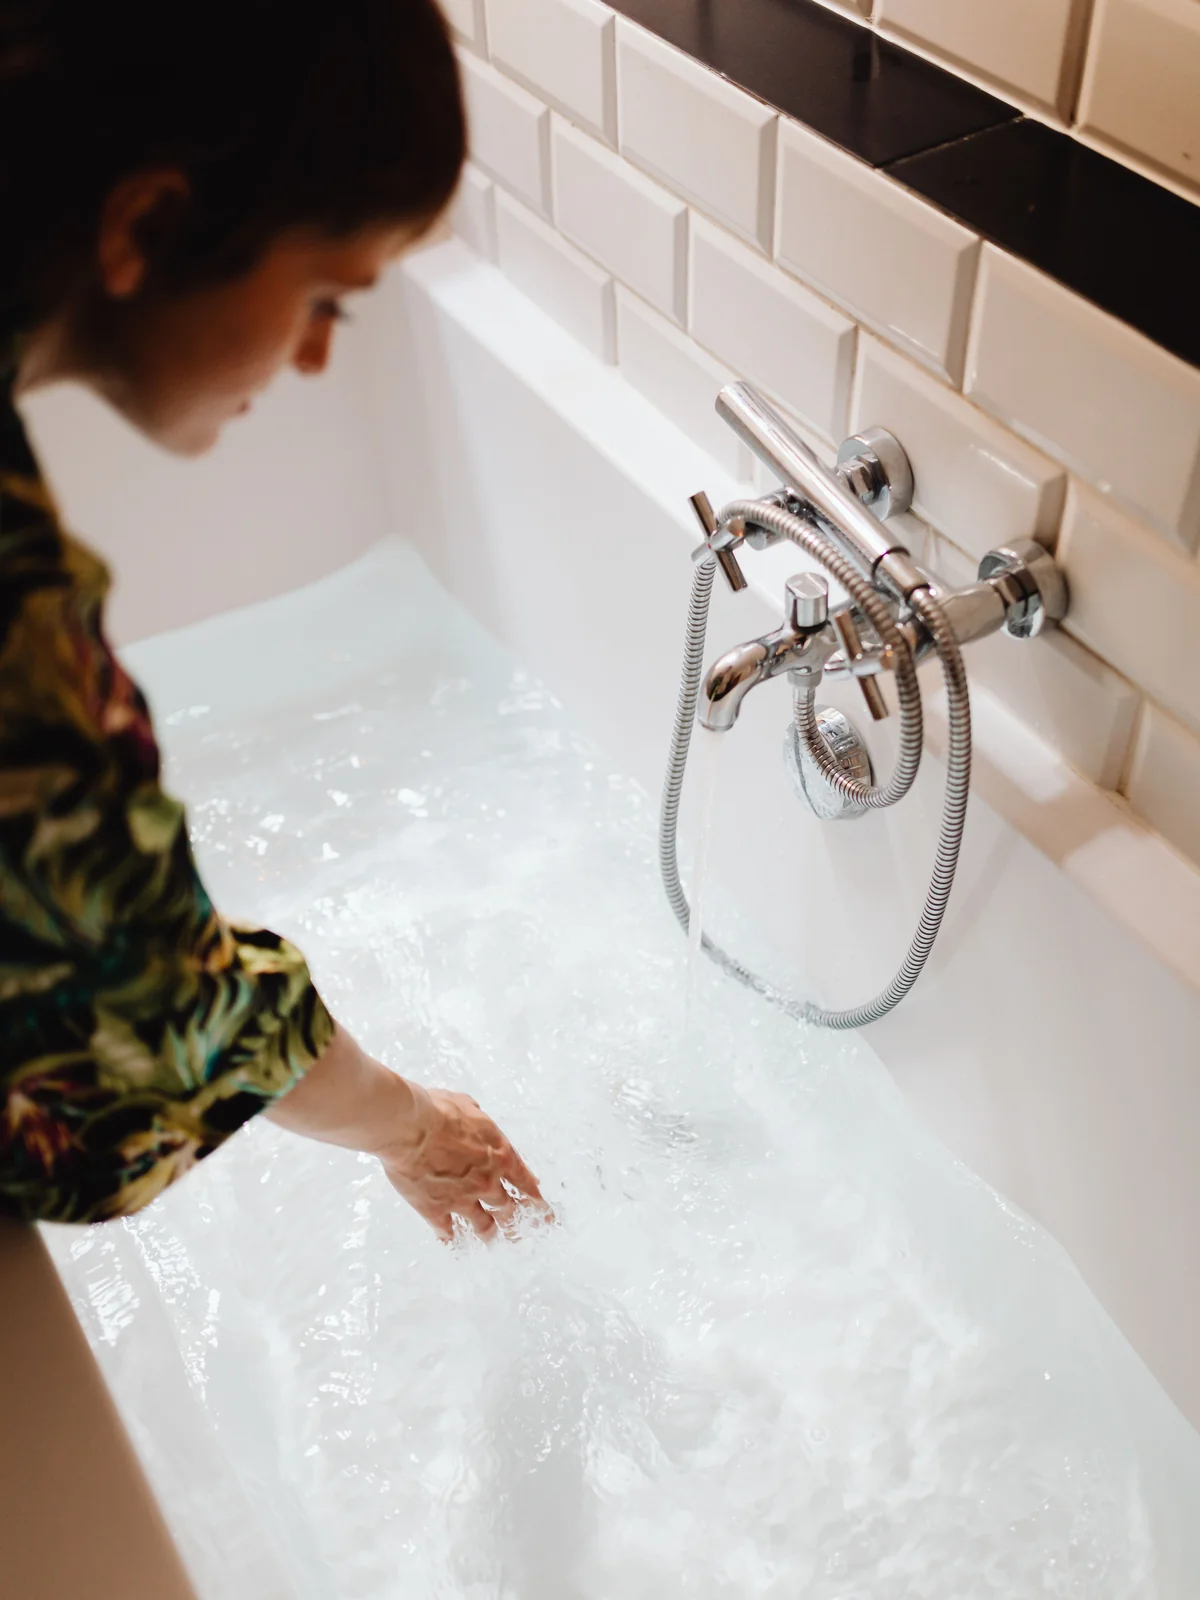
💡 Tip: put a paper tissue under every connection when you turn the water back on. You will spot a small wet patch much faster on the tissue than on the tiles.
You are working in a wet room, often bent over or kneeling, with sharp threads and old sealant residue. That is why you wear nitrile-coated gloves for grip and protection, and safety glasses when you loosen corroded unions or cut away sealant. Knee pads protect your knees on the hard bathroom floor.
Safety shoes protect your feet if a tool falls, and work trousers keep you dry and protected. Keep the floor dry, do not stand in the bath with shoes on and make sure you have good light. Is there a socket or lighting nearby? Keep it dry and always leave electrical work to a qualified installer. You will find all personal protective equipment in our workwear and PPE category. Read more tips in our guide safe working on the construction site.
An exposed tap on existing wall connections usually yes, if you work calmly and accurately. For a concealed tap, a tap on the bath rim or when pipes need to be moved, call in a certified installer.
For exposed bath-shower taps, 150 mm is common. Always measure it yourself. S-unions compensate for a small deviation; the manual of the tap states which range is possible.
Preferably use the unions and seals that belong to the new tap. Always replace old unions with limescale, rust or damaged thread.
Shut off the water and check that the sealing washer or filter is seated correctly and that the unions are straight. Then tighten evenly, no harder than necessary. Does it keep leaking, or does it leak inside the wall? Then call in a professional.
A single-lever mixer, such as the Cari or Elio, is operated with one lever. A thermostatic tap keeps the set temperature constant. Not sure? Contact us for advice.
For a number of taps, yes. For example, there is an aerator for Cari and Elio, among others, and for Luvio taps a separate lever handle and a tap head part with ring. After the job, you may want to reseal the bath edge; read our blog how to reseal your bathroom with new silicone.
At Saniso, the online DIY store for building and renovating, you will find bath-shower taps, accessories, tools and protective equipment for this job.
Build your home with Saniso.
Share:
A toilet that flushes powerfully and still stays quiet: that is the idea behind Cersanit Vortex. In this blog you read h...
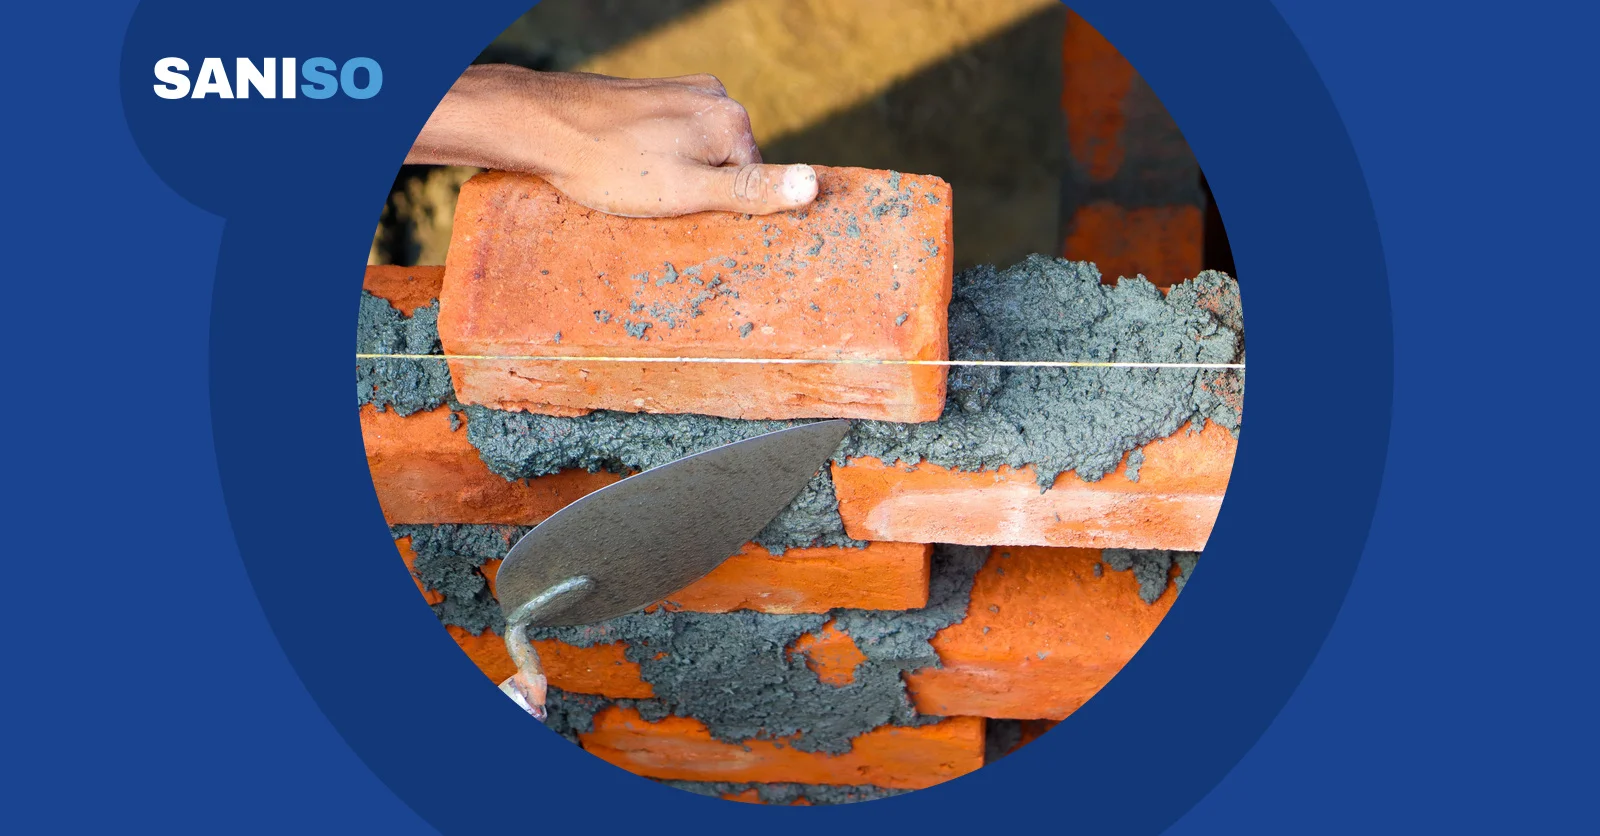
You can build a low brick wall in the garden or as a border yourself with the right preparation. From foundation and mas...
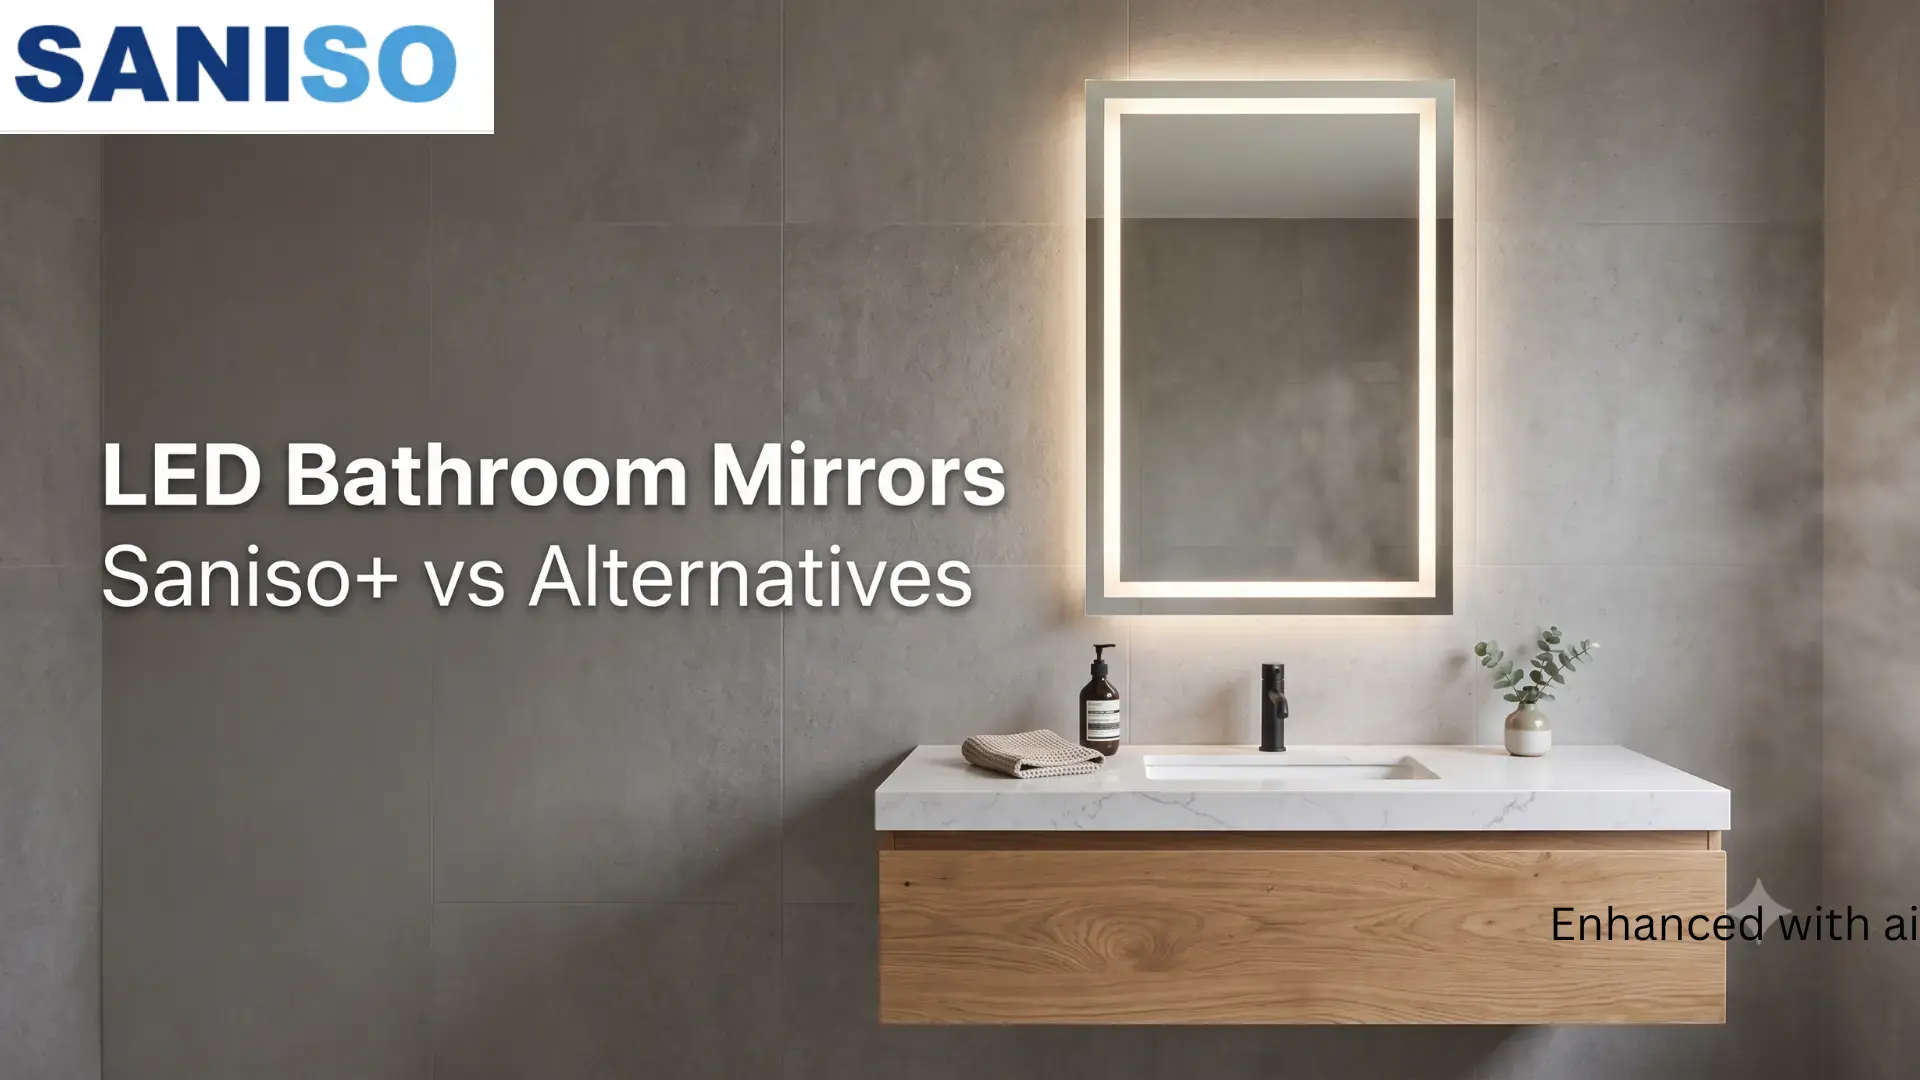
Comparing LED bathroom mirrors before you buy? See how the Saniso+ mirror stacks up on dimming, sizing, and water resist...