Cart (0)
No products in the cart.

 English ✓
 Nederlands ✓
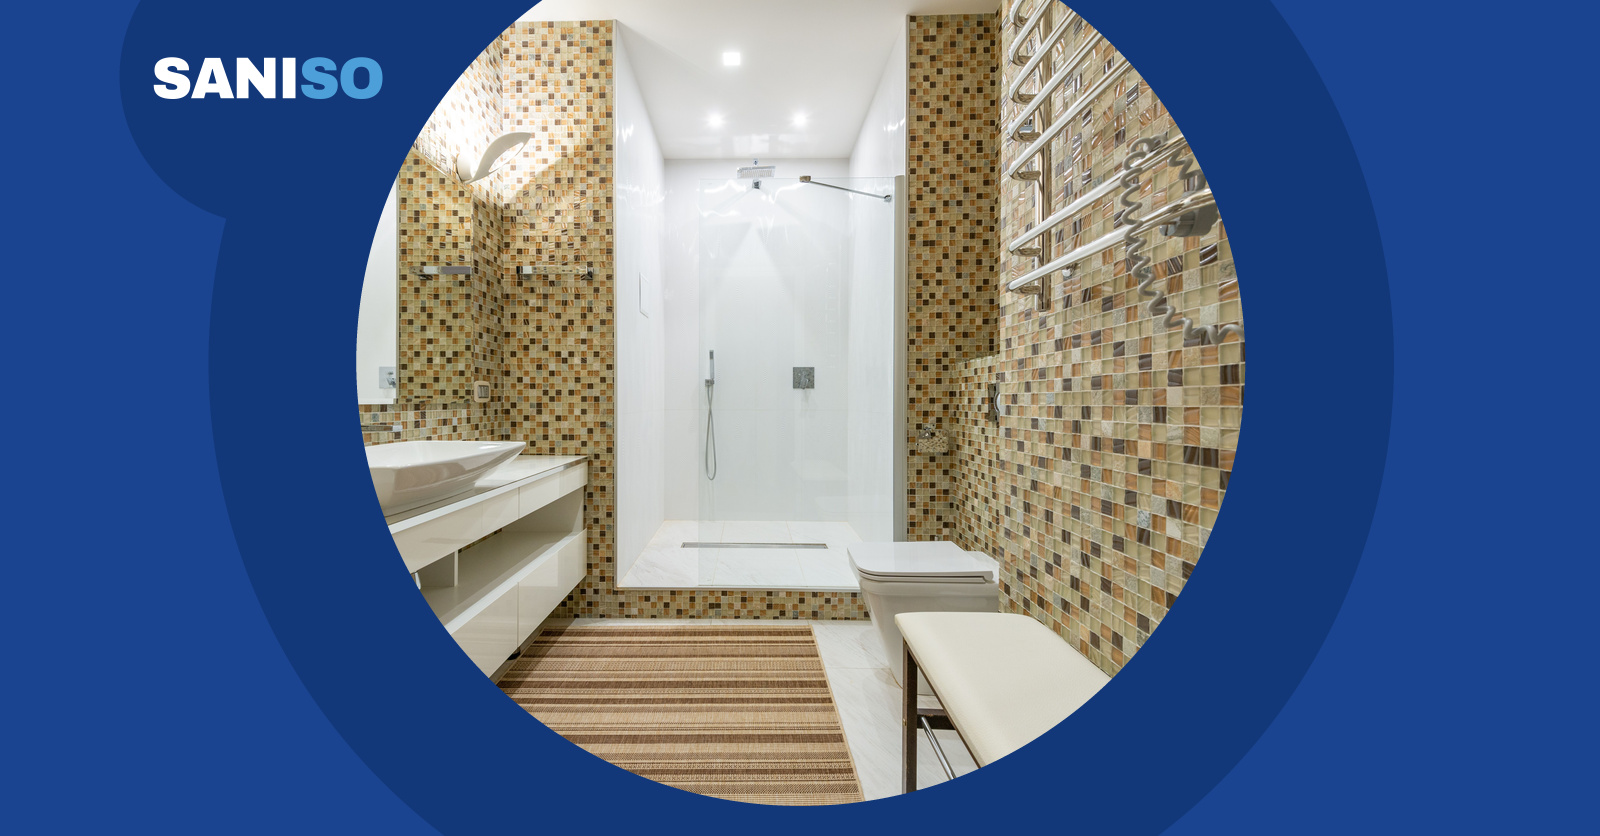
Short answer: an experienced DIYer can fit a linear shower drain if the waste pipe is already in the right place and you can work precisely with height, fall and waterproofing. If the waste has to be moved, the floor is made of wood or you are unsure about the fall, call in a professional. A professional is never unnecessary with a walk-in shower: a small mistake at the drain only shows when the water starts running somewhere else.
Read this article in Dutch as well: Douchegoot plaatsen: zelf doen of vakman?.
A linear drain is a long, narrow drain in the floor. All shower water has to run towards that one line. That only works if three things are right at the same time: the drain is perfectly level, the floor falls towards the drain everywhere and the joint between drain and waterproofing is fully watertight. If one thing goes wrong, water stays on the floor or runs under the tiles.
On top of that, most of the work is invisible afterwards. The trap, the waste pipe and the waterproofing sit under the tiles. Repairing means breaking out.
| Situation | Difficulty | Advice |
| Replacing a drain in the same spot, same length | medium | doable with tiling experience |
| New drain on an existing waste in a concrete floor | medium to difficult | measure precisely, rebuild the fall |
| Moving or laying a new waste | professional work | plumber or installer |
| Wooden floor or floor above a living room | professional work | professional, extra care for stiffness and waterproofing |
| Underfloor heating in the shower floor | professional work | professional and certified installer |
The length depends on the width of the shower. A black Tako 60 cm linear drain fits a narrow shower, a Tako linear drain or a Tako 90 cm linear drain suits a wider walk-in shower. Want the drain to match chrome taps? Look at a chrome Tako linear drain. Unsure whether to choose a drain or a shower gully, or want to see how it will look? Also read our blog about the rain shower and our blog on renovating a bathroom: DIY or professional.
A dry trap for a linear drain is useful if the shower is sometimes not used for a long time. Such a trap keeps sewer smells out even without a water seal.
With tiling experience you can do a lot yourself:
Connecting to the waste and building up the fall are the hardest steps. That is where things go wrong most often.
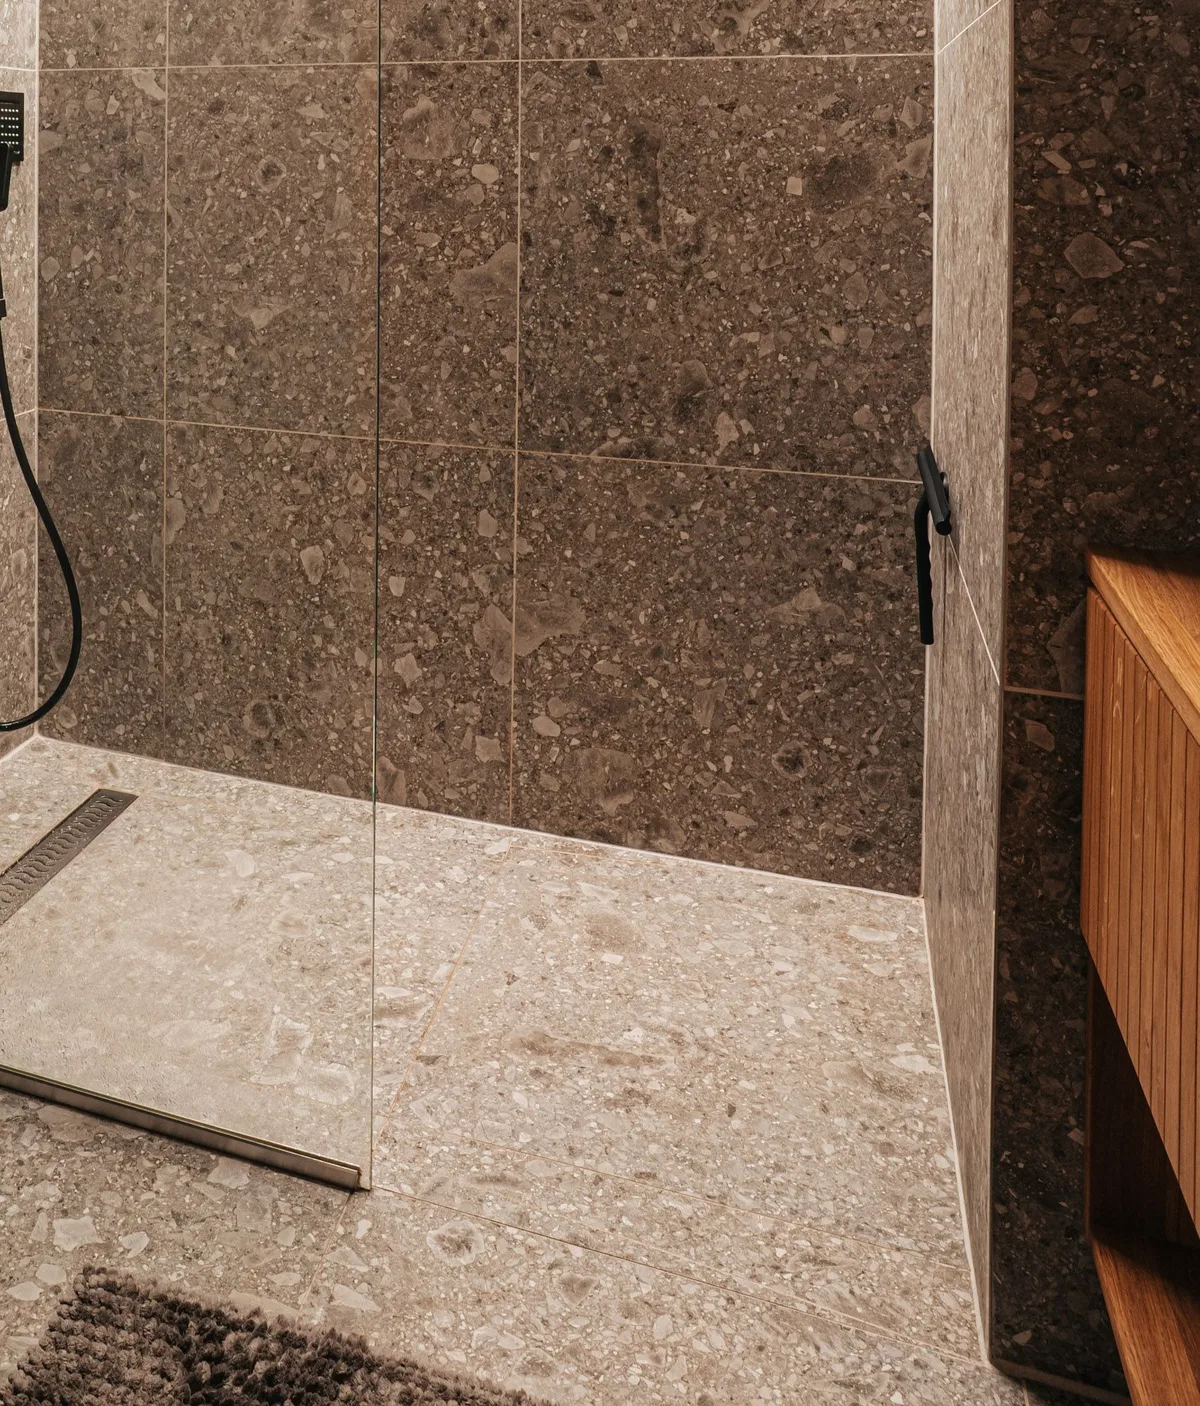
⚠️ Always test the waste before applying the waterproofing and the tiles. After tiling, the only way to find a leak is by breaking out.
👷 A professional is never unnecessary. Choose a professional if the waste has to be moved or newly laid, if the floor is made of wood, if underfloor heating goes into the shower floor or if you cannot build the fall with confidence. If in doubt about water or waste, always call a certified installer.
A mixed approach often works well: the professional lays the waste and the drain, you do the demolition and preparation, and then you tile together or leave that to the professional too. Read more about this choice in our blog on renovating a bathroom: DIY or professional.
During demolition and tiling you spend a lot of time on your knees. Wear knee pads to protect your knees. Use work gloves with nitrile coating against sharp tile edges and adhesive, and safety goggles when breaking out and grinding.
💡 Take a photo of the waste and the drain before you waterproof and tile. Then you will know exactly where everything is later.
Yes, if the waste is already in the right place and you have tiling experience. If the waste has to be moved, leave that to a professional or installer.
Allow 1 to 2 percent, so 1 to 2 centimetres per metre. Too little fall leaves puddles, too much feels uncomfortable underfoot.
No. The drain is level. The fall is in the floor around it.
The drain and the floor move slightly. A silicone joint of 3 to 5 millimetres absorbs that, so the tiles do not crack.
Read also: Fitting a bathtub: DIY or professional?
At Saniso, the online store for DIYers and professionals, you will find tools, materials and personal protective equipment for your job.
In doubt about the approach? Feel free to call in a professional.
Saniso – Build your home with Saniso.
Share:
Want to replace a radiator yourself? This guide shows how to measure, isolate and drain the old radiator, fit new bracke...
Fitting a bathtub: can you do it yourself or should you hire a professional? Learn what is involved with the waste, leve...
A new toilet: can you fit it yourself or should you call a plumber? Learn when it is a doable job, when it is not, and w...
Two washbasins in the bathroom are handy in the morning rush, but will they fit? Learn how much width you need for two b...