


Too little adhesive gives hollow spots, too much gives lumps. Read how notch size, tile format and flatness determine th...

Your online building supplies store for building and renovation
 English
✓
 Nederlands
✓
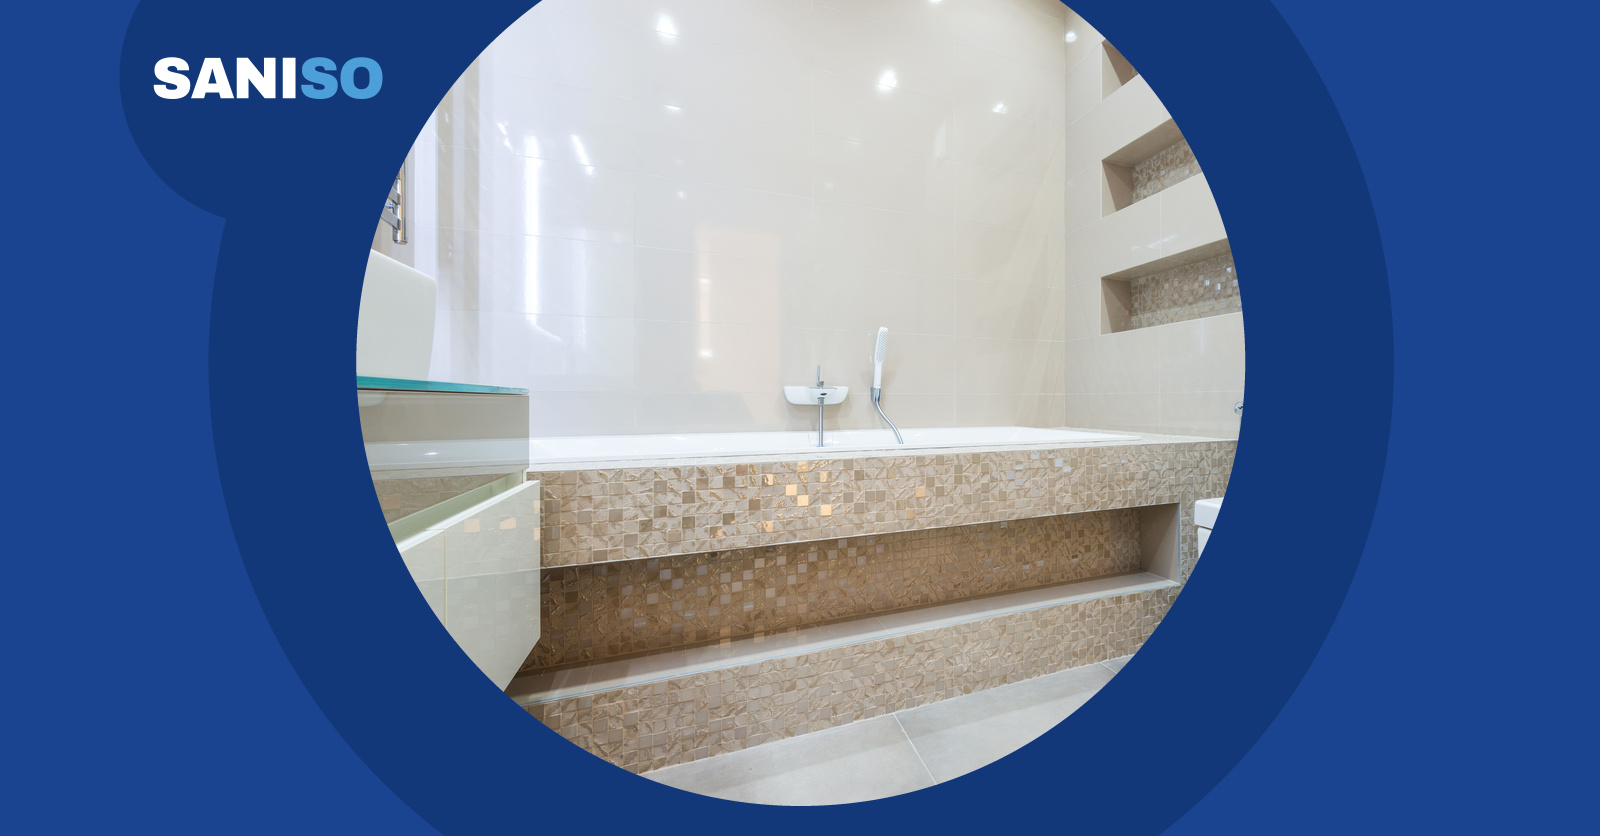
Short answer: replacing a rectangular bathtub in the same place is something a handy DIYer can do, as long as the waste and water supply are already in the right place. The bath must be perfectly level, the waste must be fitted and tested before the bath goes in, and the bath is filled before you seal it the next day. If the waste has to be moved, a concealed mixer is planned, or you have doubts about the floor or the pipes, call in a professional or a certified installer. A professional is never unnecessary in a bathroom: a leak under a bath often only shows once the ceiling below gets wet.
Read this article in Dutch as well: Ligbad plaatsen: zelf doen of vakman?.
A bath looks like a simple product: a tub, feet, a waste and a mixer. The real work is in the details. A full bath with a person in it easily weighs more than 250 kilos. The floor has to carry that, the feet have to be set correctly and the edges have to meet a solid wall. Then there is the waste, which you no longer see once the bath is in. If it leaks, you only notice later.
The type of bath you choose also decides how hard the job is:
| Type of bath | Difficulty | Note |
| Rectangular bath in the same place | doable for a handy DIYer | waste and mixer already in place, casing or panel needed |
| Corner or asymmetric bath | medium | more wall joints, measure precisely |
| Freestanding bath | difficult | waste in the floor, often underfloor heating or pipes below |
| Bath with concealed mixer | difficult | mixer sits in the wall, pipework before tiling |
| Bath in a new position | professional work | move the waste with a fall, reroute water |
A Blissa 170x70 rectangular bathtub with a matching 170 cm front panel and side panel is the simplest choice. For a corner solution choose a Kaliope asymmetric corner bath, and if you have space choose a Crea back-to-wall freestanding bathtub. Curious how it will look? Try it first in our blog on the bathroom configurator. More about the brand is in our brand blog on Cersanit.
With some experience you can prepare and carry out a lot yourself:
Before drilling into a wall, locate pipes and cables with a multifunction wall detector.
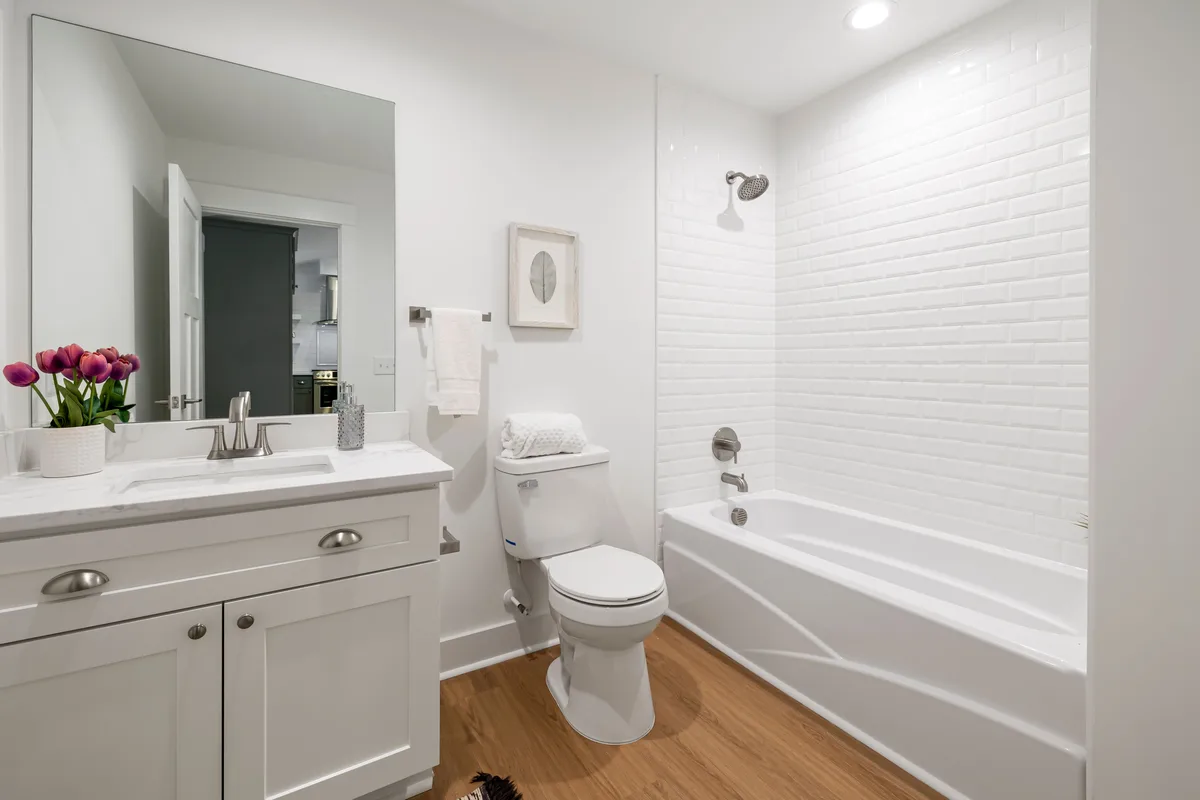
A wall-mounted mixer such as the Cari bath mixer connects to existing wall connections. A flexible connection hose helps with a loose connection. A Mille concealed bath mixer with box has to be built into the wall before tiling. That is a job for an installer. If you want to shower in the bath, fit a Larga bath screen and make sure the bath rim is properly sealed.
👷 A professional is never unnecessary. Choose a professional or certified installer if the waste has to be moved, if a concealed mixer or a freestanding bath with a floor waste is planned, if the floor is wooden or you doubt its strength, or if pipes have to be bent, soldered or pressed. If in doubt about water or drainage, always use a certified installer. The same goes for a bathroom above a living room: a leak there does extra damage.
A mixed approach often works well: you strip out and prepare, the installer makes the connections, and you finish the job afterwards. More on that choice is in our blog on renovating a bathroom: DIY or professional and our guide to planning a bathroom renovation. If you are also tiling, read our blog on tiling a bathroom.
A bath is heavy and awkward. Always lift with two people and keep your back straight. Wear work gloves with nitrile coating against sharp edges of old tiles and broken sealant. Stripping out and drilling call for safety goggles. Working on your knees is more comfortable with knee pads.
⚠️ Always turn off the water before loosening mixers or wastes. If there is an electrical connection nearby, such as underfloor heating or a socket, leave it alone and ask a certified installer.
💡 Take a photo of the pipes and the waste before you close the casing. Then you will know exactly where everything is later.
Yes, replacing a rectangular bath in the same place is doable if you are handy. If the waste or the water supply has to be moved, leave that to a professional or certified installer.
A full bath drops a few millimetres. If you seal an empty bath, the joint tears as soon as the bath is filled.
Yes. Through the hatch you can check the waste and act quickly if there is a leak, without breaking out tiles.
Replacing a bath in the same place usually takes one to two days, including curing time for the sealant. With tiling and a new casing it takes longer.
At Saniso, the online store for DIYers and professionals, you will find tools, materials and personal protective equipment for your job.
In doubt about the approach? Feel free to call in a professional.
Saniso – Build your home with Saniso.
Share:
Too little adhesive gives hollow spots, too much gives lumps. Read how notch size, tile format and flatness determine th...
Is the screw spinning or is the plug loose in a hole that is too big? This is how to repair a torn-out plug in brick, co...

Splitting firewood with a splitting axe? Learn which axe to choose, how to set up a stable chopping block, where to aim,...
Want to hang heavy items on the wall? Learn how to recognise the wall type, choose the right plug, drill safely and hang...