





























.webp)

Splitting firewood with a splitting axe? Learn which axe to choose, how to set up a stable chopping block, where to aim,...

Your online building supplies store for building and renovation
 English
✓
 Nederlands
✓
 Bathroom furniture sets
 Pillars and semi-pillars
 Consoles
 Washbasin cabinets
 Mirrors
 Cabinet for wc frame
 Shelves
 Accessories - bathroom furniture
 Panels for consoles
 Cabinets with laundry basket
 Top for wc frame
 Wall hung cabinets
 Cabinets for washing machine
 Mirror cabinets
 Case for wc frame
 Countertops
 Under countertop cabinets
 Washbasin faucets
 Washbasin faucets deck-mount high
 Washbasin faucets concealed
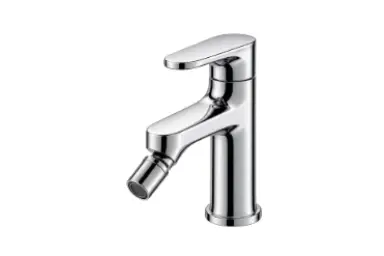 Bidet faucets
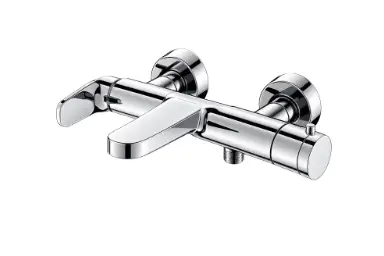 Bathshower faucets
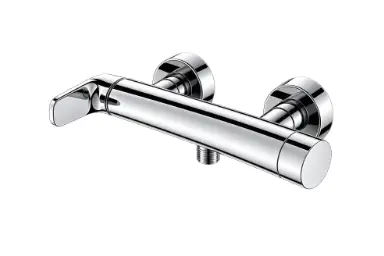 Shower faucets
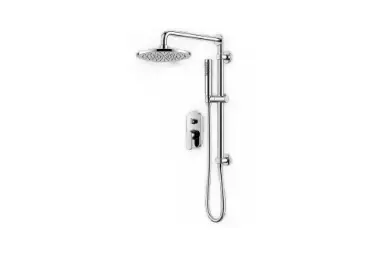 Bathshower sets concealed
 Shower column
 Freestanding bathshower faucets
 Shower sets
 Bathroom fitting sets
 Click-clack plugs
 Spare parts - bathroom fittings
 Bathshower faucets concealed
 Bath spout
 Multi-hole bathtub faucet
 Washbasin siphons
 Consealed bidet system
 Clothes
 Shorts
 Dungarees
 Work dungarees
 Reflective work dungarees
 Sweatshirts
 Hoodies
 Fleeces
 ShirtsFlannel work shirts
 T-shirts
 Polo
 Jackets
 Vests
 Jumpsuits and SetsDisposable suits
 Underwear and socks
 Hats and scarves
 Hats
 Baseball caps
 Hats with a lamp
 Chimneys
 Reflective hats
 Clothing accessories
 Stripes
 Suspenders
 Foam inserts
 Protective knee pads
 Footwear
 Low shoes
 Work shoes
 Boots
 Work boots
 Winter boots
 High-top winter boots
 Sandals
 Work sandals
 Flip-flops and clogs
 Rain boots
 Work boot
 Low wellies
 High-top galoshes
 Shoe accessories
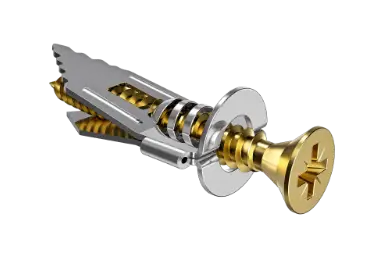
Yesterday you hung heavy items on the wall. But what do you do if a plug has already torn out, for example from an old shelf, a coat rack or a curtain rail? Then there is a hole in the wall that is too big and ragged, a new plug no longer grips and the screw just spins. This Sunday you tackle that. In this blog you will read why plugs tear out, which solution suits your wall and how to make the old hole disappear neatly.
👷 Calling in a professional is never unnecessary. Is it something heavy, such as kitchen cabinets, a TV bracket, a washbasin or a full bookcase, or a fixing in the ceiling, or is the wall crumbling around the hole? Then leave the repair to a professional. A fixing that comes loose again can injure someone.
| Situation | Best approach | DIY? |
| Brick or concrete, hole slightly too big | Drill one size up with a matching universal 10 mm expansion plug and a thicker screw | Yes, for light items |
| Brick or concrete, hole crumbled | Fill the old hole and drill again a few centimetres away | Yes, for heavy items call a professional |
| Plasterboard, small hole | A plasterboard plug in a new spot | Yes |
| Plasterboard, large hole or damaged board | A hollow wall anchor with screw or fixing into the stud behind it | If in doubt, a professional |
| Plug keeps tearing out or the wall crumbles | Have the cause investigated | No, a professional |
First take everything off the wall and remove the screw. If the plug is loose, pull it out. If it is still half stuck, turn the screw a few turns back into the plug and pull it straight out with pliers. Do not lever it sideways, as that breaks off more of the wall.
Look at the drilling dust and the edge of the hole. Red or orange dust points to brick, grey dust to concrete, and white, soft material to plasterboard, aerated concrete or sand-lime brick. Brush out the hole with the drill hole cleaning brush and vacuum the dust away. A clean hole is needed for the filler to bond well.
⚠️ Filler is not a fixing. A plug set in fresh filler will hold only something very light at most. For anything with weight, choose a new spot or a bigger plug in sound material.
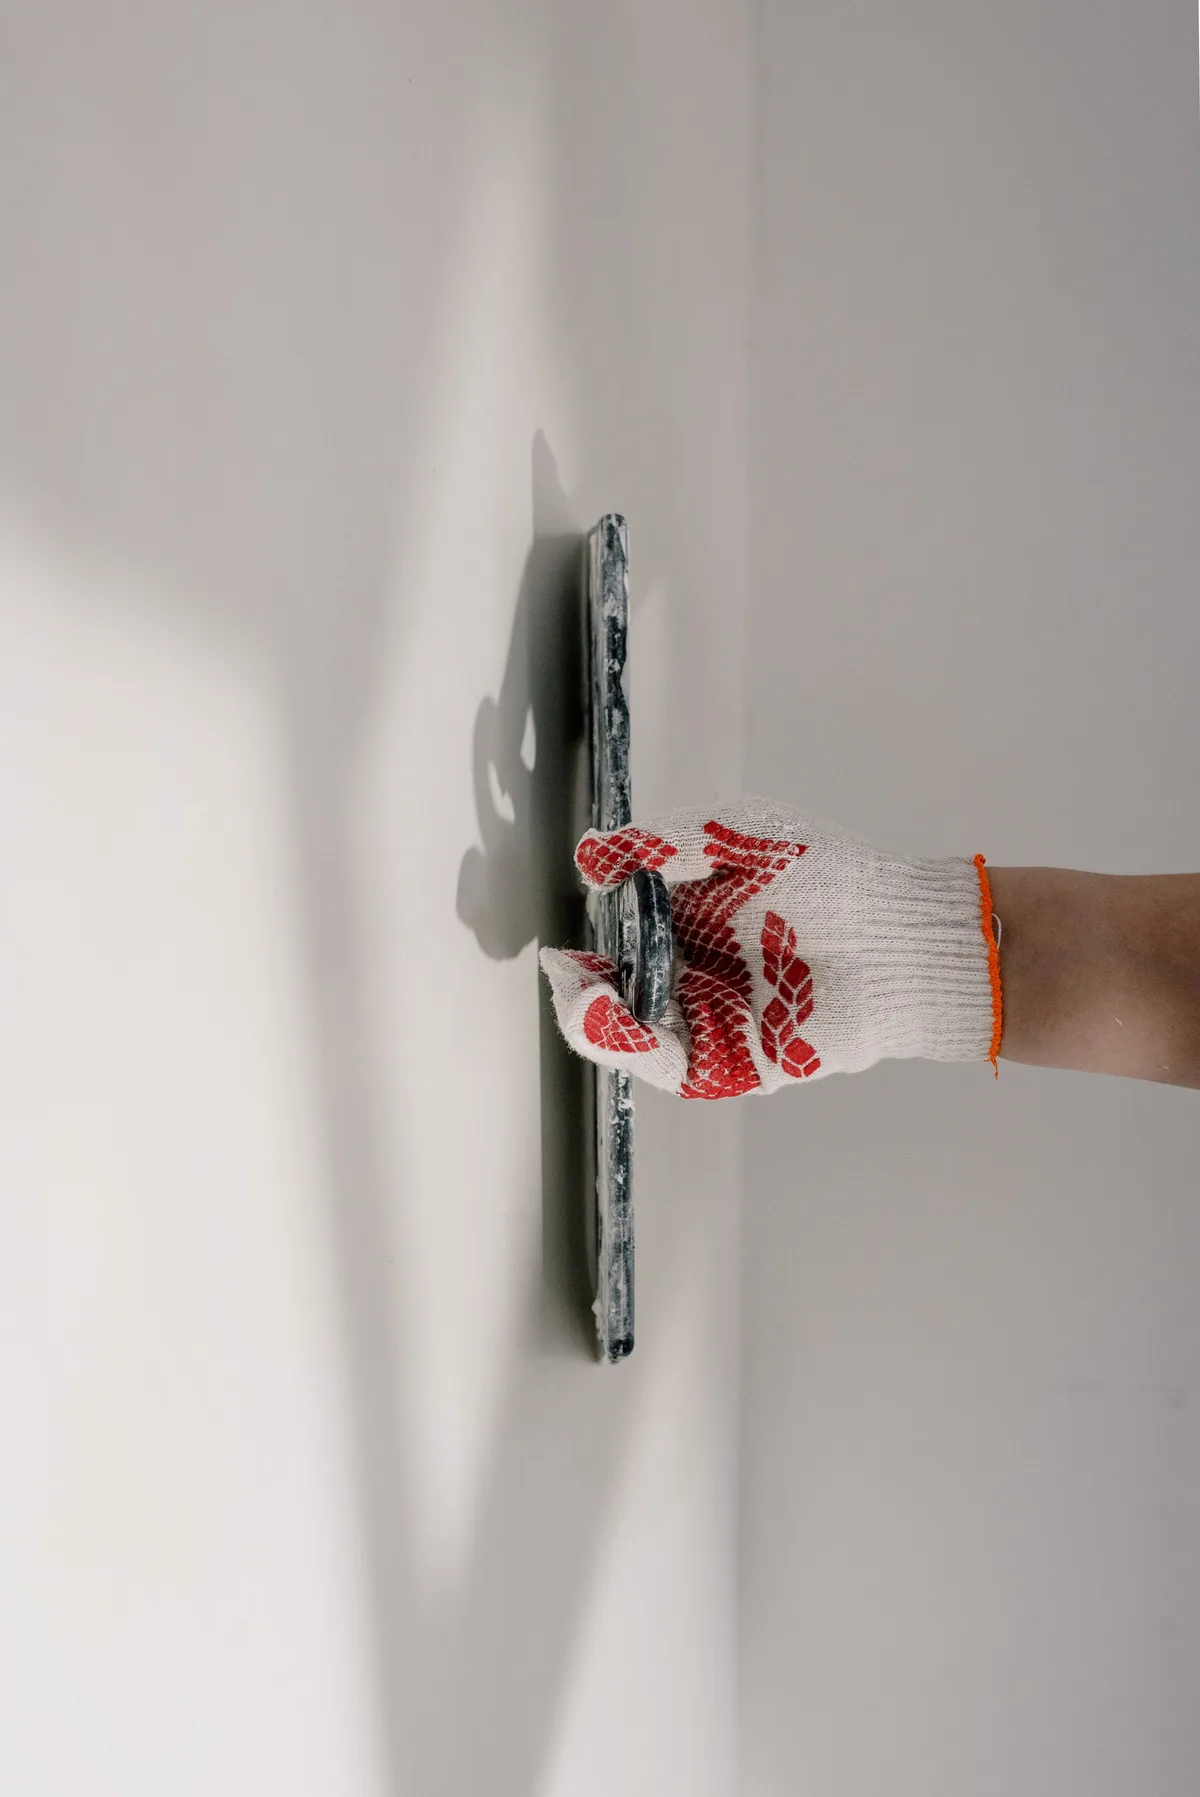
Check the new spot with the multifunction wall detector. In soft or porous stone, drill without hammer action so the hole does not become too big again. Push the plug in until it is flush with the wall, drive in the screw and load the item carefully at first. If the screw spins or the plug turns with it, stop and choose another solution.
Read also: How to hang heavy items on a wall: step-by-step DIY guide
Calling in a professional is never unnecessary. Certainly do so in these situations:
A professional sees at once which fixing the wall can take and makes sure it is secured properly first time.
Only for something very light, such as a card or a small frame. Filler and glue are not made to carry weight. For anything heavier, drill in a new spot or one size up in sound material.
Keep at least 3 to 5 cm away, and more in soft stone or around a large crumbled hole. That way you drill into sound material and not into the filler.
That depends on the product and the depth of the hole. Follow the drying time on the packaging and, for deep holes, wait until each layer has fully hardened before sanding or painting.
Usually the hole is too big for the plug, or the screw is too thin. Choose a screw that matches the plug, or drill one size up with a matching plug. If that does not help, have a professional take a look.
A standard plug grips poorly in plasterboard. Use a plasterboard plug for light items and a hollow wall anchor with screw for a little more weight. For heavy items, have a professional fix them into the studs behind the board.
At Saniso, the online store for DIYers and professionals, you will find tools, materials and personal protective equipment for your job.
In doubt about the approach? Feel free to call in a professional.
Saniso – Build your home with Saniso.
Share:
Splitting firewood with a splitting axe? Learn which axe to choose, how to set up a stable chopping block, where to aim,...

Want to hang heavy items on the wall? Learn how to recognise the wall type, choose the right plug, drill safely and hang...

Which socket set suits your work? Learn the difference between 1/4, 3/8 and 1/2 inch drive, why the number of ratchet te...

Natural stone and porous tiles absorb moisture, grease and dirt. With a Fila impregnator you give them invisible protect...