Is your old radiator ugly, rusty or no longer a good fit for the room? Then you can replace it with a new one. With the right preparation, hanging and connecting a radiator with the same connection size is a job a handy DIYer can do well. This step-by-step guide shows you how to measure, safely remove the old radiator, fit the new brackets and connect the radiator. Take your time: you are dealing with warm, dirty heating water, a heavy radiator and drilling into the wall.
👷 Calling in a professional is never unnecessary. Do the pipes need to be moved, does the new radiator have a different connection size, do the valves not close properly, does the whole heating system need to be drained, or are you unsure about the heat output the room needs? Then leave it to a registered heating installer. Never work on the boiler, gas or electrics yourself.
What should you check before you start?
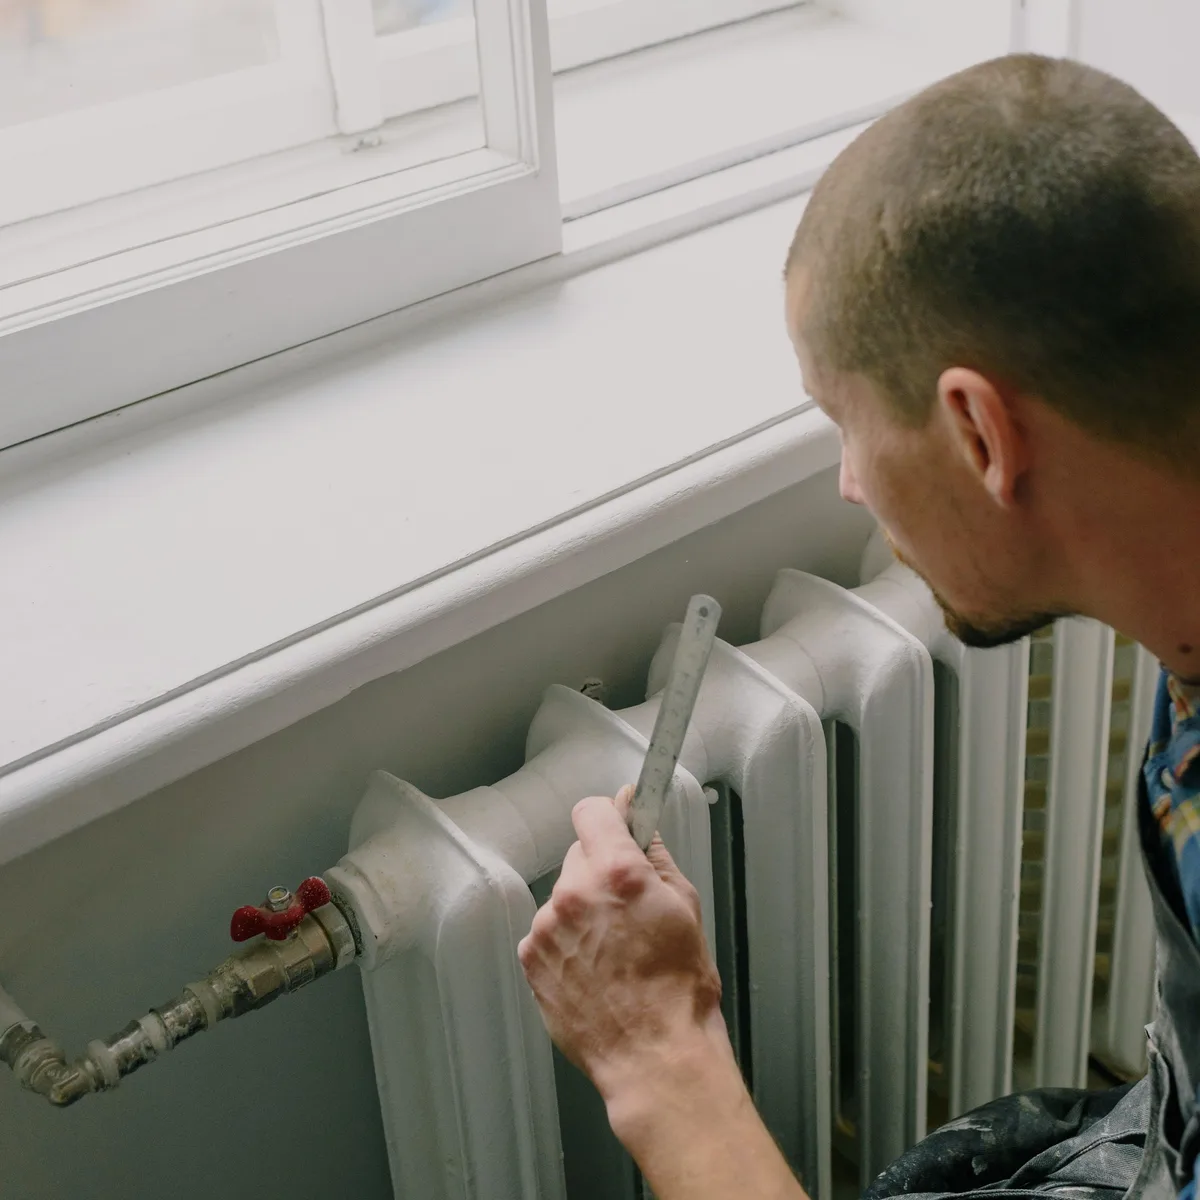
Connection size: measure the centre-to-centre distance between the two connections of the old radiator and note whether they are at the bottom, on the side or in the middle. If you choose a new radiator with exactly the same connection size, nothing needs to change in the pipework.
Dimensions and heat output: measure the height, width and the distance to the floor and the windowsill. A radiator must give off enough heat for the room. If in doubt, ask an installer for advice.
Valves: check that the radiator has a radiator valve (often a thermostatic valve) and a lockshield valve on the other side. Both must close properly. If water still leaks after closing them, stop and have an installer drain the system.
Wall: check that the wall can carry the new radiator when it is full of water. A hollow wall or plasterboard needs extra fixing. Also read our blog on hanging heavy items on a wall.
Electric radiators: is it an electric radiator or a radiator with an electric heating element? Then leave the connection to a registered installer.
What do you need?
Besides the new radiator with its brackets and couplings, you need the following.
A microfibre cloth to soak up drips straight away and check for leaks later.
A radiator brush to touch up the wall behind the radiator while you can reach it easily.
Personal protective equipment
Heating water is dirty and may still be warm, and a radiator is heavy. So wear work gloves with nitrile coating, safety goggles when drilling and loosening the couplings, safety shoes with a steel toe cap, such as the low S3S safety shoe, in case the radiator slips from your hands, knee pads because you work a lot on the floor, and sturdy work trousers.
Step-by-step guide: how do you replace a radiator?
Measure and choose the new radiator. Write down the centre-to-centre size of the connections, the height, the width and the distance to the floor. Choose a new radiator with the same connection size. If it differs, have an installer adapt the pipework.
Switch off the heating and let it cool. Turn the thermostat down and switch off the boiler as described in the boiler manual. Wait until the radiator and pipes are cold.
Cover up and get everything ready. Lay the masking film and towels under the radiator and keep the buckets and the cloth within reach.
Isolate the radiator. Close the radiator valve completely. Then close the lockshield valve on the other side, usually with a hex key or the adjustable wrench. Count the number of turns so you can open the lockshield valve the same amount later.
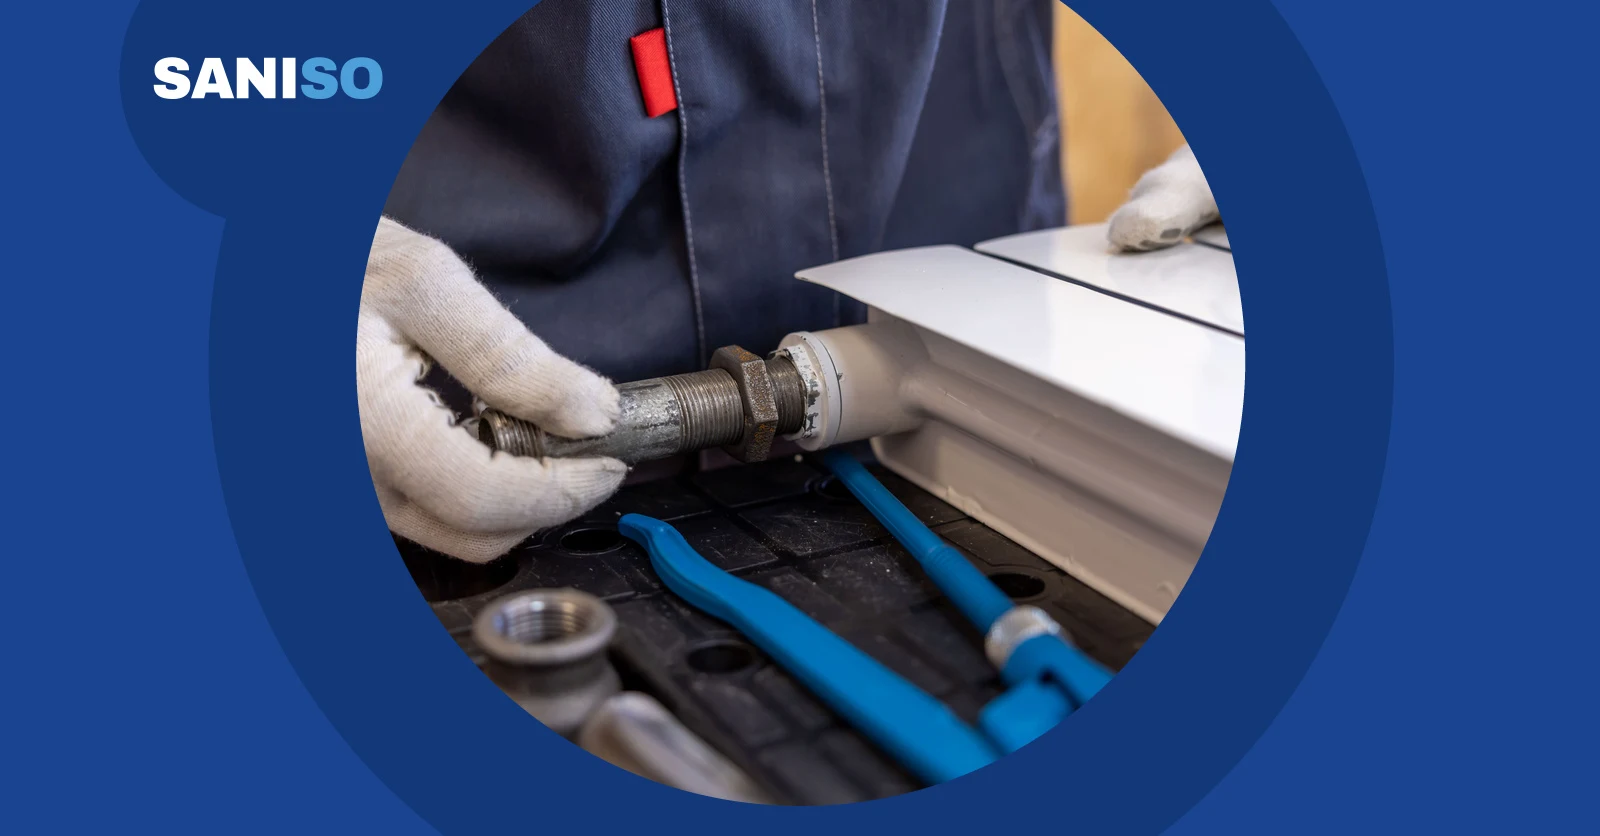
Drain the radiator. Hold the valve or lockshield valve with water pump pliers and use the adjustable wrench to loosen the union nut (coupling) at the bottom a little. Let the water run into the bucket. Open the bleed valve so the radiator drains faster. A radiator can hold several litres, so empty the bucket into the construction bucket in time.
Remove the old radiator. Undo both couplings completely and lift the radiator straight up off the brackets with two people. Keep it upright or tilt it with the connections facing up, so no dirty water runs onto the floor.
Touch up the wall and fit the new brackets. Remove the old brackets if they do not fit the new radiator. Touch up the wall with the radiator brush. Mark out the new brackets with the tape measure, pencil and spirit level, following the radiator's fitting instructions. Scan the wall with the wall detector, drill the holes with the drill and a masonry bit, insert the plugs and screw the brackets on. If an old hole has torn out, read our blog on repairing a torn-out plug hole.
Hang the new radiator. Hang the radiator on the brackets with two people and check with the spirit level that it hangs correctly. Fit the bleed valve and the blanking plug in the right place, as the manufacturer specifies.
Connect the radiator. Tighten the couplings by hand first, then tighten them with the adjustable wrench while holding against with water pump pliers. Use the sealing and washers the manufacturer specifies and do not overtighten.
Open the valves and check for leaks. Open the lockshield valve the same number of turns as before and open the radiator valve. Hold a dry cloth under every coupling. If anything drips, tighten that coupling a little more.
Top up, bleed and check the pressure. Switch the boiler back on, bleed the new radiator and check the water pressure of the system. Top up if needed as described in the boiler manual. You can read how in our blog on bleeding radiators and checking the heating pressure. Check the couplings again the next day.
Which mistakes are easy to make?
Buying a radiator with a different connection size, so the pipework still has to be adapted.
Starting while the radiator is still warm or the boiler is still on.
Loosening the coupling without holding against it, so the valve or pipe twists or gets damaged.
Not having enough buckets and towels ready for the water that comes out of the radiator.
Drilling without scanning the wall for pipes and cables first.
Choosing a plug that does not suit the wall, so the brackets cannot hold the weight of the full radiator.
Forgetting to bleed the radiator and check the water pressure after filling.
How do you work safely?
Hot water: only work on a cold radiator with the boiler switched off. Heating water can stay warm for a long time.
Weight: a radiator is heavy and awkward. Lift with two people, keep your back straight and wear safety shoes with a steel toe cap.
Drilling: scan with the wall detector first, wear safety goggles and keep children and pets away.
Dirty water: heating water is black and stains. Wear work gloves and cover the floor well.
Gas and electrics: never work on the boiler, the gas pipe or the electrics. That is work for a registered installer.
Read more about working safely in our blog on safe working on the construction site. You will find all protective equipment in our workwear and safety range, see the link at the bottom of this blog.
💡 Take a photo of the old radiator with its valves and couplings before you undo anything. Then you know exactly how everything goes back, and how many turns the lockshield valve was open.
👷 Do pipes need to be moved, are you replacing several radiators at once, do you have underfloor heating combined with radiators, or does the whole system need to be drained and refilled? Then call in a registered installer, with the knowledge and tools to do it safely and without leaks. Also read our blog on getting your home ready for winter.
Frequently asked questions
Can I replace a radiator without draining the whole heating system?
Often yes, if the radiator valve and the lockshield valve close properly. Then you only drain the radiator itself. If the valves do not close properly, have an installer drain the system.
Does the new radiator have to be the same size?
The connection size (centre to centre) must be the same if you do not want to adapt the pipework. Height and width may differ, as long as the radiator gives off enough heat and the connections end up in the same place.
How much water comes out of a radiator?
That depends on the type and size, but expect several litres. So have several buckets and towels ready.
What do I do if a coupling keeps leaking?
Close the valves, undo the coupling and check the washer and the sealing. If it still leaks after that, call in an installer.
Can I connect an electric radiator myself?
Leave the connection of electric radiators and heating elements to a registered installer.

 English ✓
 Nederlands