Cart (0)
No products in the cart.

 English ✓
 Nederlands ✓

Your tiles are fixed and the adhesive has cured. Now comes the step that really finishes your tiling: grouting. A neat, full joint does more than look good. It protects the tile edges and makes the surface easier to keep clean. In this guide you will read how to prepare the joints, mix the grout, apply it, sponge it off and finish it. With a list of what you need, common mistakes and the key safety tips.
Read this article in Dutch as well: Hoe moet je tegels voegen? Stappenplan voor doe-het-zelvers.
👷 Grouting is a job a handy DIYer can do well. For a large floor, a walk-in shower, natural stone, underfloor heating or epoxy grout, or if you are unsure about the substrate, call in a professional tiler. Their craftsmanship and experience with materials and details cannot be replaced on this kind of work.
Only start once the tile adhesive has cured enough. How long that takes is stated on the adhesive packaging and depends on temperature, moisture and the substrate. If tiles still move or a tile gives when you press it, wait longer. Just finished tiling? Also see our blog on tiling a wall or our blog on tiling a floor.
For most walls and floors in and around the house, a cementitious grout will do. Kerakoll Kerakoll Fugalite Color grout and Kerakoll Fugabella Color grout are popular choices, each with its own properties. Read the difference in our blog on choosing between Fugalite and Fugabella and in our blog on choosing grout: cementitious or epoxy. Unsure about the colour? Read our blog on choosing the right grout colour. Always check the packaging for the joint width and application the grout is suitable for.
Wear work gloves with nitrile coating, safety goggles and, on a floor, knee pads. When mixing powder, wear an FFP2 dust mask.
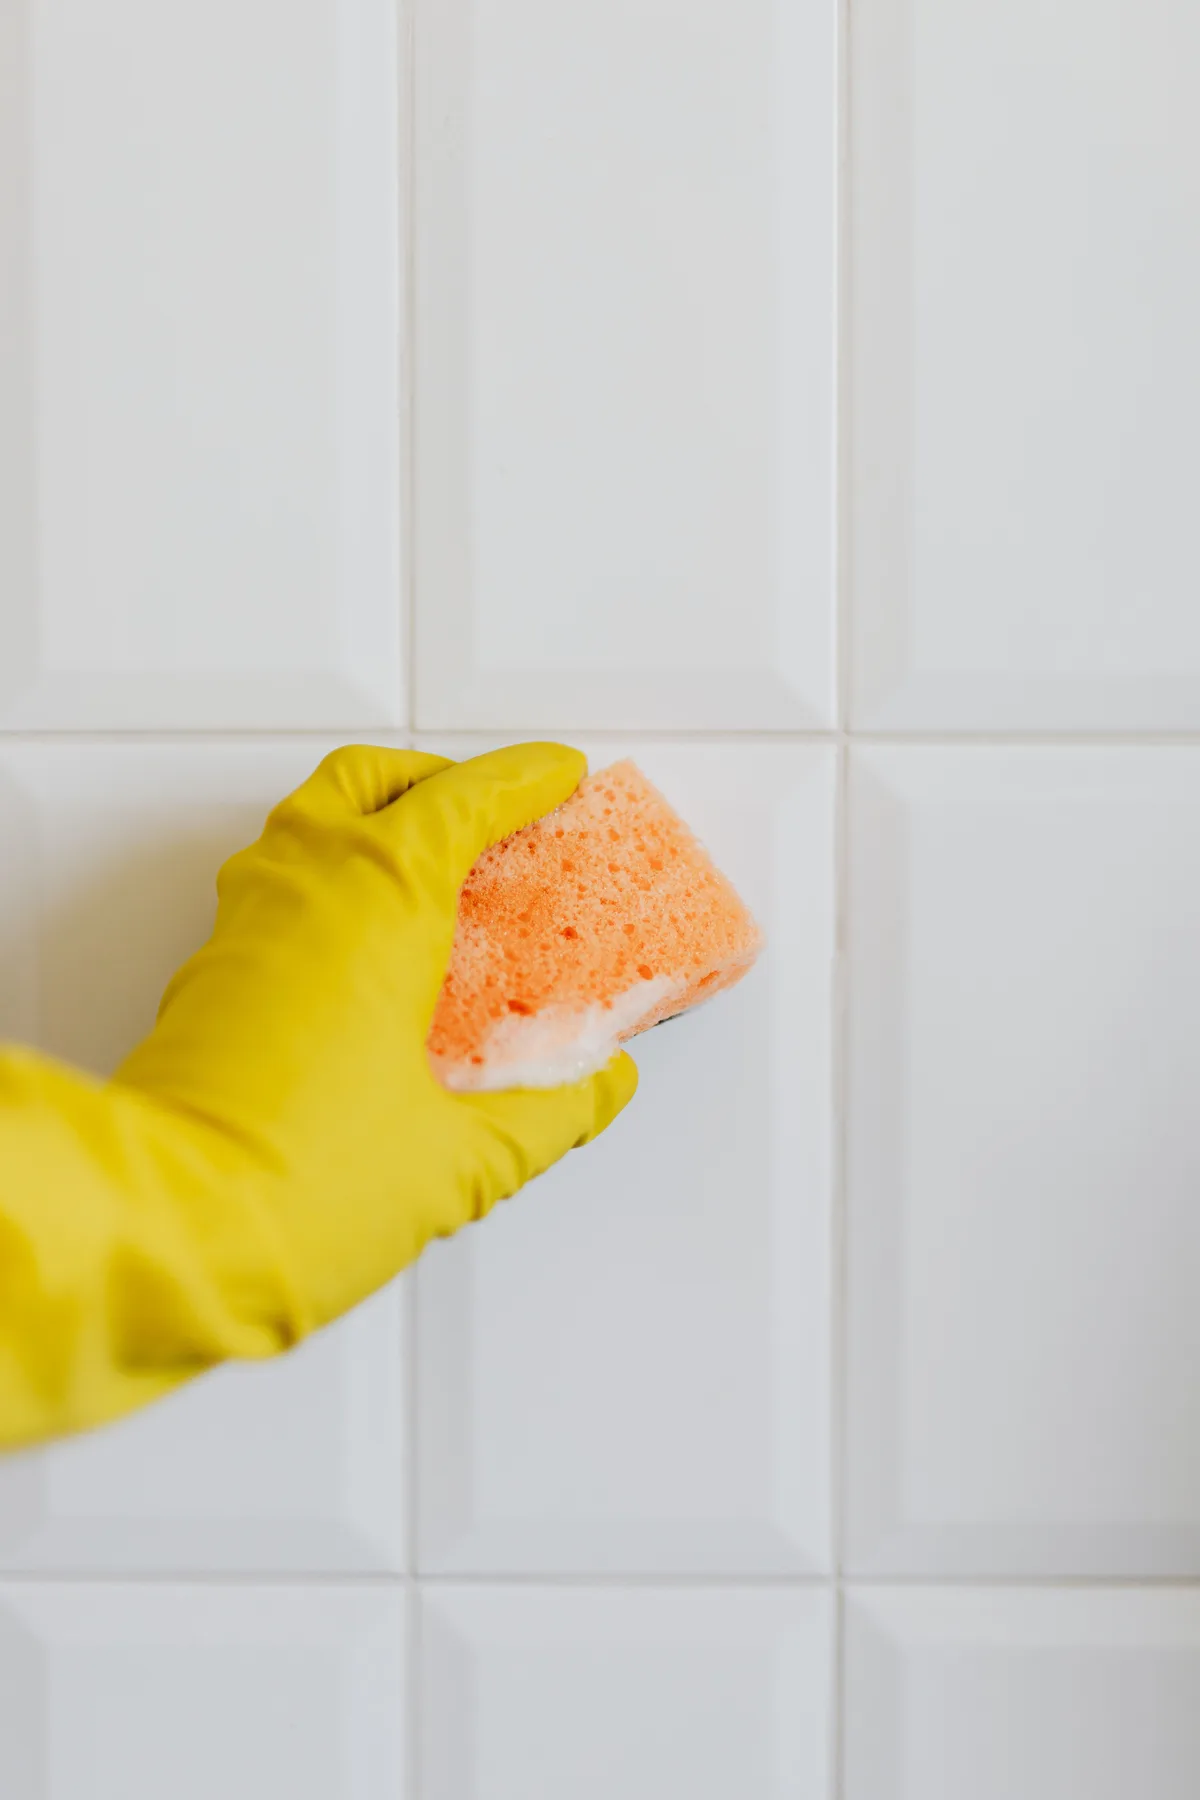
💡 💡 Do a test patch on an offcut or an inconspicuous spot first. That shows you how the colour looks once dry and how quickly the grout sets at your temperature. After that you know exactly when to start sponging.
Grout contains cement. Wet grout can irritate the skin and is dangerous in the eyes. Always wear gloves and safety goggles. Mixing powder releases fine dust: wear an FFP2 dust mask and ventilate the room. On a floor, use knee pads. Rinse splashes off your skin with water straight away. You will find all personal protective equipment in our workwear and PPE range, see the link at the bottom of this article.
That depends on the tile adhesive, the temperature and the substrate. The correct waiting time is on the adhesive packaging. If a tile is not firm yet, wait longer.
No. Seal internal corners and junctions with the bath, shower tray, floor or frame with sanitary sealant. Movement can occur there and a rigid joint would crack.
As soon as the grout starts to set. A good test: press the joint gently with your finger. If nothing sticks, you can start with a well wrung-out sponge.
Grout applied over an old joint bonds poorly. Rake out the old joint deep enough first. Also read our blog on cleaning and renewing discoloured grout.
Often a dry cloth works shortly after curing. If not, use a cement haze remover according to the packaging and test on an inconspicuous spot first.
Clean the joints regularly with a suitable cleaner, such as FILA Fuganet grout cleaner, and dry the shower wall after use. That keeps them looking good for longer.
Read also: our blog on choosing between Fugalite and Fugabella, our blog on choosing grout: cementitious or epoxy and our blog on resealing a bathroom with new silicone.
At Saniso, the online store for DIYers and professionals, you will find tools, materials and personal protective equipment for your job.
In doubt about the approach? Feel free to call in a professional.
Saniso – Build your home with Saniso.
Share:
Does the shower keep changing temperature? Limescale, filters or the thermostat often play a part. Read what you can cle...
Which jigsaw fits your work? Compare corded and cordless, pendulum action, variable speed and blades for wood, metal and...
Cleaning windows and frames yourself without streaks? This guide shows which supplies you need, in which order to clean...
Which glue gun should you choose: 55, 80 or 100 W, corded or cordless, and which glue sticks fit? Plus tips for neat, sa...