Grout in one even colour across the whole wall or floor: that is what you want. In this blog we explain how the hybrid R...

How to lay tiles diagonally or in a pattern
With the same tile you can create a completely different room, just by changing the laying pattern. A diagonally laid floor looks playful and makes a small room appear larger. A running bond gives calm and direction, and a herringbone is a real eye-catcher. In this blog you will read which patterns there are, how to set them out and how to lay them step by step. If you have never tiled before, first read our blog on tiling a floor or our blog on tiling a wall.
The best-known laying patterns
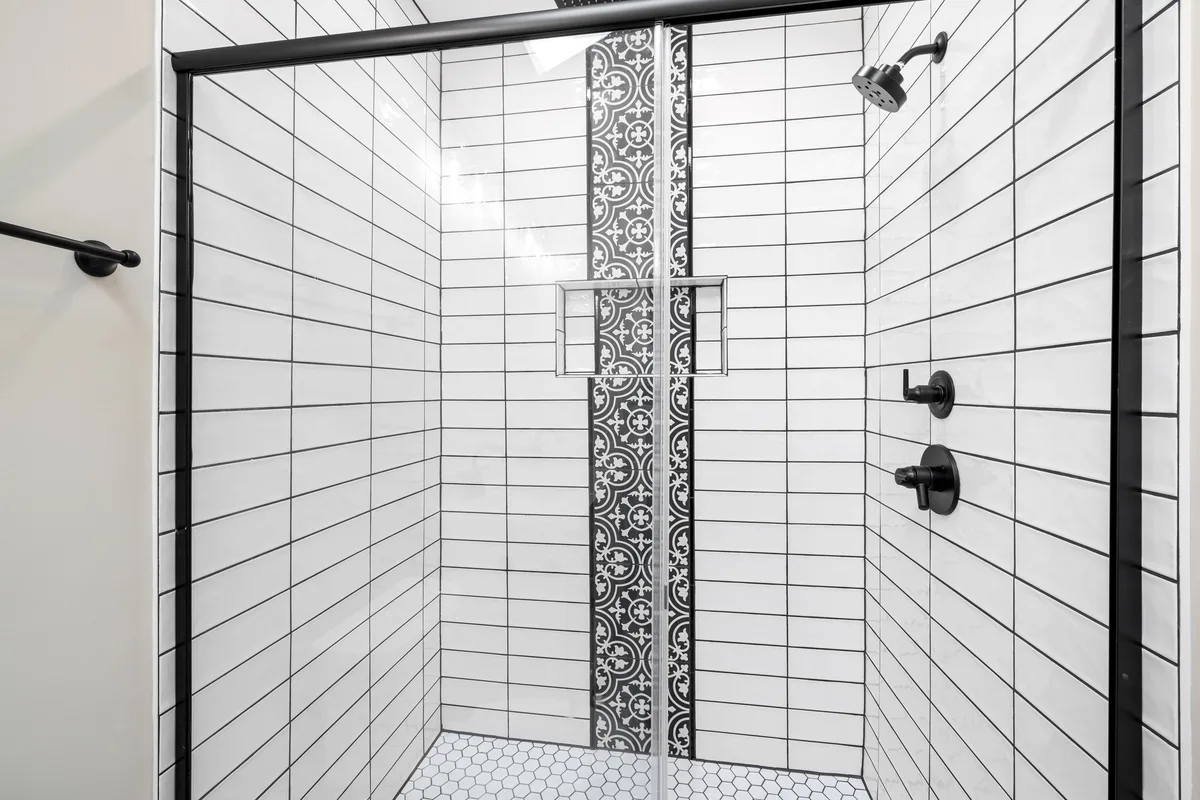
- Straight or stack bond: all joints run through, both horizontally and vertically. Clean and modern, but every deviation is immediately visible. So work extra accurately.
- Running bond: each row shifts by half a tile, as in brickwork. This hides small size differences well and gives a classic look.
- Third offset: each row shifts by a third of a tile. This is often recommended for elongated tiles, because they are sometimes slightly bowed.
- Diagonal: the tiles are at 45 degrees to the wall. This makes the room livelier, but requires more cutting.
- Herringbone: narrow, elongated tiles are laid in a zigzag pattern. Beautiful, but the most difficult pattern to get straight.

💡 With elongated tiles, a smaller offset, for example a third or less, is often better than a half offset. Check the packaging or the product information of the tile to see which offset is recommended.
What do you need?
- Measuring and setting out: tape measure with auto-lock, carpenter pencil, chalk line with chalk, 60 cm spirit level and for larger floors a 120 cm spirit level or a cross-line laser.
- Laying: deep-penetrating primer, Raimondi notched trowel, Raimondi mortar mixer with a 12-litre bucket, adjustable 4 mm tile spacers and for larger tiles a tile levelling system.
- Cutting: a Raimondi Kompass tile cutter or the Raimondi T-Cut tile cutter set. With diagonal and herringbone you cut many angled pieces, so make sure your cutting tools are in good condition. More about this in our blog on Raimondi tile tools.
- Grouting: grout spreader, Raimondi floor sponge and a grout such as Kerakoll Fugabella Color grout. Help with choosing can be found in our blog on choosing the right grout colour.
- Protection: see the Working safely section below.
Working safely
Tiling is heavy and dusty work. Protect yourself properly:

- Knees: you spend hours on your knees. Use Raimondi knee pads with gel.
- Eyes: sharp fragments fly off when cutting and snapping. Wear safety goggles.
- Hands: tile adhesive and grout are caustic to the skin and tile edges are razor-sharp. Wear work gloves with nitrile coating.
- Breathing: fine dust is released when mixing powder adhesive and when dry cutting or grinding. Wear an FFP2 dust mask and work in a well-ventilated room.
- Back: do not lift boxes of tiles and bags of adhesive that are too heavy and work from your knees as much as possible.
Step by step: setting out and laying the pattern
- Check the substrate. It must be flat, dry, load-bearing and dust-free. Treat absorbent substrates with a primer.
- Find the centre point. Measure the centre of the room or wall and use the chalk line to mark two lines at right angles. For diagonal laying, also mark a line at 45 degrees from the centre point.
- Dry-lay first. Lay a row of tiles with spacers loosely, without adhesive. This shows you where the cut edges will be. Shift the pattern so that you have equally sized pieces on both sides and no narrow strips at a visible edge or door.
- Start in the middle. Apply adhesive with the notched trowel in an area of about one square metre and lay the first tiles exactly along the line. Work from the middle outwards and towards the door, so that you do not shut yourself in.
- Keep the pattern straight. Check every few rows with the spirit level and a straight edge that the joints still line up. With running bond and third offset, use a fixed mark on each row so that the offset stays the same everywhere.
- Cut the edge pieces. Measure each edge piece separately, because walls are rarely perfectly straight. With diagonal laying, most edge pieces are triangles; cut them with a sharp cutter and check that they fit before applying adhesive.
- Let it cure and grout. Wait for the drying time of the adhesive. Remove the spacers, grout diagonally across the tiles and wash off with the floor sponge.

Common mistakes
- Starting in a corner instead of in the middle, leaving narrow strips on the other side.
- Not dry-laying, so that the pattern only turns out to be crooked halfway.
- Too few tiles: diagonal and herringbone produce more cutting waste than straight laying. Allow for extra tiles from the same production batch.
- Laying elongated tiles in running bond while the manufacturer recommends a smaller offset, resulting in height differences between the tiles.
- Not matching the pattern to the room. A strong pattern in a small room with many corners can look restless.
DIY or a professional?
A straight pattern or running bond on a small, flat wall is perfectly doable for many DIYers. Diagonal and certainly herringbone require a lot of experience, accurate cutting and patience. The same applies to large floors, large-format tiles and floors with underfloor heating. In that case, also read our blog on tiling a bathroom. For work on water, electricity or gas lines, always call in a certified installer.
👷 An experienced tiler sees in advance where the pattern will pinch, distributes the cut edges nicely across the room and lays a herringbone that looks straight from every angle. In case of doubt, leave it to a professional.
Frequently asked questions
Does diagonal laying take more tiles?
Yes, there is more cutting waste, especially along the walls. So keep plenty of extra tiles to hand, from the same production batch.
Which pattern makes a small room look larger?
Diagonally laid tiles and large tiles with narrow joints often make a room appear more spacious. Light colours and a grout colour that matches the tile reinforce that effect.
Can I lay any type of tile in herringbone?
Herringbone works best with narrow, elongated tiles that are exactly the same length and width. There are also special herringbone tiles. With other formats the pattern may not close properly.
Do I need to take extra care with stack bond?
Yes. Because all joints run through, every deviation is visible. Use tile spacers, check often with the spirit level and keep the joint width the same everywhere.
Where can you find everything for this job?
At Saniso, the online store for DIYers and professionals, you will find tools, materials and personal protective equipment for your job.
- Browse our construction tools and our workwear and safety.
- Create a customer account and order easily.
- Working on a bigger project or want to hand over the job? Request a project quote.
- Book a showroom visit, at least 24 hours in advance.
- Not sure which material suits your job? Get in touch with us.
In doubt about the approach? Feel free to call in a professional.
Saniso – Build your home with Saniso.
Share: