






Grout in one even colour across the whole wall or floor: that is what you want. In this blog we explain how the hybrid R...

Your online building supplies store for building and renovation
 English
✓
English
✓
 Nederlands
✓
Nederlands
✓

A freshly painted ceiling makes a room feel lighter and more spacious straight away. Yet for many DIYers the ceiling is the hardest surface to paint: you work above your head, the paint can splash and you only see streaks when the light hits the surface at an angle. With good preparation, the right roller and a fixed working order you can still get an even result. In this blog you will read step by step how to go about it.
👷 Calling in a painter is never superfluous. For high ceilings, stairwells, ceilings with cracks, damp patches or loose layers, a professional is the best choice. They assess the surface and work safely at height.
Empty the room as much as possible and cover whatever stays in the middle with film. Cover the whole floor, because splashes from a ceiling end up everywhere. Make the ceiling dust-free and degrease stains, for example above the cooker. Fill small holes and hairline cracks with filler, let it dry and sand it flush. If you see damp patches or flaking paint, find the cause first, because paint does not solve a damp problem. Mask the edges where the ceiling meets a wall in another colour.
⚠️ Is there a light fitting or a ceiling box in the ceiling? Work carefully around it and leave removing or connecting it to a qualified electrician. Do not work on the electrics yourself.
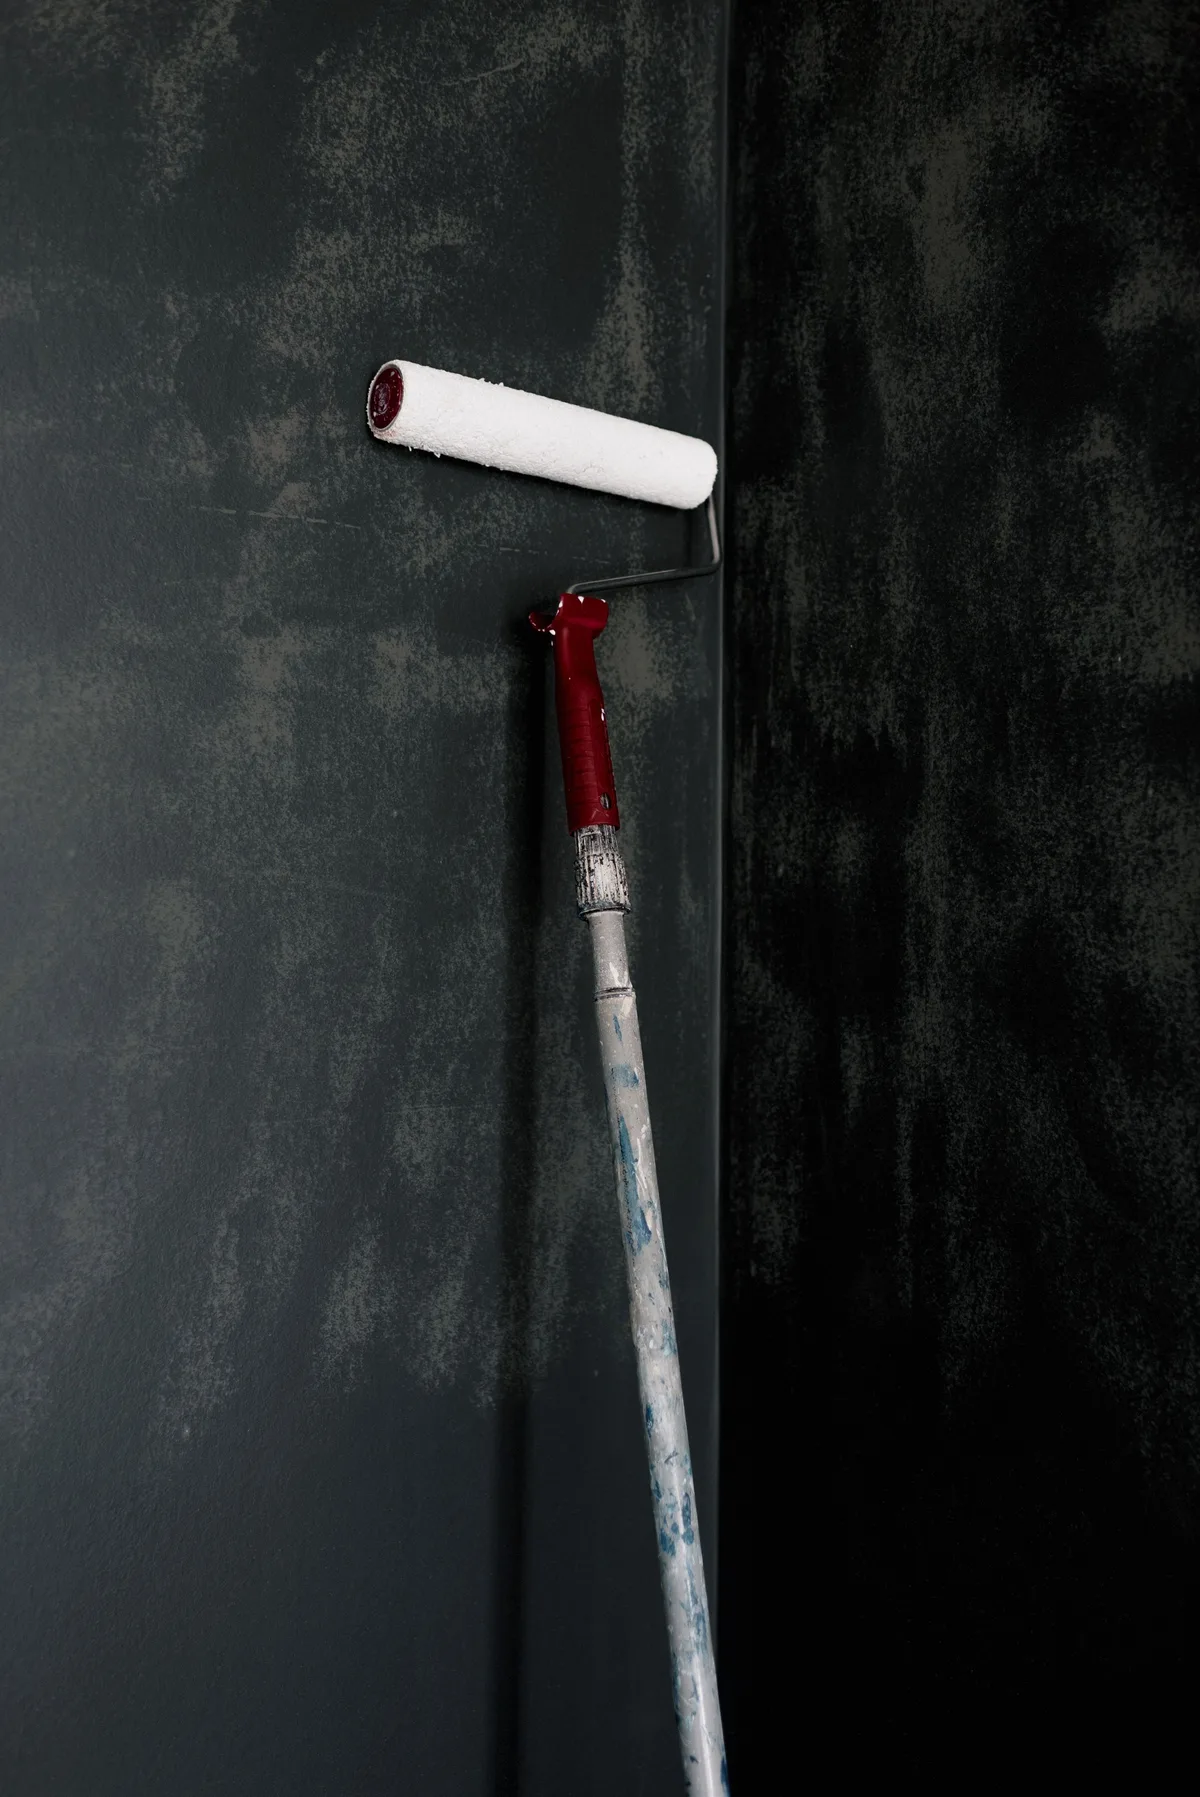
💡 Always finish a ceiling in one go. If you stop halfway across a surface, you will later see exactly where you stopped.
Work from the floor with a telescopic handle as much as possible, so you stand firmly and need the ladder less often. For the edges, use a sturdy ladder or step ladder on a level floor, do not stand on the top steps and move the ladder one extra time rather than overreaching. Wear safety glasses against splashes and make sure the room is well ventilated. Take regular breaks, because working overhead is hard on your neck and shoulders. You will find more tips in our blog on safe working on the construction site.
Want to know more about the tools? Read our blog on paint rollers and brushes, our blog on masking tape and protective film and our blog on putty knives, sanding tools and scrapers.
Always start with the ceiling. You simply cover any splashes on the wall when you paint the walls afterwards.
Usually two. With a big colour difference or a very absorbent surface, a primer or an extra coat may be needed. Always follow the paint manufacturer's instructions.
Work wet-on-wet, use enough paint on the roller and finish by rolling in one direction, parallel to the light.
For high or hard-to-reach ceilings, with cracks, damp or loose layers, and when you want to be sure of a smooth end result. Calling in a professional is a sensible choice then.
Read also: How to protect your floor during renovation
At Saniso, the online store for DIYers and professionals, you will find tools, materials and personal protective equipment for your job.
In doubt about the approach? Feel free to call in a professional.
Read also: How to paint a door and How to plaster a wall
Read also: How to paint a radiator
Saniso – Build your home with Saniso.
Share:
Grout in one even colour across the whole wall or floor: that is what you want. In this blog we explain how the hybrid R...

Learn how to level a floor yourself: prepare the subfloor, prime, mix and pour self-levelling compound. Step-by-step wit...

Installing a kitchen: do it yourself or hire a professional? Read what is involved, which parts you can do yourself and...
Cersanit Ares cement-look tiles for bathroom, kitchen and living room: 30×30 to 60×120, matt or satin, plus mosaic, skir...