






Grout in one even colour across the whole wall or floor: that is what you want. In this blog we explain how the hybrid R...

Your online building supplies store for building and renovation
 English
✓
English
✓
 Nederlands
✓
Nederlands
✓
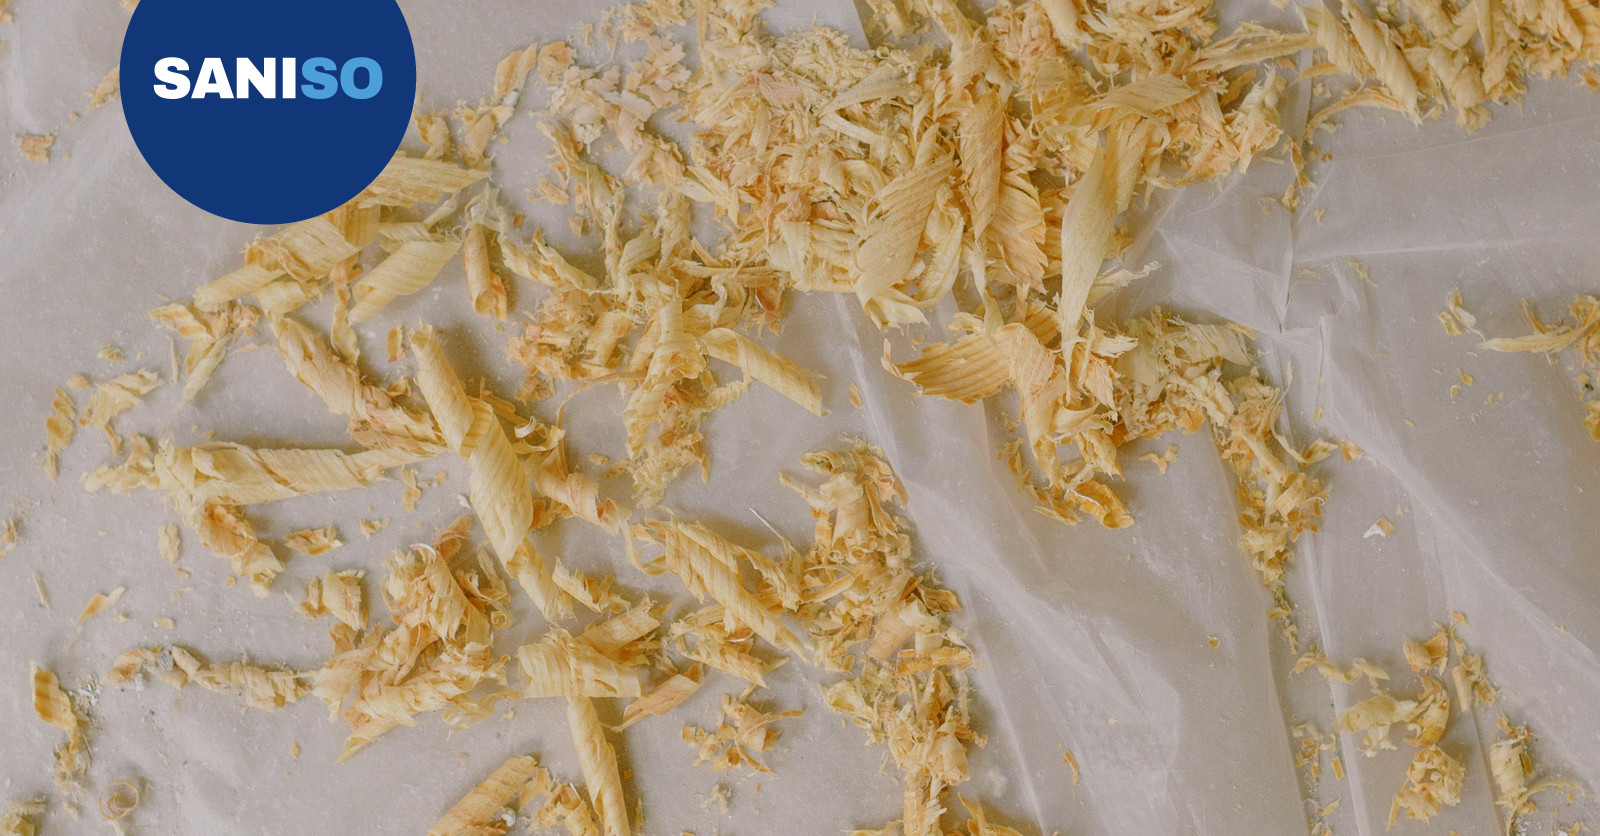
Anyone who is going to paint, plaster, tile or replace a kitchen usually thinks mainly about the walls and the ceiling. But it is the floor that takes the most punishment during a renovation. Paint splashes, plaster, drilling dust, dropped tools and sand under your shoes can damage a wooden floor, laminate, vinyl or tiles. Covering the floor properly takes an hour and prevents annoying and expensive damage. In this blog you will read how to go about it.
👷 If a professional is doing the renovation, agree beforehand who will cover the floor. A good painter, plasterer or contractor includes this in their work. Calling in a professional is never superfluous, certainly not for big jobs or a valuable floor.
masking paper is strong, absorbs moisture and stays in place well. It is ideal for painting and light jobs on a hard floor. Because the paper breathes, no moisture stays trapped underneath.
masking film and heavy-duty protective film keep out paint, plaster and water. Film is useful for wet work such as plastering or applying wall paint. Note: film can be slippery, and moisture that gets underneath dries slowly. So on a wooden floor, lay paper first and film on top.
For heavy work, such as demolishing a kitchen or moving heavy materials, a layer of hard boards over the paper protects the floor against dents and scratches.
💡 Never stick tape directly onto a delicate floor, such as an oiled or freshly lacquered floor. Use a tape suitable for sensitive surfaces and remove it as soon as possible.
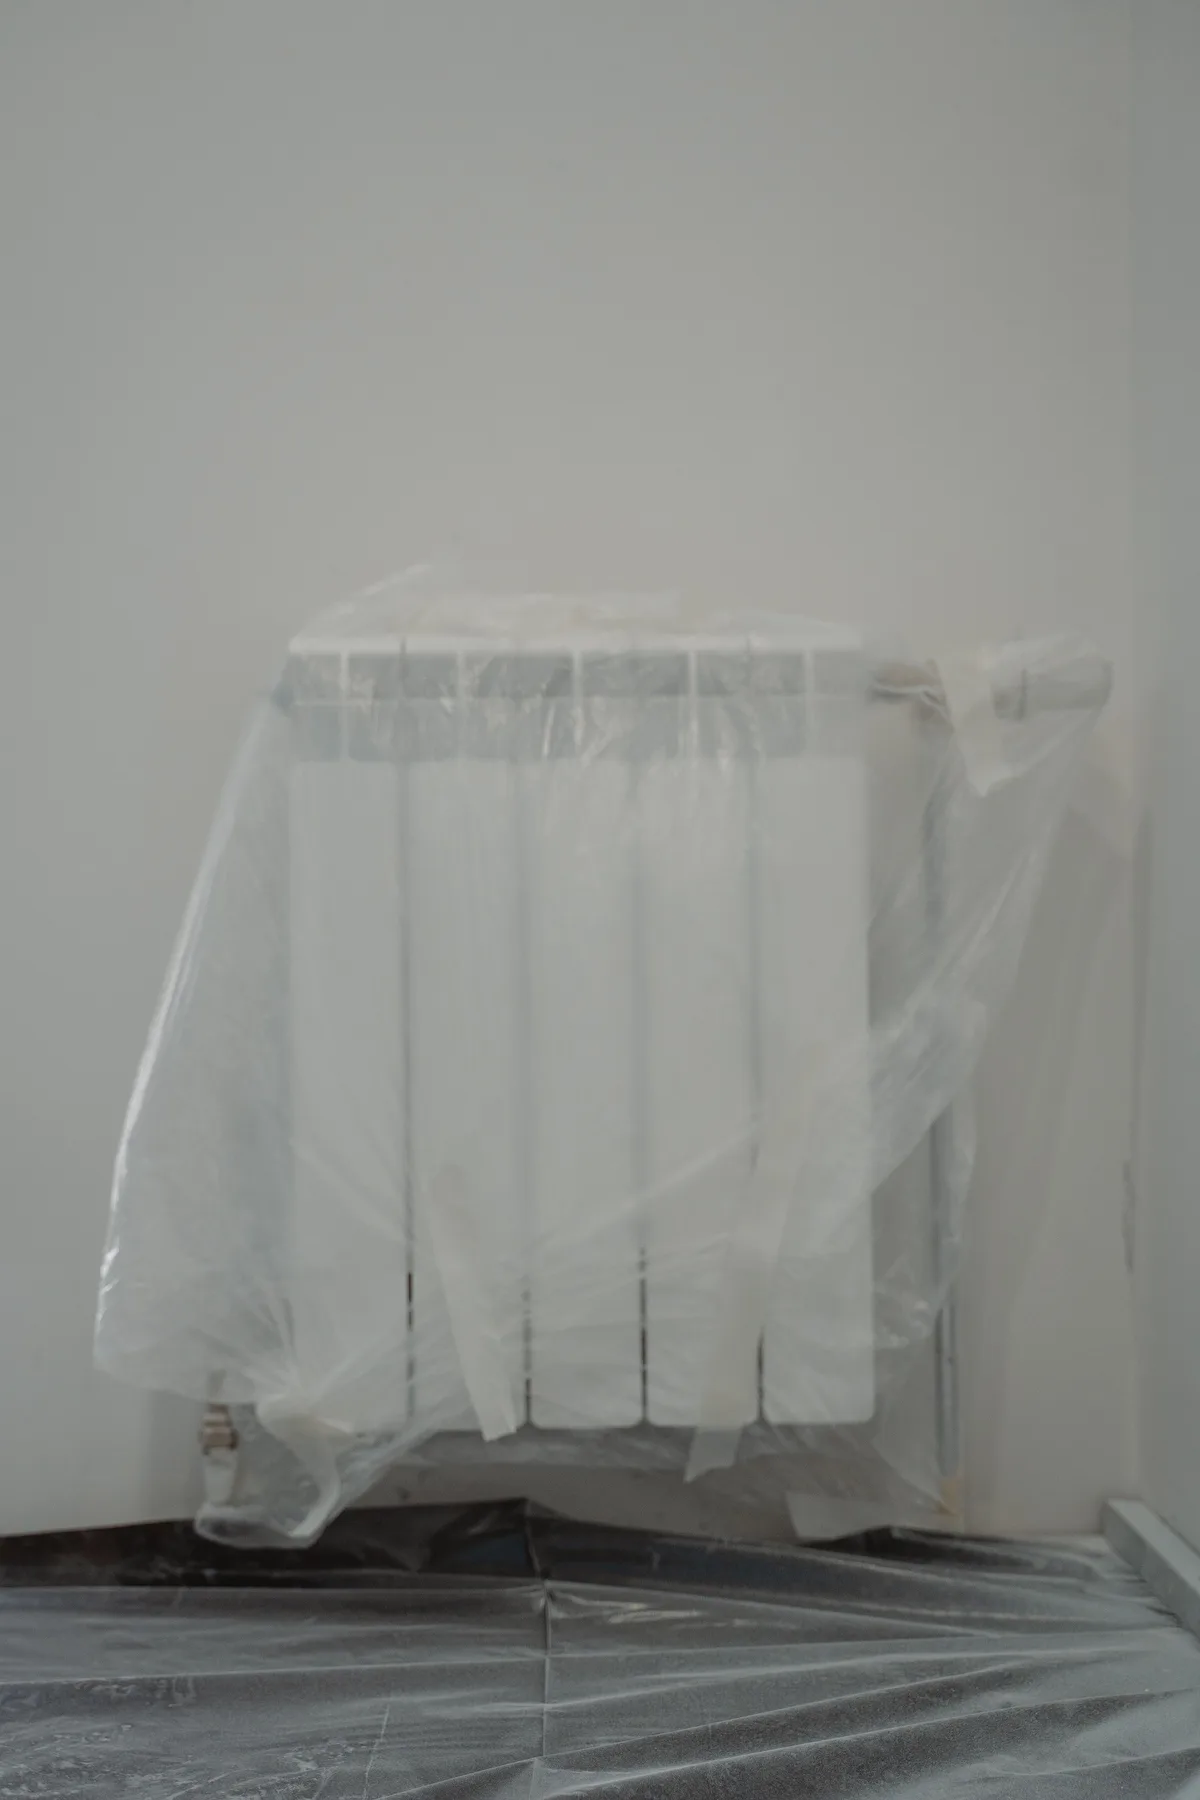
⚠️ Film and paper can be slippery or start to slide, especially on stairs. Tape everything down well and never stand a ladder on loose covering material. Read more about working safely in our blog on safe working on the construction site.
Read more about choosing the right tape and film in our blog on masking tape and protective film.
A cloth only partly stops paint and can slide around. Masking paper or film, taped down well, gives better protection.
That depends on the tape. Always remove tape as soon as you can and follow the instructions on the packaging.
Yes. A new floor is especially vulnerable. Preferably lay the floor last, otherwise cover it well until all the work is done.
Remove wet paint straight away with a damp cloth. If the paint has dried and you are in doubt, leave it to a professional to avoid damaging the lacquer or oil.
Read also: How to paint a ceiling: step by step and How to paint a radiator
At Saniso, the online store for DIYers and professionals, you will find tools, materials and personal protective equipment for your job.
In doubt about the approach? Feel free to call in a professional.
Saniso – Build your home with Saniso.
Read also: How to paint a wall: step-by-step DIY guide
Share:
Grout in one even colour across the whole wall or floor: that is what you want. In this blog we explain how the hybrid R...

Learn how to level a floor yourself: prepare the subfloor, prime, mix and pour self-levelling compound. Step-by-step wit...

Installing a kitchen: do it yourself or hire a professional? Read what is involved, which parts you can do yourself and...
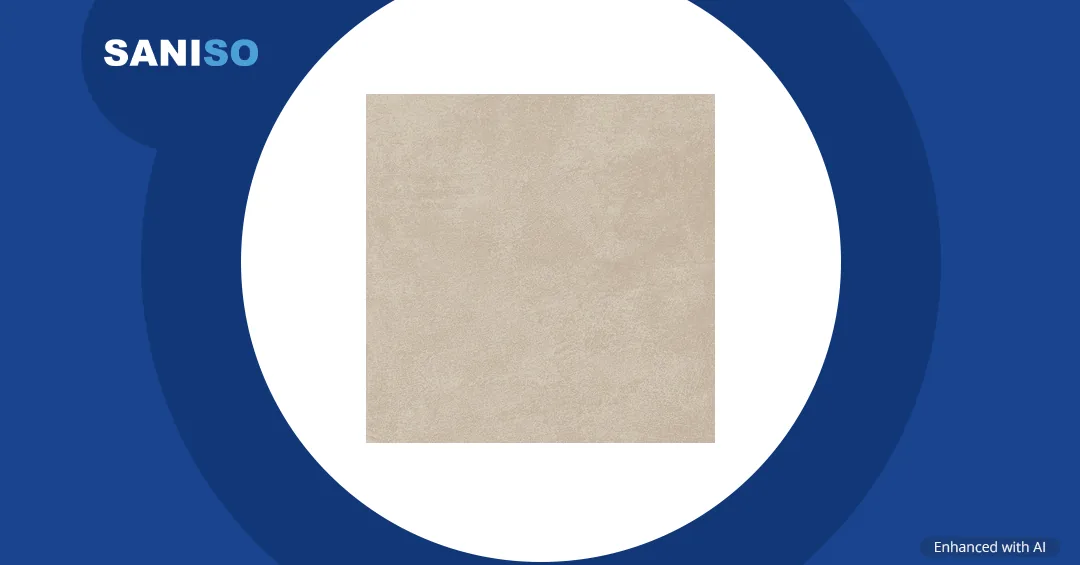
Cersanit Ares cement-look tiles for bathroom, kitchen and living room: 30×30 to 60×120, matt or satin, plus mosaic, skir...