






Grout in one even colour across the whole wall or floor: that is what you want. In this blog we explain how the hybrid R...

Your online building supplies store for building and renovation
 English
✓
English
✓
 Nederlands
✓
Nederlands
✓

A tile that cracks under a dropped pan, a tile that sounds hollow or a corner that has chipped off: it happens in every kitchen and bathroom. A broken tile is not only unsightly, it also lets water through to the substrate. Fortunately, you do not have to retile the whole wall or floor straight away. With patience and the right tools you can replace one or a few tiles yourself. In this blog you will read how to do that without damaging the surrounding tiles.
👷 Calling in a professional is never superfluous. If many tiles are cracked, large areas sound hollow or you see cracks running through several tiles, the problem is often in the substrate. Have that assessed by a tiler. In a shower, where water can get behind the tiles, it is also wise to have a professional check the waterproofing.
The trickiest part of a tile repair is often finding a matching tile. First look in the shed, the attic or the garage: many people keep a box of spare tiles after tiling. If you do not have one, take a piece of the broken tile with you when looking for a replacement, so you can compare colour, size and thickness.
💡 If you cannot find exactly the same tile, replace a few tiles in a logical place with a deliberate contrasting tile, for example in a row or as a pattern. That often looks better than a tile that is almost, but not quite, the same.
Help with choosing the grout colour can be found in our blog on choosing the right grout colour.
Use the joint scraper to remove all the grout around the broken tile, down to the adhesive. Work calmly and keep the tool in line with the joint, so you do not slip onto the neighbouring tiles. The better the grout is removed, the less chance that the neighbouring tiles crack when you take out the broken one.
💡 Tape off the edges of the neighbouring tiles with strong tape. If you do slip, the tape protects the glaze.
Always work from the middle of the tile outwards, never from the edge:
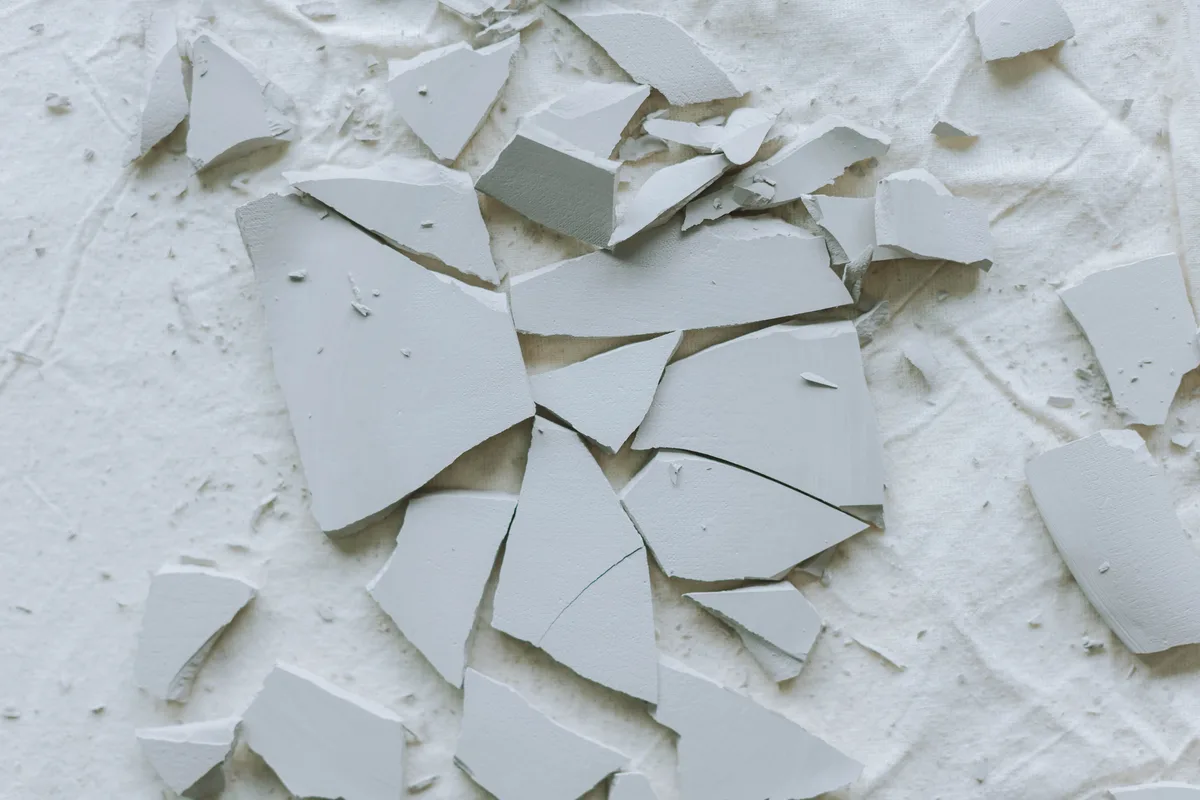
⚠️ Always wear safety goggles during this step. Shards can fly off hard even when tapping gently. Pick up the shards with cut-resistant gloves.
If the tile is whole but loose or hollow, try lifting it out with the suction cup after raking out the grout. That way you can sometimes reuse it.
Scrape away the old adhesive with the multifunctional scraper or the chisel, so the new tile will not sit higher than the rest. Work carefully, especially on a wall with plasterboard or a waterproof membrane underneath: you must not chisel through it. Vacuum the dust and check that the substrate is dry and firm.
⚠️ Do you see in a shower or bathroom that the substrate is wet, soft or damaged, or have you hit the waterproofing? Then stop and have a tiler repair the substrate and the waterproofing. Otherwise water will run behind the new tile.
Let the adhesive cure according to the instructions on the packaging. Do not walk on a floor tile during that time. If you want to know more about fixing and aligning tiles, read our blog on tiling a wall.
Remove the tile spacers and mix the grout according to the packaging. Press the grout diagonally into the joints with the grouting float, so the joints are well filled. After a short wait, wash the tile with a damp, well wrung-out sponge, also diagonally. Let the grout dry and then polish off the cement haze with a dry cloth. In corners and along the bath, shower tray or worktop you use sealant instead of grout. You can read how to do that neatly in our blog on resealing a bathroom with new silicone.
Always wear safety goggles when raking out, drilling and chiselling. Tile shards are razor-sharp: pick them up with cut-resistant gloves and dispose of them in a sturdy bucket or box. Drilling and raking out create fine dust. Wear an FFP2 dust mask, vacuum the dust and ventilate the room. If you are working near sockets or pipes, first check where they run and switch off the power if in doubt. Leave work on electrics or water pipes to a qualified installer.
A hairline crack in a wall tile in a dry area can be filled temporarily, but it will remain visible. In a shower or on a floor it is better to replace a cracked tile, so no water gets underneath and the crack does not grow.
Usually there is too little adhesive under the tile or the adhesive has come loose. A hollow tile breaks more easily. If many tiles sound hollow, have a tiler take a look.
That depends on the tile adhesive. Always follow the instructions on the packaging and only walk on the tile once both the adhesive and the grout have cured sufficiently.
Yes, but be extra careful with the waterproofing behind the tiles. If you are unsure whether it is still intact, call in a tiler.
At Saniso, the online store for DIYers and professionals, you will find tools, materials and personal protective equipment for your job.
In doubt about the approach? Feel free to call in a professional.
Saniso – Build your home with Saniso.
Read also: How to tile a floor: step-by-step DIY guide and How to clean, remove and renew discoloured grout
Read also: How to transport tiles and slabs safely
Share:
Grout in one even colour across the whole wall or floor: that is what you want. In this blog we explain how the hybrid R...

Learn how to level a floor yourself: prepare the subfloor, prime, mix and pour self-levelling compound. Step-by-step wit...
Why Cersanit tiles at Saniso: wood, floral, stone, monocolour and outdoor collections for walls and floors, with 5 price...

Installing a kitchen: do it yourself or hire a professional? Read what is involved, which parts you can do yourself and...