Cart (0)
No products in the cart.

 English ✓
 Nederlands ✓
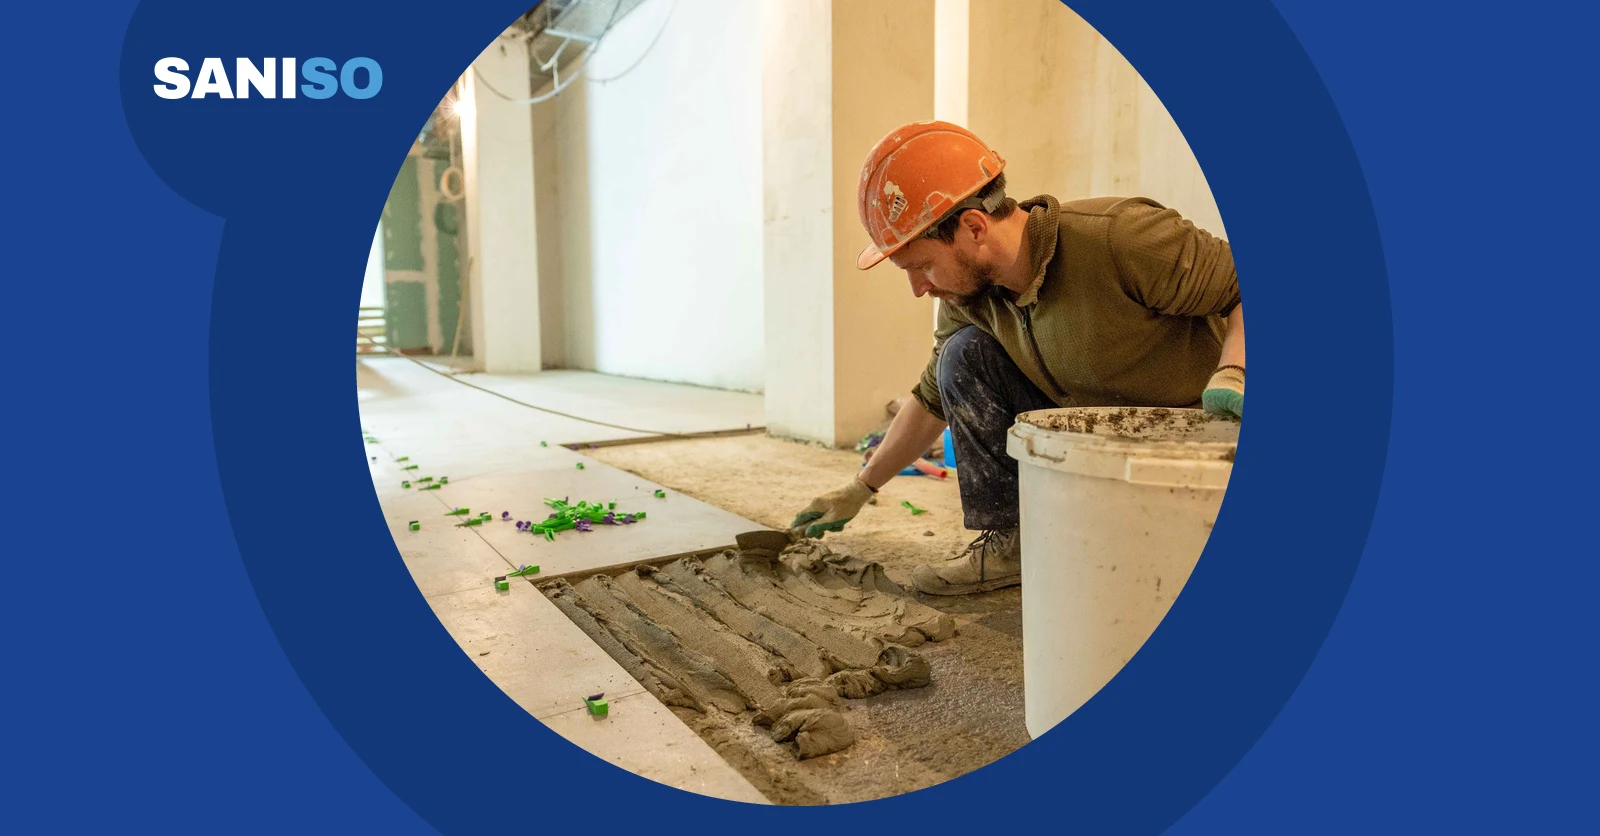
Short answer: tiles are only as good as the substrate underneath. Check three things before you start. Flatness: lay a 2-metre straightedge in all directions and measure the largest gap; the larger the tile, the smaller that gap may be. Moisture: as a guide value a cement screed must be below about 2 percent residual moisture and an anhydrite screed below about 0.5 percent, measured with the CM method. Strength: the top layer must not be sandy, scratch easily or sound hollow. Only when all three are in order do you prime and start bonding.
Read this article in Dutch as well: Ondergrond beoordelen voor het tegelen: vlakheid, vocht, sterkte.
👷 The guide values in this blog come from practice. The specification, the agreed flatness standard and the instructions of the adhesive and levelling compound manufacturer always take precedence. An experienced tiler or screed layer sees and hears much more than a meter shows. Always consult beforehand when in doubt.
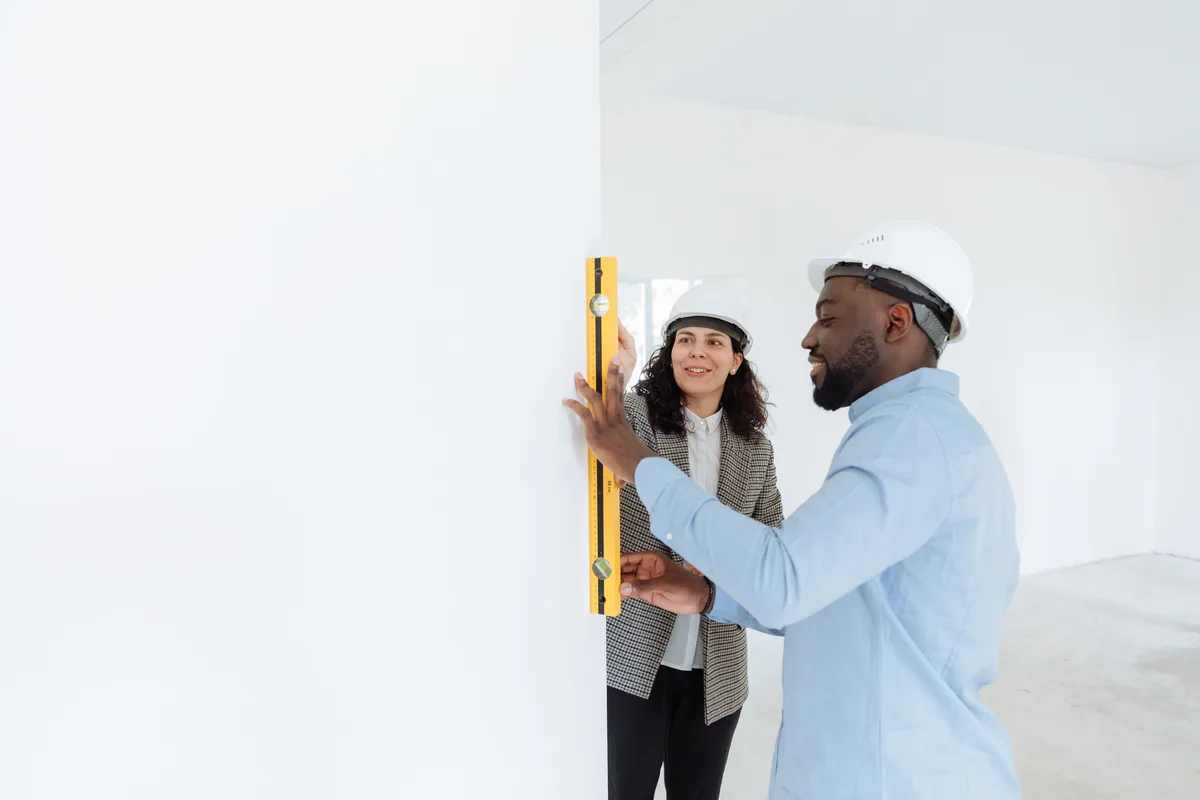
Lay a 200 cm screed straightedge with vials or a 200 cm trapezoid straightedge on the floor, lengthwise, crosswise and diagonally. Measure the largest gap under the straightedge with a tape measure with auto-lock or a measuring wedge. On walls you work with a 120 cm spirit level and also check that the wall is plumb.
| Tile size | Guide value under a 2 m straightedge | What if it is more? |
| Small tiles up to about 30 cm | a few millimetres | often absorbed by the adhesive bed |
| Medium up to about 60 cm | stricter, preferably under 3 mm | level locally |
| Large format 60 x 120 cm and larger | as flat as possible, preferably under 2 mm | level before tiling |
An adhesive bed is not a levelling compound. Applying adhesive too thick causes shrinkage, hollow spots and height differences between tiles. How to level a floor is explained in our blog on levelling a floor before tiling and our blog on levelling a floor. A reliable spirit level is important here, see our blog on checking a spirit level.
Too much residual moisture is one of the best-known causes of loose tiles and discoloured grout, especially with anhydrite and underfloor heating.
| Substrate | Guide value residual moisture | Note |
| Cement-based screed | around 2 percent | often stricter with underfloor heating |
| Anhydrite screed | around 0.5 percent | with underfloor heating often around 0.3 percent, always prime |
| Concrete | per adhesive manufacturer | cure for at least several weeks |
| Plasterboard and gypsum blocks | dry and dust-free | prime, waterproof in wet rooms |
With a Hydromette Compact B moisture meter you can quickly find damp spots without drilling. The official measurement for screeds is the CM method, in which a sample is taken from the floor. Have it carried out when in doubt, with anhydrite and with underfloor heating. With an air humidity and temperature meter you also check the temperature and humidity in the room, as these determine how quickly the floor dries.
⚠️ A floor with underfloor heating must be heated up and cooled down according to a heating protocol before tiling. Never skip that, not even under time pressure.
An absorbent substrate draws water out of the adhesive. So prime with deep-penetrating primer or use a Primer Uni adhesion primer for mortars on mortars and plasters. Follow the drying time on the label before bonding or levelling. For wall tiles read on in our blog on tiling a wall.
Sanding, scraping and vacuuming produce fine dust. Wear an FFP2 dust mask, safety goggles and knee pads. In old floors in houses built before 1994 there may be asbestos-containing material under or in the floor covering. Stop and have it investigated.
As a rule of thumb about one week per centimetre up to 4 centimetres thick, slower after that. Measuring remains necessary, because temperature, ventilation and thickness make a big difference.
Often yes, if the old tiles are firmly bonded, flat and properly degreased and primed. Tap them all first.
A 2-metre straightedge is the standard for floors. For small rooms and walls a long spirit level is handy. Also read our blog on cross-line laser or spirit level for tiling and our blog on laying large-format tiles.
At Saniso, the online store for DIYers and professionals, you will find tools, materials and personal protective equipment for your job.
In doubt about the approach? Feel free to call in a professional.
Saniso – Build your home with Saniso.
Share:
Cement, hybrid or epoxy grout? CG1, CG2, W, A and RG explained according to EN 13888, and which grout to choose for wall...
Fitting a linear drain in a walk-in shower: can you do it yourself, or should a professional do it? Read what is involve...
Want to replace a radiator yourself? This guide shows how to measure, isolate and drain the old radiator, fit new bracke...