You can easily assemble a new cabinet, chest of drawers or table from a flat pack yourself. With a tidy workspace, the right tools and a bit of patience, you avoid crooked doors, stripped screws and a wobbly cabinet. This step-by-step guide shows how to assemble flat-pack furniture, which tools you need, how to fix a tall cabinet safely to the wall and when it is better to call in a professional.
👷 Is it a large built-in wardrobe, a custom cabinet, kitchen units or cabinets that need to hang on the wall? Or are you unsure whether your wall can hold a tall cabinet? Then call in a carpenter or installation professional. A professional sees straight away which fixing suits your wall and makes sure everything is safe and neat. That craftsmanship cannot be replaced by an instruction manual.
What should you check before you start?
The instructions: read the assembly instructions all the way through before you tighten a single screw. That way you know which steps are coming and which parts you need first.
The spot: measure with a tape measure whether the furniture fits in the chosen spot, including the height. A tall cabinet that you assemble lying down must be able to stand upright afterwards without hitting the ceiling or a light.
The room: preferably assemble the furniture in the room where it will stand. An assembled cabinet often no longer fits through a door or stairwell.
Help: assemble and move large cabinets with two people. Ask someone to help in good time.
The wall: if the cabinet needs to be fixed to the wall, check beforehand what kind of wall it is (brick, concrete or plasterboard) and where pipes and cables run.
What do you need?
Materials
The flat pack with all panels, the hardware and the assembly instructions.
The anti-tip fixing supplied with tall cabinets, and plugs and screws that suit your wall, such as a universal expansion plug for brick and concrete or a plasterboard plug for a plasterboard wall.
A piece of cardboard or an old blanket as a soft base, so panels do not get damaged.
Tools
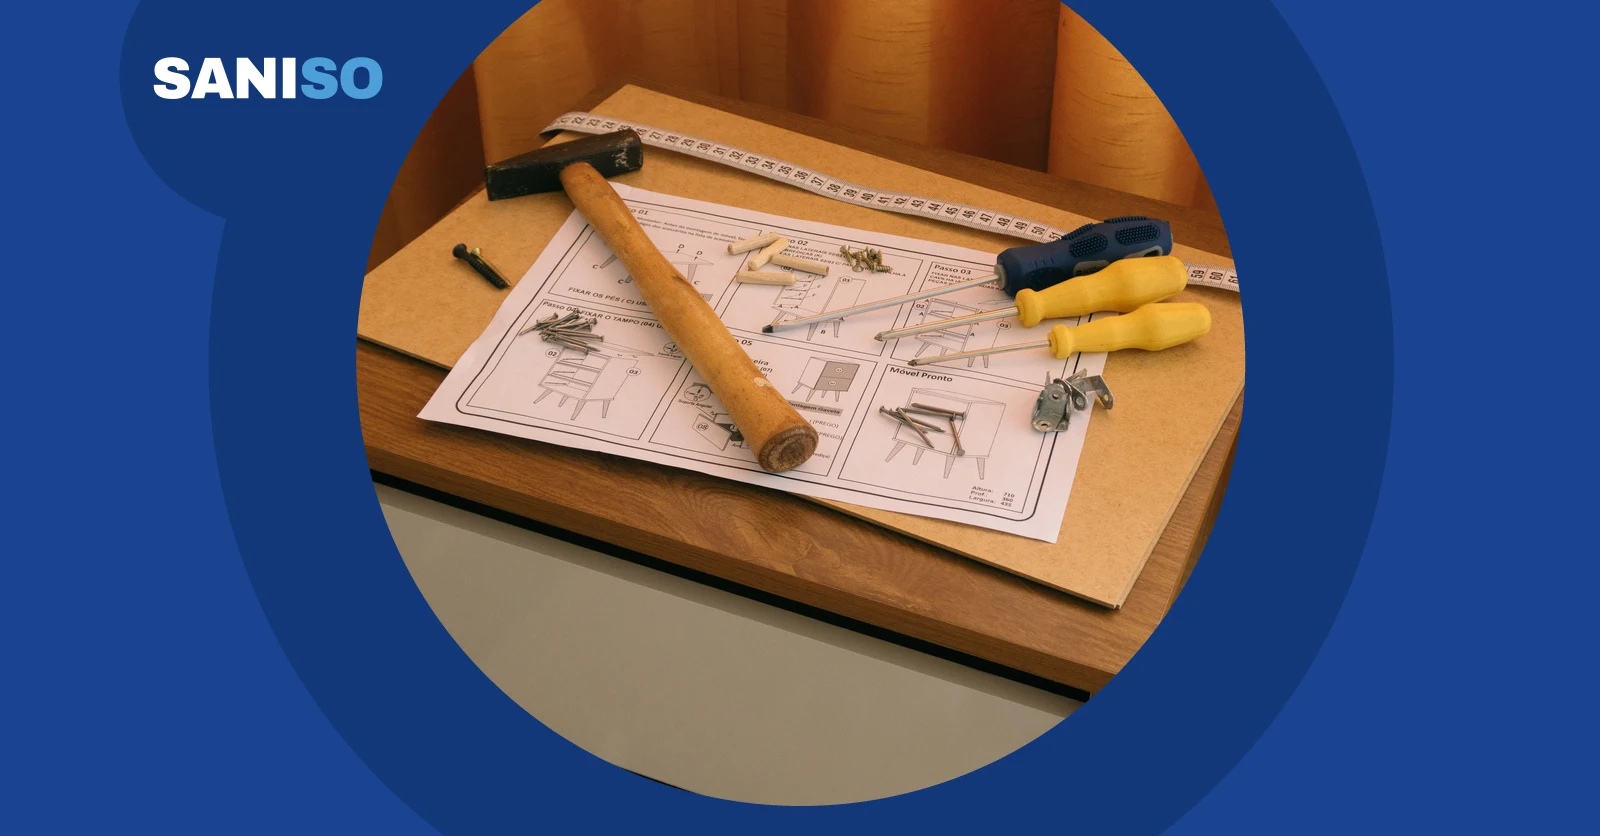
A screwdriver set for cross-head and slotted screws. Turning by hand gives the most feel.
Step-by-step guide: how do you assemble flat-pack furniture?
Clear a workspace. Choose a clear, clean floor and lay down cardboard or a blanket. Make sure there is good light and keep children and pets away from loose parts.
Unpack carefully. Open the boxes with the snap-off knife without cutting deep, so you do not damage the panels. Take everything out and lay the panels flat.
Check all parts. Lay out the panels and hardware according to the parts list in the instructions and count everything. Sort the small hardware into the magnetic bowl. Is something missing or is a panel damaged? Then do not continue assembling.
Work in the order of the instructions. Follow the steps exactly and pay attention to the markings on the panels. A panel that is upside down is often only noticed a few steps later.
Fit dowels and connectors. Gently tap dowels into the holes with the rubber hammer. Only tighten cam locks once the panels sit tightly against each other.
Do not overtighten screws. First turn the screws in without fully tightening them, and tighten them once the frame stands. If you use the cordless drill, choose a low setting and make the last turn by hand. A screw strips quickly in chipboard.
Check that the frame is square. Measure the diagonals of the cabinet with the tape measure. If they are equal, the cabinet is square. Only then fix the back panel, because it keeps the cabinet in shape.
Stand the cabinet up together. Lift or tilt a tall cabinet upright with two people, keeping your back straight and lifting with your legs. Watch out for the ceiling, lights and windows.
Level the cabinet. Put the cabinet in its place and check with the spirit level that it stands straight. Use adjustable feet if there are any, so the cabinet does not wobble.
Fix tall cabinets to the wall. Mark the drill holes, check with the detector that there are no pipes or cables and drill with the right bit. Fit the anti-tip fixing with plugs that suit your wall. If you are unsure about the wall, call in a professional.
Fit and adjust doors and drawers. Hang doors and drawers last. If doors hang crooked, adjust them with the adjusting screws of the hinges, as the instructions describe.
Which mistakes are easy to make?
Starting without first going through the full instructions and the parts list.
Overtightening screws with the cordless drill, so they strip in the chipboard.
Fitting a panel or hinge the wrong way round and only noticing at the end.
Fixing the back panel before the cabinet is square.
Standing up or moving a tall cabinet on your own.
Not fixing a tall cabinet to the wall, or using plugs that do not suit the wall.
Working on a hard floor without a base, damaging panels or the floor.
How do you work safely?
Preventing tipping: a tall or narrow cabinet can fall forward, especially with drawers or doors open or when children climb into it. Always fix such a cabinet with the anti-tip fixing.
Drilling into the wall: locate pipes and cables first and never drill blindly. Wear safety goggles and a dust mask. If you do hit a pipe or cable, stop immediately and call in a registered installer.
Lifting: lift heavy panels and cabinets with two people, keeping your back straight and lifting with your legs.
Hands and feet: wear work gloves against splinters and sharp hardware, and sturdy shoes with toe protection.
Knees: use knee pads when working on the floor for a long time, and change position regularly.
Working at height: use a stable ladder to fix the top, never a chair or stool.
Protective equipment is in our workwear and safety range, see the link at the bottom.
💡 💡 Put the screws and hardware for each assembly step in their own tray or on a piece of cardboard with the step number next to it. That way you always pick the right part and see straight away if anything is left over.
👷 Does a cabinet need to hang on the wall, is it a large or heavy cabinet, or are you not sure what kind of wall you have? Then leave the assembly to a carpenter or installation professional. That way you know for sure the cabinet is fixed safely.
Frequently asked questions
Can I use a cordless drill instead of a screwdriver?
Yes, that saves time. Choose a low setting and make the last turn by hand, so the screws do not strip in the chipboard.
What do I do if a part is missing?
First check the packaging and the parts list once more. If it is really missing, stop and request the missing part using the details in the instructions. Do not use loose parts that do not belong to it.
Do I always have to fix a cabinet to the wall?
Always fix a tall or narrow cabinet with the anti-tip fixing. Follow the furniture instructions. If you are unsure about the wall, ask a professional.
Do not keep turning, because the hole will get bigger. Remove the screw and, if in doubt, ask a carpenter for advice, so the joint becomes firm without the panel splitting.

 English ✓
 Nederlands