Learn how to level a floor yourself: prepare the subfloor, prime, mix and pour self-levelling compound. Step-by-step wit...

Custom cabinet: have it made or build it yourself
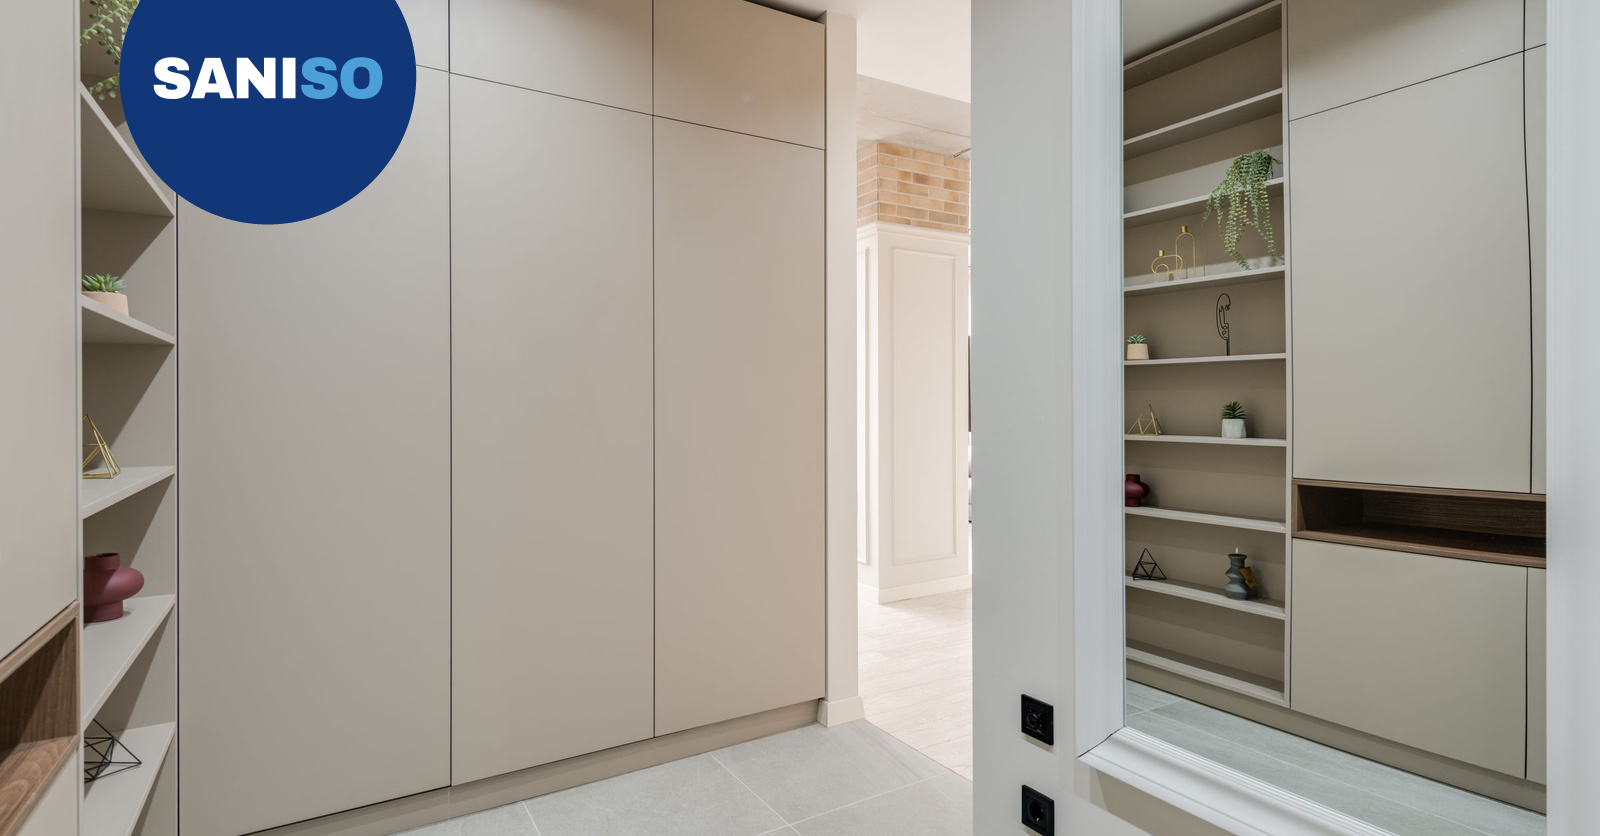
A cabinet that fits that exact alcove, runs all the way up to the ceiling or neatly follows a sloping wall: that is the strength of a made-to-measure cabinet. The question is whether to have it made or build it yourself. This blog takes you through the whole route, from measuring and design to choice of materials, cabinet layout, assembly and finishing. You will read which steps you can do yourself, which tools you need and when it is better to call a professional.
Custom-made by a professional or DIY?
Both routes can lead to a great result. It depends on the cabinet, your experience and the time you want to invest.
Having it made by a professional
- You want a large built-in wardrobe with sliding doors, a cabinet under a sloping roof or one with a sleek, gap-free front.
- The wall, floor or ceiling is far out of plumb and the cabinet has to fit tightly against it.
- You want many drawers, pull-out parts, or lighting and electrics built into the cabinet.
- You have little time or no space for sawing and finishing.
Making it yourself
- You are building a cabinet with a simple structure: a straight alcove, a shallow bookcase or a wardrobe with shelves and a rail.
- You enjoy carpentry and have room for sawing and sanding.
- You like working step by step and take the time to measure accurately.
A mix is possible too: have the board parts cut to size, or build the basic carcass yourself and leave the front, doors or electrics to a professional.
Step 1: measuring
Everything starts with accurate measuring. With a made-to-measure cabinet, an error of a few millimetres shows straight away. A solid tape measure and a 60 cm magnetic spirit level will get you a long way. For long walls a 120 cm spirit level is handy, and a try square helps with right angles. Note your measurements with a carpenter pencil so they stay legible.
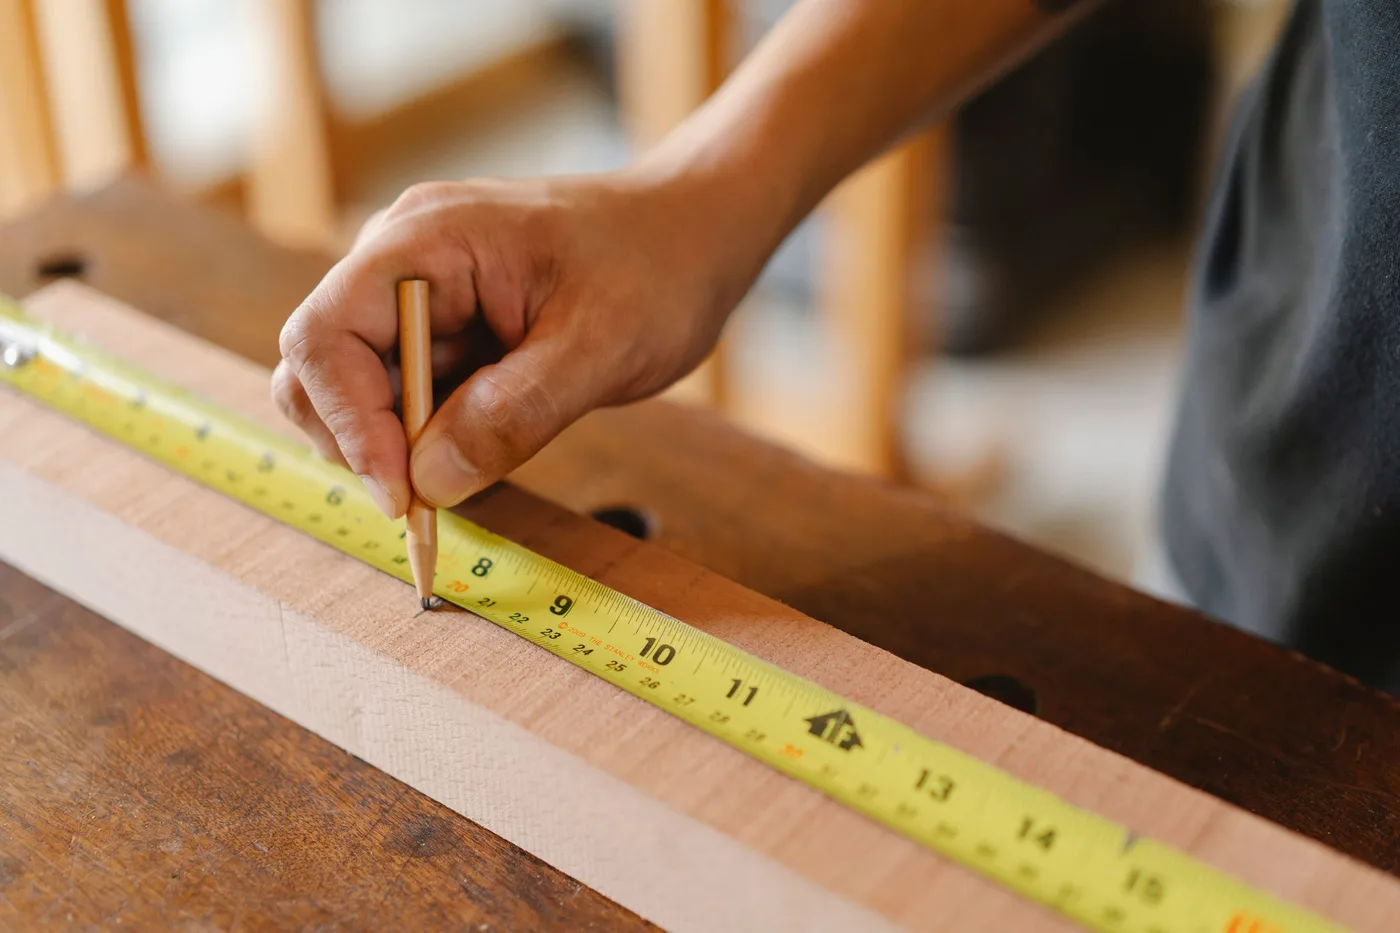
- Measure width, height and depth at several points. Do it at the bottom, middle and top, and use the smallest measurement. Walls and ceilings are rarely perfectly straight.
- Check with the spirit level whether floor, wall and ceiling are level and plumb. Write down the deviation.
- Watch for obstacles: skirting boards, sockets, switches, radiators, vents, pipes and the swing of doors and windows.
- Leave room for assembly. A cabinet that fits tightly on all sides is often impossible to tilt into place. Allow a small gap and finish the seam later.
- Make a sketch with all measurements and check them a second time, preferably at another moment.
Is the wall very uneven or damaged? Then it is wise to level it first. You can read how in our blog how to plaster a wall: step-by-step DIY guide.
Step 2: design
Draw the cabinet on paper first, preferably to scale. That shows which parts you need and how they connect.
- Define the purpose. Clothes, books, shoes, tools, household items? The purpose determines the depth, the distance between shelves and the type of doors.
- Choose the structure. A cabinet consists of a carcass (sides, top and bottom panels, back panel), shelves or drawers and a front with doors. A built-in cabinet sometimes uses the wall as a side.
- Think about the doors. Hinged doors need room to swing, sliding doors do not but need a good track and a tight fit.
- Split it into modules. Several smaller units side by side are easier to carry and assemble than one large one.
- Make a cutting list. Write down every board part with its dimensions and quantity. It helps with ordering and sawing, and limits waste.
Step 3: choice of materials
The material determines how the cabinet looks, how strong it is and how easy it is to work with.
- Veneered or melamine-faced board (chipboard or MDF) is flat, stable and often already finished. It is a common choice for cabinets, but the cut edges are sensitive to moisture.
- Plywood is stronger and attractive at the cut edge. It suits shelves that carry a lot of weight.
- MDF is smooth and very suitable for painting, but it is heavy and the dust is fine: work with dust extraction and a mask.
- Solid wood has a warm look but moves with changing humidity. It is harder to work and takes more experience.
Also think about the small parts: edge banding, hinges, shelf supports, drawer runners, handles and screws that suit your board material. You often buy these together with the boards. If you are making a cabinet for a bathroom or damp room, choose a moisture-resistant material and seal the cut edges well.
Cabinet layout: making the most of the space
A good layout makes the difference between a cabinet that looks good and one that is also pleasant to use. A few starting points:
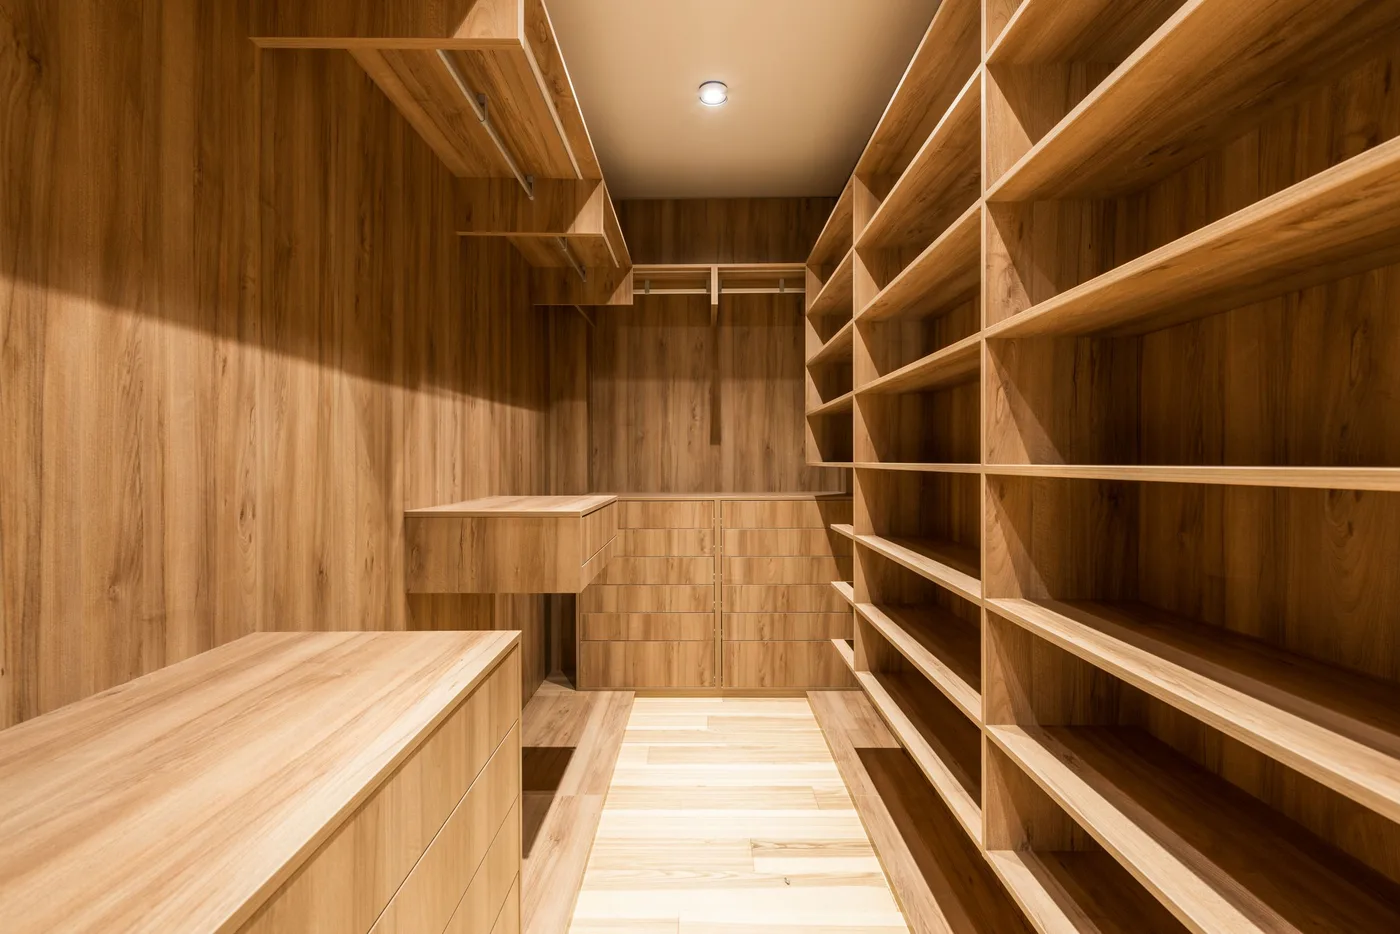
- Hanging space for clothes: a rail for coats and dresses needs more height than a rail for shirts and trousers. Place the rails at a height you can easily reach.
- Shelves: divide them into equal or varying heights. Make part of the cabinet adjustable with holes for shelf supports, so it can grow with your belongings.
- Drawers: handy for small items. They need precise work and good runners. This is a part many people leave to a professional.
- The top: the highest compartments are ideal for things you rarely use, such as suitcases or seasonal decorations.
- Lighting: LED lighting in the cabinet makes finding things easier. Have electrics installed by a qualified installer.
- Prevent sagging: long shelves sag under weight. Keep the span short or add a vertical divider or extra support.
A cabinet in the bathroom
Do you want storage in the bathroom? There is also ready-made furniture, such as a tall unit like the Bonica 150 pillar white, a wall cabinet like the Moduo 60 wall cabinet anthracite, a Crea 100 washbasin cabinet oak or a Bonica 60 mirror cabinet white. That is a handy alternative if a custom cabinet means too much work or too much moisture risk. You will find more options under bathroom furniture on saniso.nl.
DIY steps: how to build the cabinet
With the measurements, the drawing and the cutting list ready, you can get started. Work in this order.
Tools
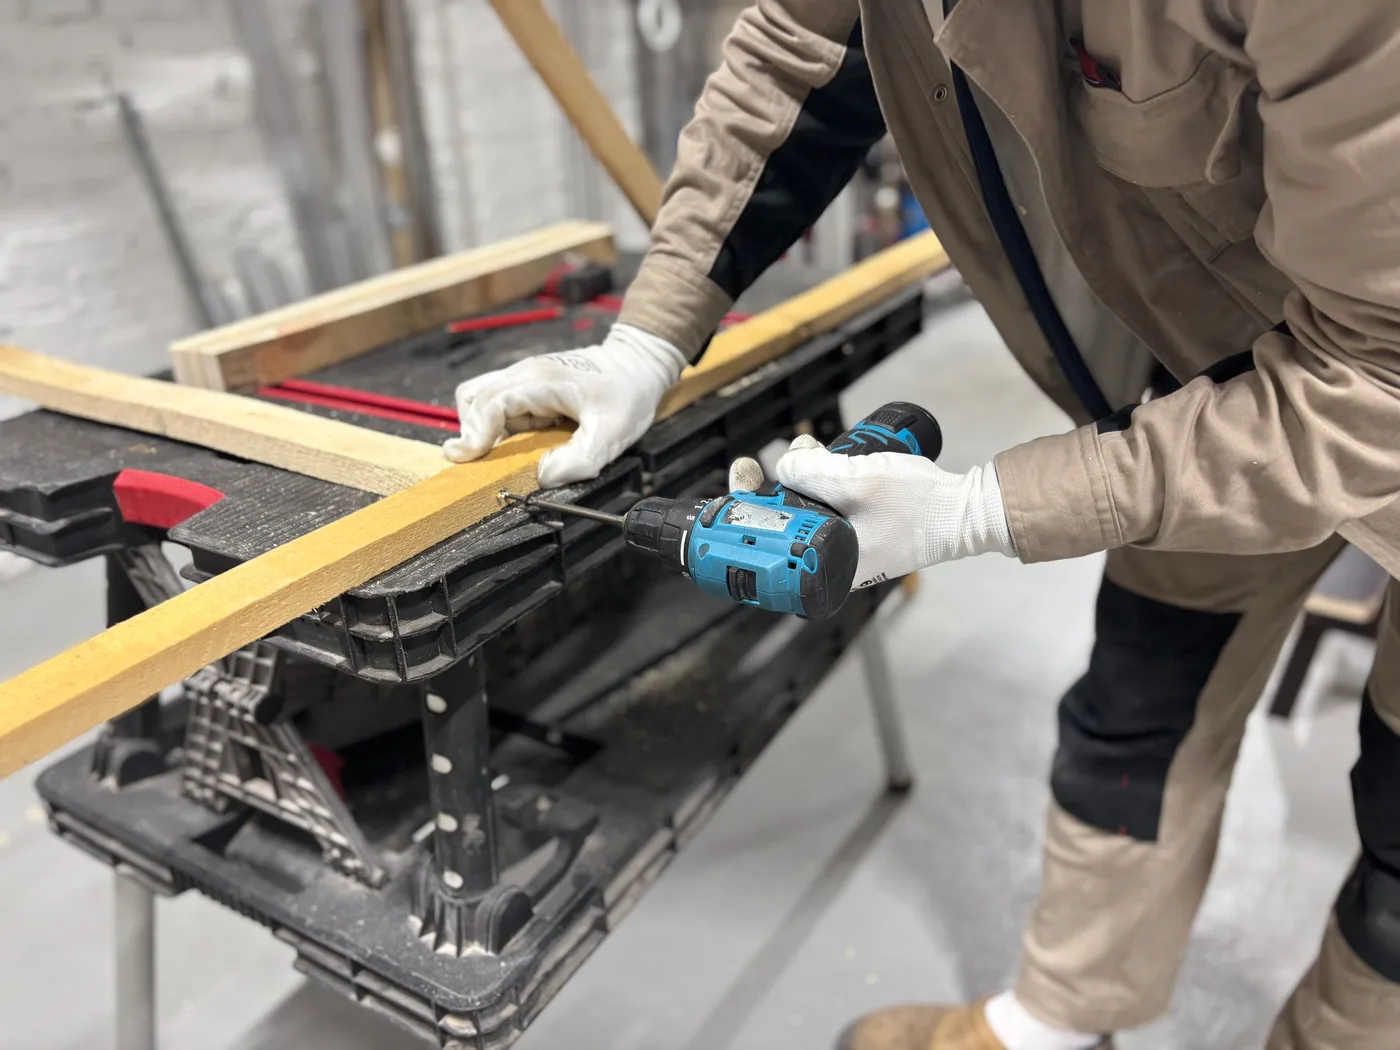
You will need at least: a cordless drill driver with suitable bits and a wood drill bit for holes, a hand saw or panel saw for fine work, a mitre box for square and angled cuts, a cordless jigsaw for cut-outs, quick-release clamps to hold parts in place and a rubber mallet to tap parts into place without damage.
The steps
- Cut the boards to size. Measure twice, cut once. Saw along a straight guide and mark the cutting line with your pencil. Use a fine blade and, if needed, put tape on the cutting line to limit tear-out.
- Lay out all parts and number them on the back. That way you know exactly what goes where during assembly.
- Pre-drill the holes. Pre-drilling prevents the material from splitting. Choose screws that suit the type and thickness of the board; the length must grip well without coming through the surface.
- Build the carcass on a flat surface. Fix the sides, top and bottom with screws, and check with the try square after each joint that everything is square.
- Fit the back panel. It keeps the carcass straight and stiff. Check again that everything is square before fixing the panel.
- Put the cabinet in place. Use the spirit level to set the cabinet level and plumb, and fill any gaps with shims. Fix the cabinet to the wall with fixings that suit the wall type (brick, concrete or metal stud). That is important, because a tall cabinet can otherwise tip over.
- Fit shelves, drawers and doors. Only hang the doors once the cabinet is stable. Adjust the hinges so the doors are even and close well.
- Close the seams and finish (see below).
Finishing
The finish determines how the cabinet finally looks.
- Sanding: sand cut edges and rough spots lightly with sandpaper, and remove the dust well.
- Closing seams: finish the seam between cabinet and wall or ceiling with acrylic sealant and a sealant gun. Mask the edges first with masking tape for a crisp line. You will find more options in the adhesives and sealants category.
- Painting or lacquering: choose the paint to suit the board material and apply several thin coats. How to paint is explained in our blog how to paint a door; many tips there also apply to cabinet doors.
- Handles and details: fit handles only after painting. Mark the positions first with a template so all handles sit at the same height.
Working safely and cleanly
Sawing, drilling and sanding create dust and noise. Protect yourself well:
- wear safety glasses when sawing and drilling;
- use earplugs with noisy tools;
- wear a filter half mask when sanding and sawing MDF and chipboard;
- use gloves when handling boards and cleaning up;
- have a good construction vacuum cleaner to pick up dust straight away;
- for work on the floor, knee pads help.
Keep your workspace tidy and well lit, and read the instructions of your tools.
When to call a professional
Even if you do a lot yourself, there are moments when a professional is the better choice:
- for a large built-in cabinet with sliding doors, drawers or a sleek, gap-free front;
- if the walls are far out of plumb or there is a sloping roof;
- if electrics, lighting or pipes will run behind or inside the cabinet;
- if you have to fix into a load-bearing wall or the cabinet goes in a damp room;
- if you are not sure the wall can carry the weight of the cabinet;
- if you have little experience and want to be sure of a good result with a large cabinet.
If in doubt, call a professional. A good professional thinks along about dimensions, materials and assembly. You can also do part yourself and hand over only the difficult work.
Frequently asked questions
How deep should a wardrobe be?
For clothes on hangers, a depth of about 55 to 60 cm is common. For books and small items a shallower cabinet can do. Always check against your own clothes and belongings.
Can I make a custom cabinet myself without much experience?
Yes, a simple cabinet such as an open bookcase or a cabinet with shelves is doable, provided you measure calmly, pre-drill and fix the cabinet to the wall. Start small and build up your experience.
Which material is easiest for beginners?
Melamine-faced or pre-finished board is flat, stable and often already finished. Take care when sawing: use a fine saw and use edge banding for a neat edge.
How do I prevent the cabinet from tipping over?
Always fix tall cabinets to the wall with fixings that suit the wall type. In doubt about the wall or the fixing? Ask a professional for help.
Read also: How to install a kitchen cabinet
Need help with your cabinet project?
Do you want help choosing tools, fixings or bathroom furniture? Submit a project request to Saniso, book an appointment or contact us. Need a Saniso account? You can register here. And if you are in doubt about a step, such as fixing to the wall, electrics or a large built-in cabinet, always call a professional.
Read also: Installing a kitchen: DIY or professional?
Share: