


Which hole saw do you choose for wood, metal, plastic or tile? Learn the difference between bi-metal, carbide and diamon...

Your online building supplies store for building and renovation
 English
✓
 Nederlands
✓
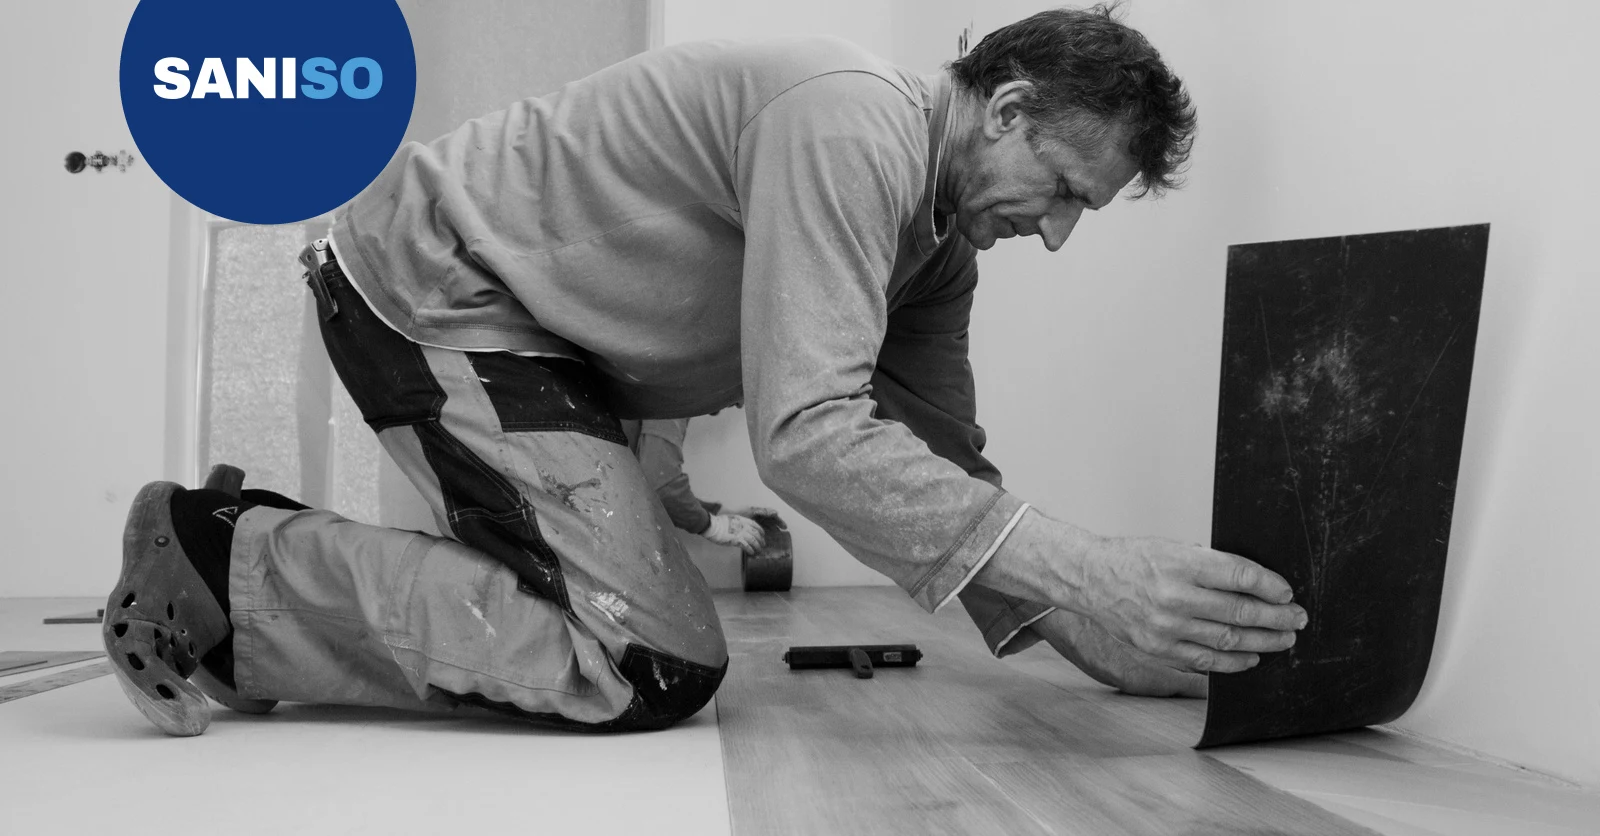
A PVC floor, also called a vinyl floor, is quiet, feels warm underfoot and is easy to keep clean. With a good subfloor and the right tools, you can lay one yourself. In this guide you will read how to choose between click and glue-down vinyl, prepare the subfloor, cut planks to size and finish the floor neatly. Always read the manufacturer's installation instructions first: they state the right subfloor, underlay and expansion gap for your floor.
👷 Calling in a professional is never unnecessary. With an uneven or damp subfloor, underfloor heating or glue-down vinyl, a floor fitter sees straight away what the floor needs.
Click vinyl clicks together, just like laminate, and lies loose on the subfloor (floating). For most DIYers this is the logical choice. Some planks already have an underlay on the back.
Glue-down vinyl (dryback) is thinner and more flexible, and you bond it over the whole surface with the adhesive the manufacturer specifies. It needs a level, smooth subfloor, because every unevenness shows through. If in doubt, leave this to a floor fitter. This guide covers click vinyl.
Wear cut-resistant work gloves when cutting, safety goggles when sawing and knee pads for the work on the floor. Use an FFP2 dust mask and earmuffs when sawing with the jigsaw. work trousers and safety shoe in your own size make the work safer.
The floor must be dry, clean, flat and sound. Remove old floor coverings and skirting boards and vacuum the floor thoroughly. Lay the 100 cm spirit level on the floor in different directions and look for dips and bumps. How much unevenness is allowed is stated in the installation instructions. Smooth small spots with Keralevel Eco; with larger differences in height, level the whole floor, see our blog on levelling a floor.
Let the packs lie in the room beforehand as the manufacturer specifies, so the planks reach room temperature. Protect floors in the rest of the house while you work; read tips in our blog on protecting your floor during renovation.
⚠️ Is there an old vinyl or tiled floor with black adhesive in a house built before 1994? Do not scrape or sand it off, but have it tested for asbestos first. Removal is a job for a certified company.
Take your time over the first row: if it is straight, the rest will follow.
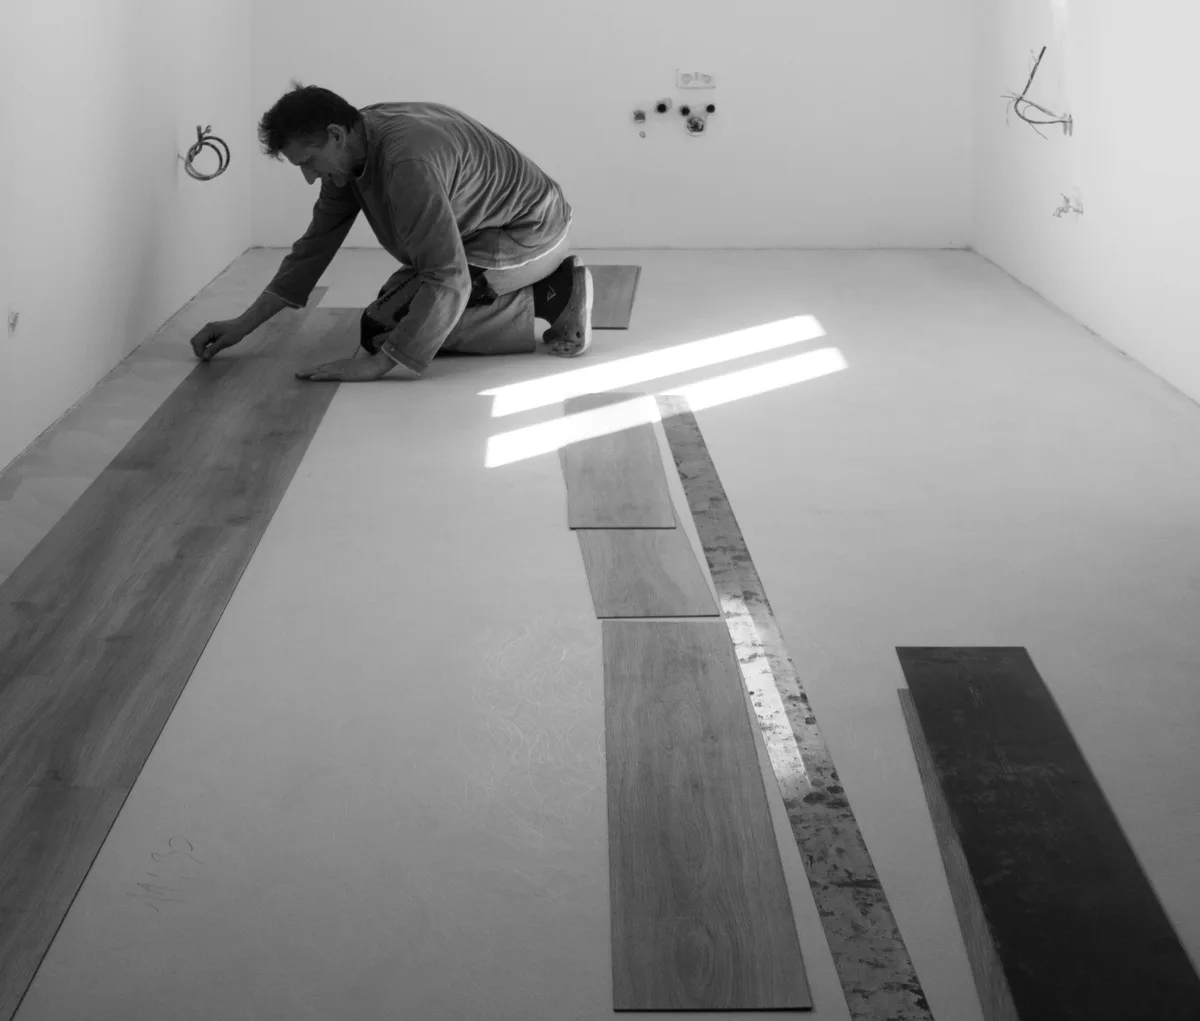
💡 Take planks alternately from different packs. Small colour differences then disappear and you avoid a patch with the same pattern over and over.
You will find all protective equipment in workwear and PPE. Read which glove suits which job in our buying guide for work gloves, and more about working safely in our blog on safe working on the construction site.
A floor fitter is never unnecessary. Call one in for underfloor heating, a subfloor that may release moisture (such as a new or unknown cement screed), large differences in height, glue-down vinyl and stairs. A professional measures the subfloor, chooses the right build-up and delivers a floor that stays beautiful for years.
Yes. With a flat, dry subfloor and the manufacturer's installation instructions, click vinyl is a good DIY job. Glue-down vinyl requires more experience.
Often it can, if the tiled floor is flat and sound and the grout lines do not show through. Sometimes the floor needs smoothing first. Follow the installation instructions or ask a floor fitter.
Many vinyl floors are suitable, but not all. Check the specifications and, if in doubt, have the build-up checked by a professional.
That depends on your floor. Only use the underlay the manufacturer specifies, and no extra underlay under planks that already have one.
That varies per floor. The packaging or installation instructions state how long and at what temperature.
Vacuum regularly and wipe the floor with a damp, not wet, cloth and a mild product such as Fila Cleaner Pro. Put felt pads under chair legs.
Read also: our blog on laying laminate, our blog on levelling a floor and our blog on protecting your floor during renovation.
At Saniso, the online store for DIYers and professionals, you will find tools, materials and personal protective equipment for your job.
In doubt about the approach? Feel free to call in a professional.
Saniso – Build your home with Saniso.
Share:
Which hole saw do you choose for wood, metal, plastic or tile? Learn the difference between bi-metal, carbide and diamon...

A green roof or moss between the tiles? Learn what you can safely do yourself on a low roof, why a pressure washer damag...
Does the first varnish coat feel rough or does the second grip badly? Read when to sand between coats, which grit fits a...