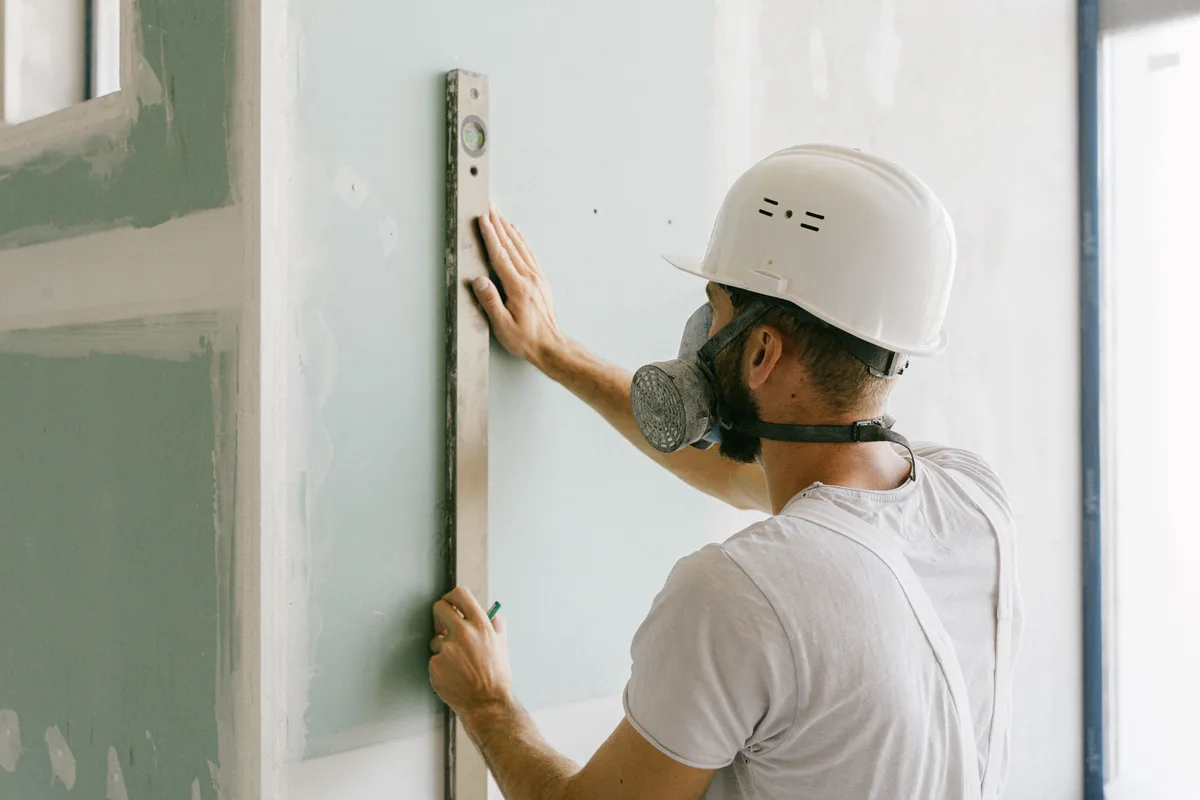
Want to cover a straight interior wall or close a metal stud or timber frame with plasterboard? With a sound frame, the right board and calm work, this is a job for a handy DIYer. This guide covers measuring, choosing, cutting, setting and screwing. Joint tape and filler are in our separate guide.
👷 Call in a professional to move electrics or pipes, for fire-rated or wet rooms, high sound insulation, a door frame in metal stud, or if you are unsure about the structure. Never work on electrics yourself. For difficult or risky work, craftsmanship belongs on the job; a professional is not replaceable by tips online.
What should you check before you start?
Purpose of the wall: are you covering an existing straight interior wall, or closing a metal stud or timber frame? This guide is for that, not for a full fire-rated partition or a wet room without the right boards and details.
Type of board: for dry interior rooms, standard plasterboard is fine, such as the Knauf plasterboard 9.5 mm. For damp rooms (bathroom, utility room) choose moisture-resistant H2 board, such as the Knauf H2 moisture-resistant plasterboard. For fire-rated or acoustic uses, ask the manufacturer or a professional.
Frame: check that metal studs or timber battens are level and plumb and that the centres match the board manufacturer's fixing instructions. If the frame is missing or wrong, straighten it before you fit boards.
Pipes and cables: scan the wall and frame with a multifunction wall detector before you cut or screw. Have new electrics installed by a registered installer.
Later finish: do you want to tile, paint or wallpaper? Allow for that in the board choice and finish level. For tiling, also read our blog on tiling a wall.
Metal stud profiles or timber battens for the frame (no product link; follow manufacturer instructions for centres and fixing).
Plasterboard screws in the right length for your substrate, for example 25 mm plasterboard screws or 35 mm plasterboard screws. Which length and screw spacing you need is on the packaging and in the manufacturer's fixing instructions.
Measure and choose the board. Measure the height and width of the area. Choose standard board for dry rooms or H2 for damp rooms. Allow for cutting waste and leave a small gap at floor and ceiling as the manufacturer states.
Check the frame. Set metal studs or timber battens level and plumb. Check the centres with the tape measure; they must match the board's fixing instructions. Correct any crooked or loose parts first.
Scan for pipes and cables. Run the wall detector along wall, floor and ceiling. Mark what you find. If electrics or pipework must be installed or moved, stop and call in a registered installer.
Mark and cut the board. Mark with tape measure and pencil. Score with the utility knife along a straight edge, snap the board and cut the back. Cut-outs with the drywall saw. Wear FFP2 and goggles.
Lift and set the board. Lift with two people if the board is large. Set the board tight against the frame, with the correct face forward as the manufacturer states. Leave the gap at the bottom that the instructions prescribe.
Screw according to the manufacturer. Screw with the cordless drill and the right plasterboard screws. The screw head must sit slightly recessed in the paper, without tearing the paper. Screw spacing and edge distance are in the fixing instructions; do not invent them yourself.
Make openings for boxes. Mark the position of socket boxes, drill or saw carefully and check that the box sits flush with the board face. Connecting electrics remains work for the installer.
Continue with the next boards. Prefer staggered joints; long joints on a stud or batten. Check with the long spirit level.
Clear dust and check. Vacuum with FFP2 on. Check recessed screws and tight joints.
💡 💡 Screw the corners and the centre line lightly first, check with the spirit level that the board sits flat, and only then drive the rest of the screws at the manufacturer spacings. That way you avoid locking a crooked board in place before you notice.
👷 Unsure about fire rating, sound, a wet room, a door in metal stud or pipes behind the wall? Leave the job to a professional. For difficult or risky work, craftsmanship is the safe choice; a guide alone does not replace that.
Frequently asked questions
Which plasterboard do I need for a dry bedroom?
For dry interior rooms, standard plasterboard is enough. Choose H2 if the room is or can become damp, such as a bathroom or utility room.
Can I glue plasterboard straight onto masonry?
Follow the manufacturer's fixing instructions. This guide assumes metal studs or timber battens; gluing has different requirements.
How deep should a plasterboard screw go?
The head slightly recessed in the paper, without tearing it. Exact depth and spacing are in the manufacturer instructions.
Stop immediately. For electrics: switch off the circuit and call a registered installer. For water: shut the main valve and have an installer repair it.
Do I need a drywall sander?
Not mandatory for a small job, but handy on larger areas. You can sand by hand; always wear an FFP2 mask.

 English ✓
 Nederlands