






Grout in one even colour across the whole wall or floor: that is what you want. In this blog we explain how the hybrid R...

Your online building supplies store for building and renovation
 English
✓
English
✓
 Nederlands
✓
Nederlands
✓
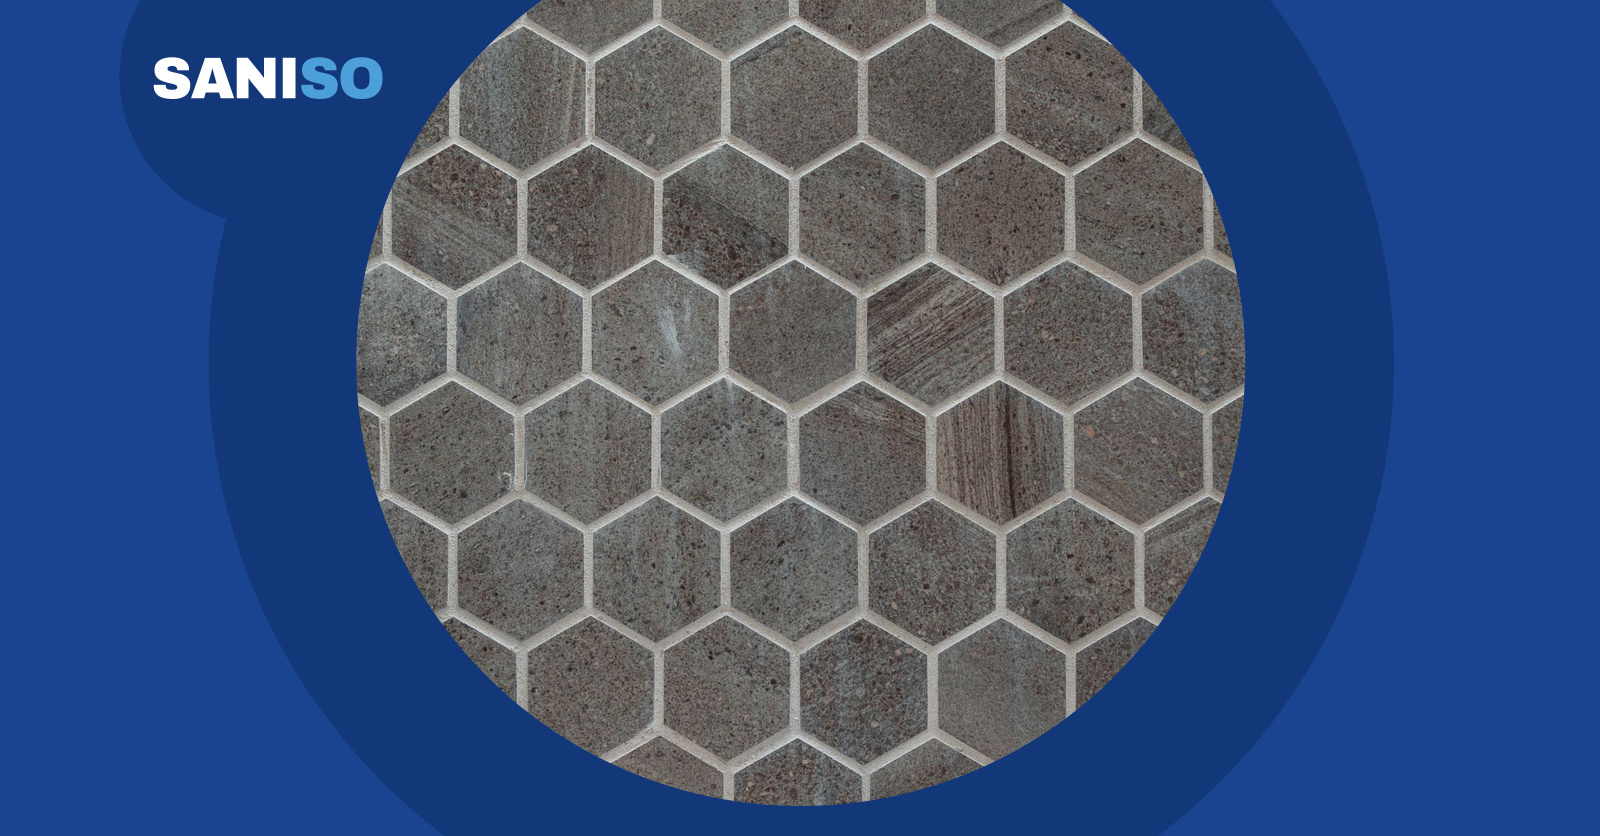
Grout that turns grey, yellow, black or green: almost everyone has seen it in a bathroom, kitchen or on a floor. The good news: discoloured grout is not always broken grout. Often it is simply dirty, and cleaning is enough. If the grout really is at the end of its life, you can rake it out and renew it yourself in a few hours with the right products. This blog takes you through the whole route: causes, cleaning with products such as Fila Fuganet, when to replace, raking out, regrouting, protecting and choosing the right colour. As a concrete example we use colour code KK47.
Note: raking out grout releases fine dust and cleaners are chemical. Wear an FFP2 dust mask, safety glasses, gloves and knee pads (see the PPE overview below). For leaks, cracks, damp problems, natural stone or expensive tiles, call in a professional: a professional is never superfluous.
Grout is porous and sits a few millimetres below the tile. So everything that passes through the air, water and your hands in a bathroom or kitchen sticks to it. Find the cause first, because it decides what helps.
| Cause | How to recognise it | What helps? |
|---|---|---|
| Dirt and grease | Evenly grey or yellow, mostly on floors and in kitchens | Clean with Fila Fuganet or, for heavy soiling, Fila PS87 Pro |
| Mould | Black or greenish spots, mostly in corners and under the shower; often a musty smell | Clean, let it dry fully and ventilate better. If it keeps coming back it is usually deep in the grout: replace it |
| Limescale | White, crusty or dull grey deposit near the tap and in the shower | A descaler such as Fila Deepclean, following the product information, then rinse well |
| Soap residue | Sticky, grey-yellow film, often together with limescale | Clean regularly and dry afterwards; soap and limescale hold each other in place |
| Damp | Dark grout that no longer dries, or stains that keep coming back | Find the source first (ventilation, leak). Cleaning alone is temporary here: if in doubt, call a professional |
| Wrong grout type or colour | Grout too light for its use, or cement grout in a wet or greasy room | Renew with a suitable grout, for example Fugabella or Fugalite, in a colour that shows dirt less quickly |
Cleaning is quick and can be undone. So always try it first, especially if the grout is still hard and intact.
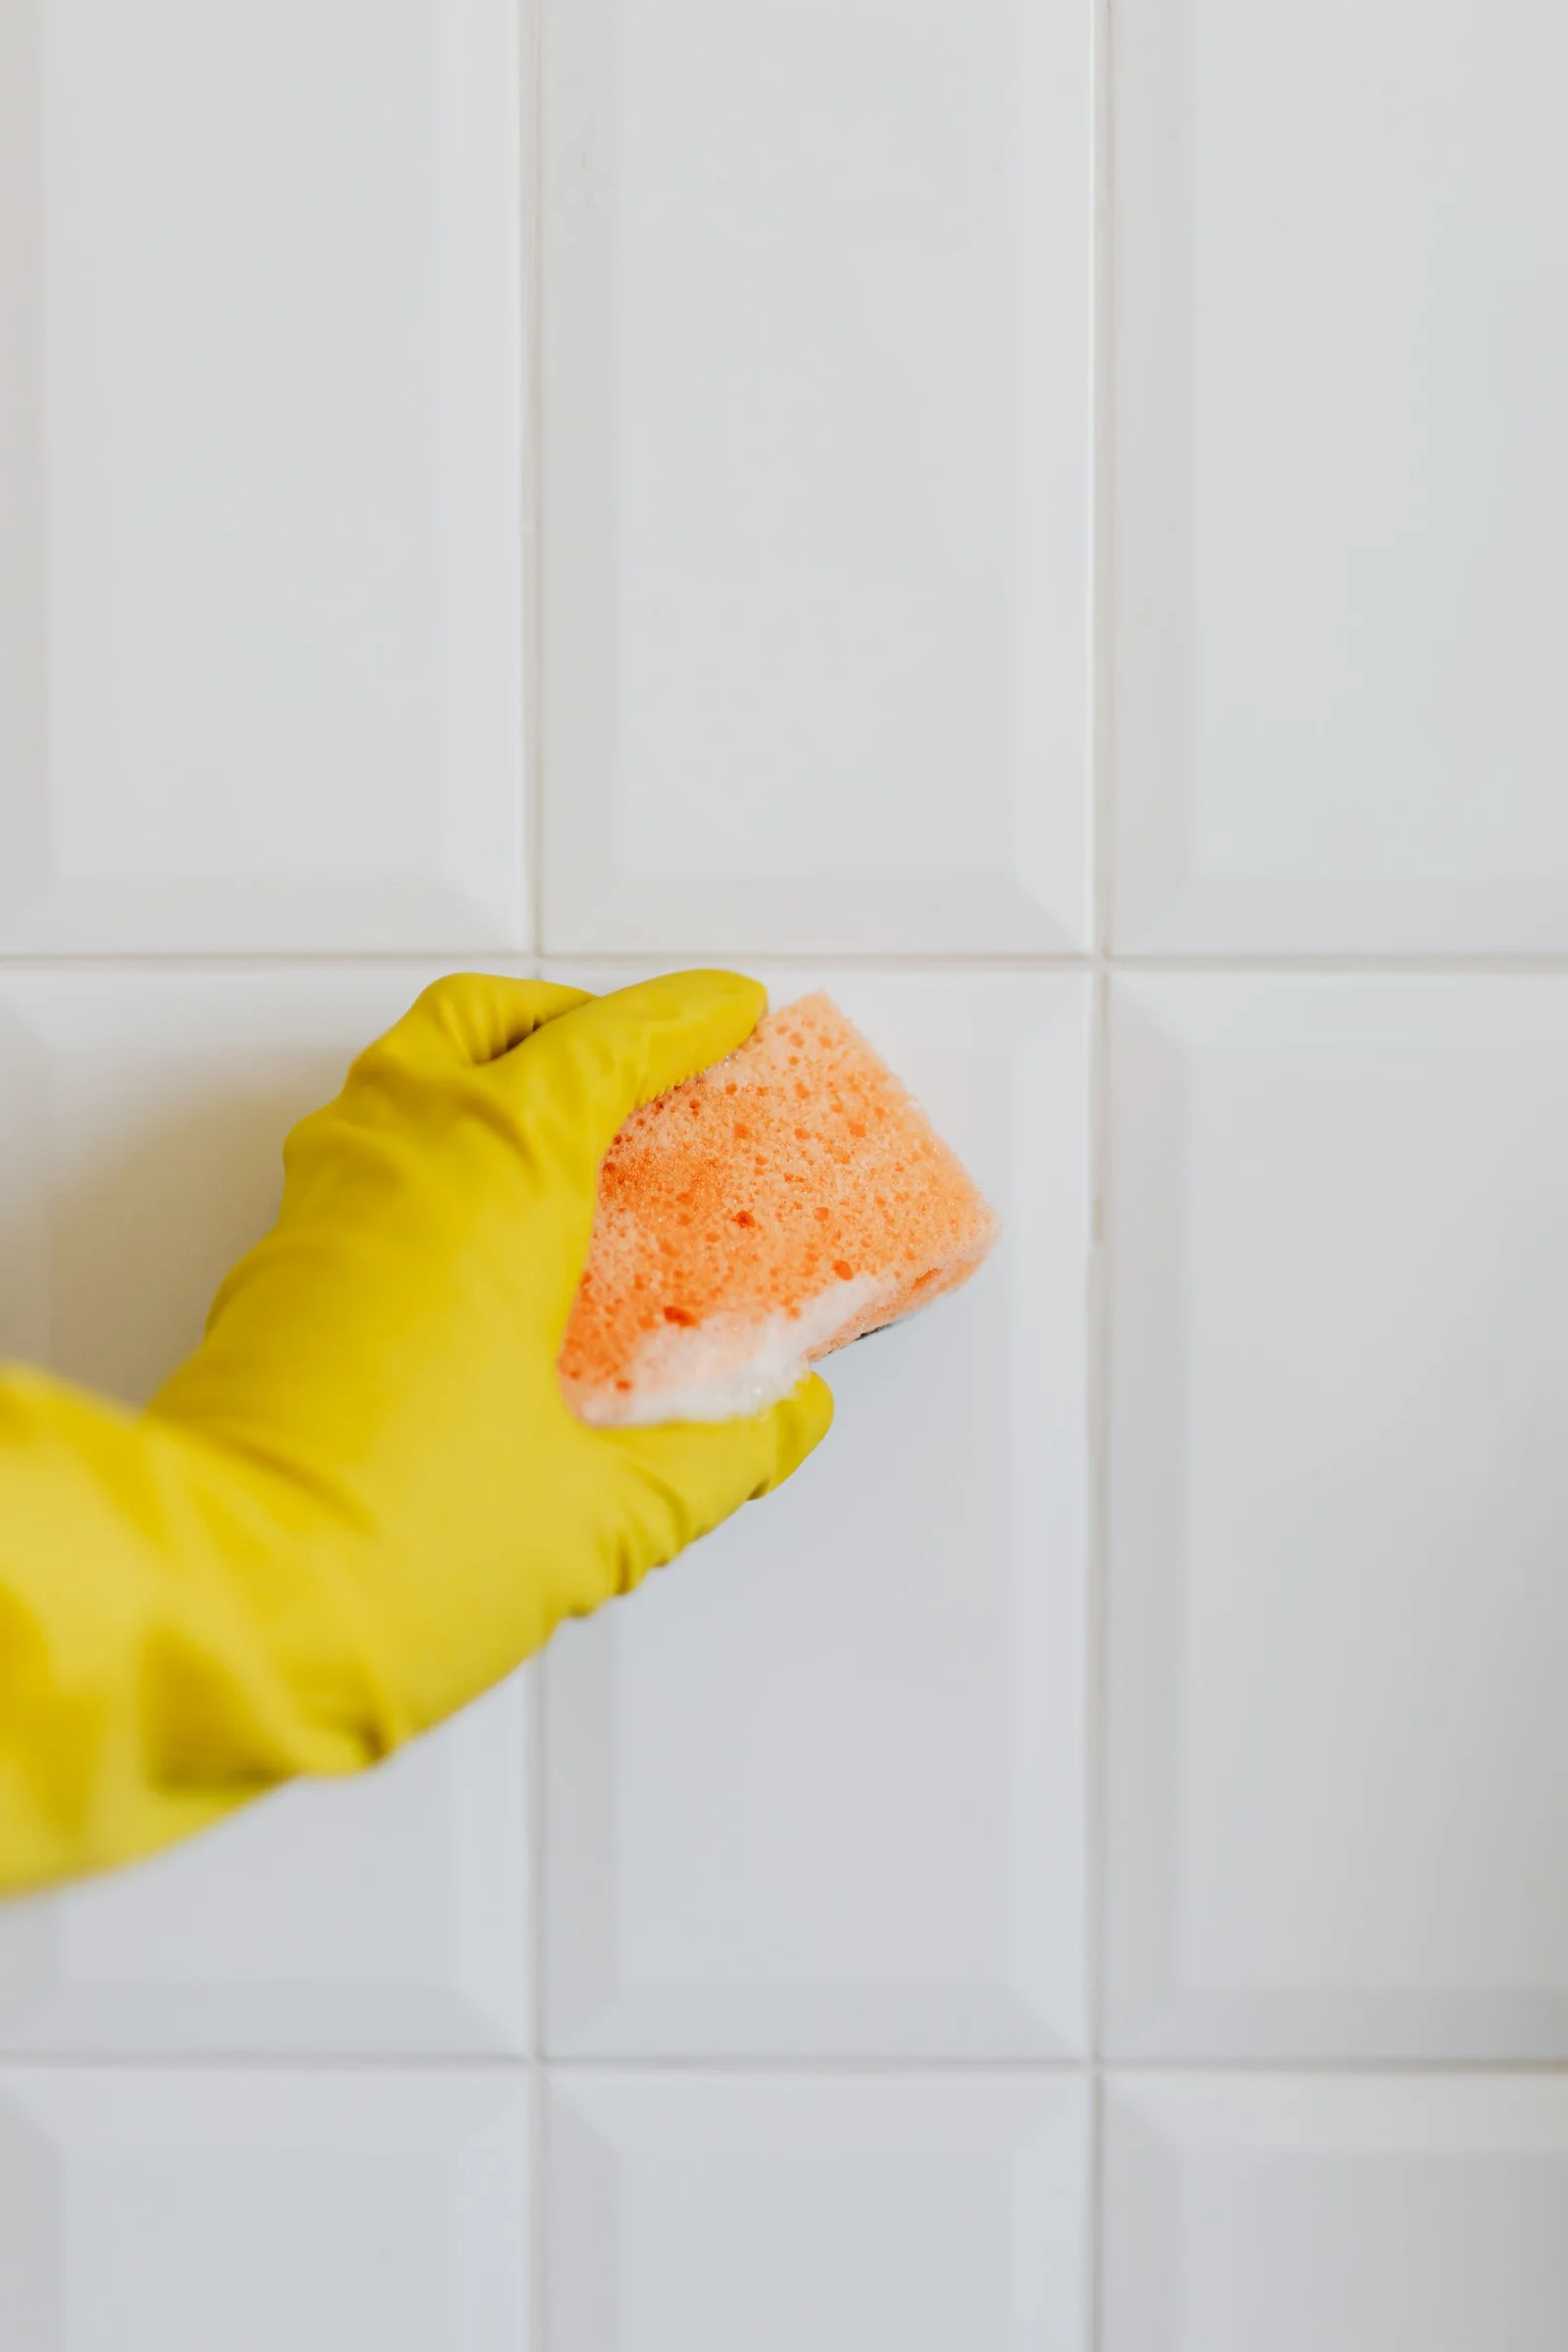
Never mix different cleaners and ventilate well. If you use an acid product, for example for limescale, do not use it on polished marble or other acid-sensitive materials: according to the Deepclean product information it can damage the surface. For natural stone, ask a professional for advice.
Cleaning does not always help. Replace the grout if:
Are tiles loose, is there a leak, are cracks running through tiles and grout, or is the substrate damp? Then replacing only the grout is not enough. Have a professional assess the cause before you rake anything out.

You can read more about tiling and grouting in our blogs how to tile a wall and how to tile a floor, and about the final clean in how to clean while tiling.
Cement-based grout is porous. A grout protector such as Fila Fuga Proof makes dirt easier to remove according to the product information and stops water and stains soaking into the grout. Apply it to dry, clean joints, after cleaning with Fila Fuganet, and keep the surface dry for the first 24 hours. For a daily bathroom routine: ventilate, wipe the tiles after showering and clean regularly, and discolouration comes back far less quickly.
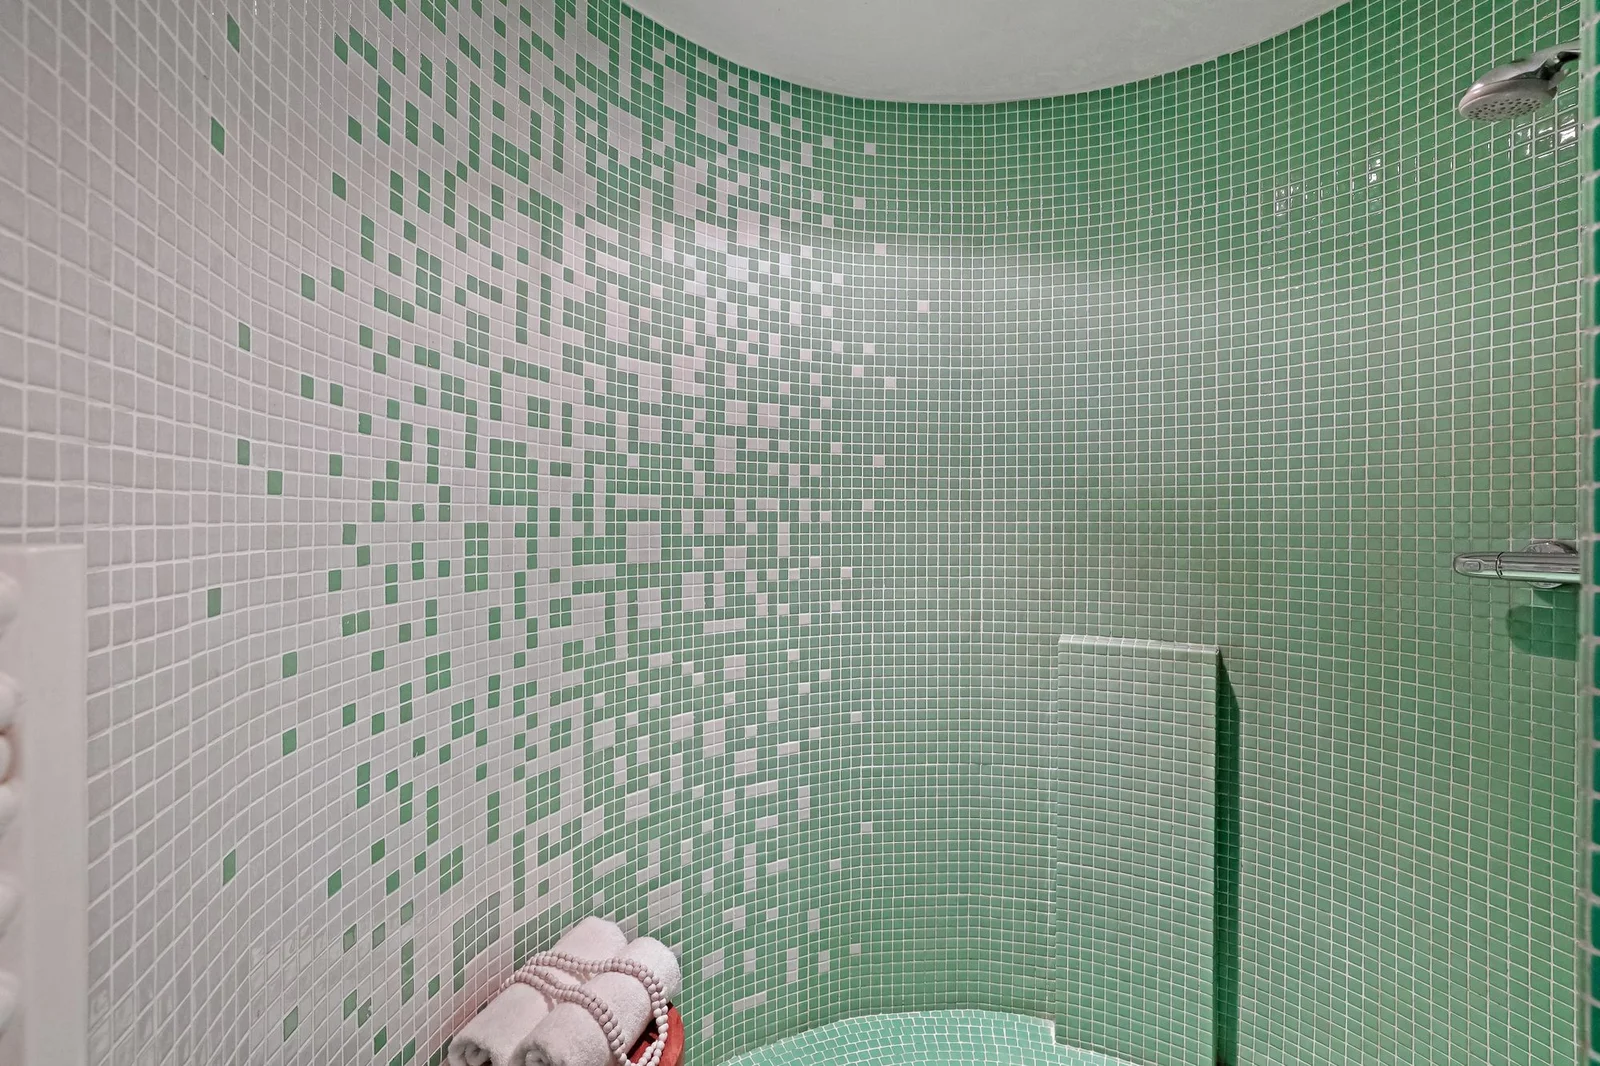
The grout colour has a big effect on the end result. Light grout makes tiles look larger and cleaner, but shows dirt sooner. Grout in the tile colour makes a surface calmer; contrasting grout brings out the tile pattern.
A concrete example is colour code KK47. According to the product pages it is a natural green shade, available as Fugabella Color KK47 (resin-cement grout), as Fugalite Color KK47 (waterproof grout resin) and as Silicone Color KK47 (sealant). That is handy: if you choose KK47 for the grout, you can finish the sealant joints in the same colour code. That way grout and sealant match neatly.
Where tile meets bath, shower, basin or a corner there is sealant, not grout. It moves with the building and is replaced differently: first remove the old sealant completely, clean and degrease the substrate and then apply new sealant. Sealant residue on tiles can be removed with, for example, Fila Zero Sil, following the product information. For applying, use a sealant gun and a sealant in the same colour code, such as Silicone Color KK47. The whole method is in our blog how to reseal your bathroom with new silicone.
For ordinary ceramic tiles this is doable. Call in a professional for:
A professional assesses cause, substrate and execution. That is experience no step-by-step plan replaces. A good professional is never superfluous, even if you do a lot yourself.
💡 Tip: renew the worst joints first as a trial and watch for a few days how the colour dries before you tackle the whole wall.
At Saniso, the online store for DIYers and professionals, you will find grout, cleaners, tools and personal protective equipment.
Unsure about the cause, the tiles or the substrate? Feel free to call in a professional: a good professional is never superfluous.
Saniso – Build your home with Saniso.
Read also: How to repair broken wall or floor tiles
Read also: Sustainable tile adhesive and grout: what to look out for
Read also: Resina-cemento explained: why Fugabella Color gives an even grout colour
Share:
Grout in one even colour across the whole wall or floor: that is what you want. In this blog we explain how the hybrid R...

Learn how to level a floor yourself: prepare the subfloor, prime, mix and pour self-levelling compound. Step-by-step wit...

Installing a kitchen: do it yourself or hire a professional? Read what is involved, which parts you can do yourself and...
Cersanit Ares cement-look tiles for bathroom, kitchen and living room: 30×30 to 60×120, matt or satin, plus mosaic, skir...