






Grout in one even colour across the whole wall or floor: that is what you want. In this blog we explain how the hybrid R...

Your online building supplies store for building and renovation
 English
✓
English
✓
 Nederlands
✓
Nederlands
✓
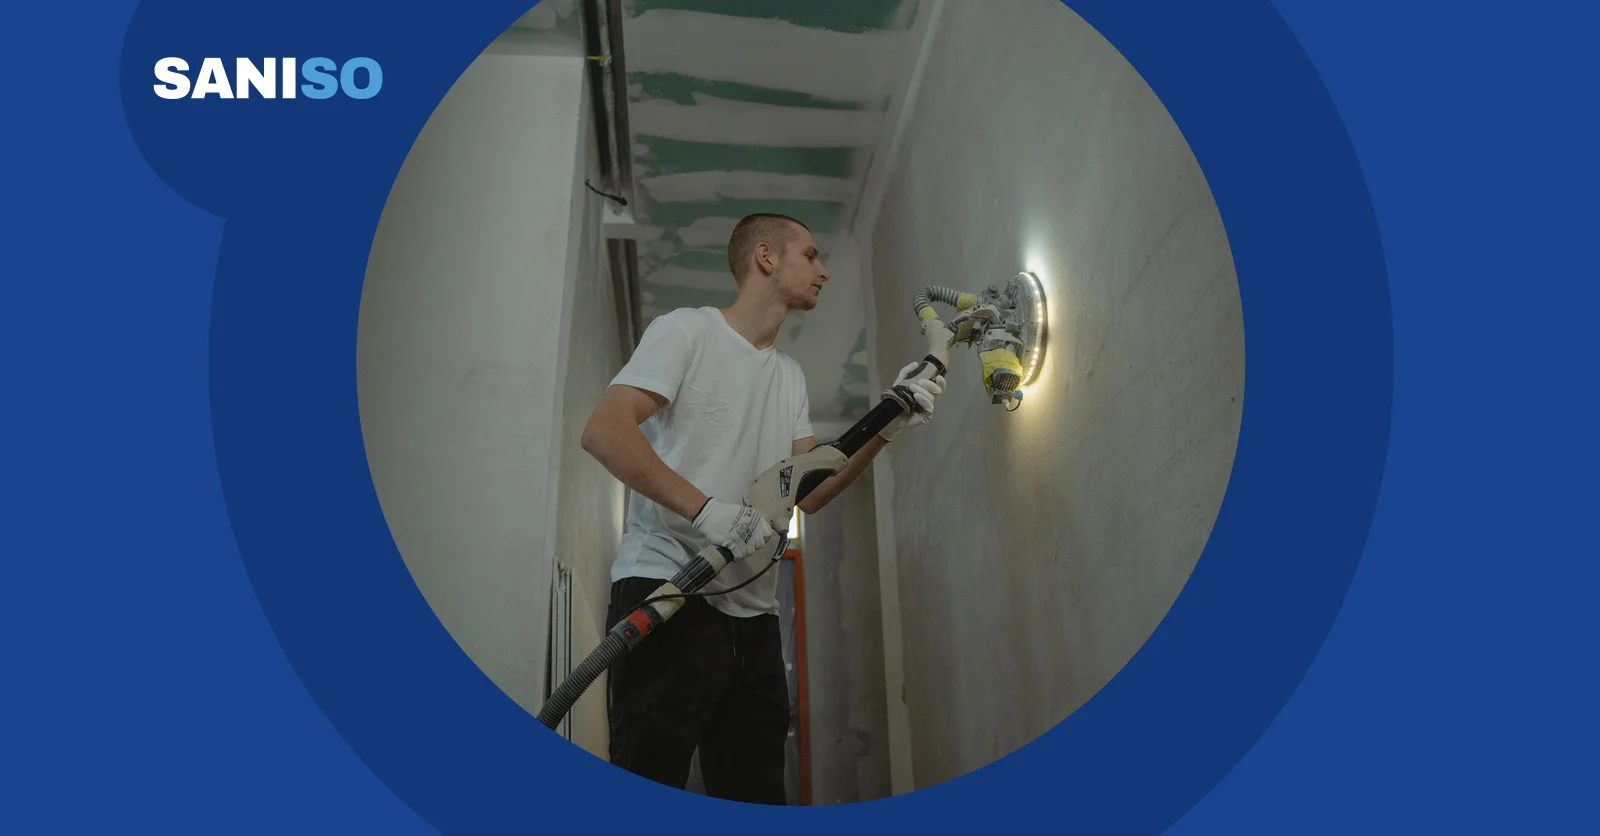
A new plasterboard wall is only ready for paint when the seams and screw holes are invisible. That takes patience and the right order: first joint tape, then filler in thin layers, then sanding. In this blog you will read step by step how to do that as a DIYer and what to watch for.
⚠️ Filler and sanding dust are irritating. Work with a dust mask, safety glasses and gloves. Do you want a perfectly smooth wall, or is the area large? Leave that to a plasterer or painter. Calling in a professional is never superfluous.
Check that the boards are firmly fixed and the screw heads sit slightly below the surface. Dust off the seams, cover the floor and frames and make sure there is good light, so you can see unevenness. Read the instructions of the tape and filler manufacturer for drying times and method.
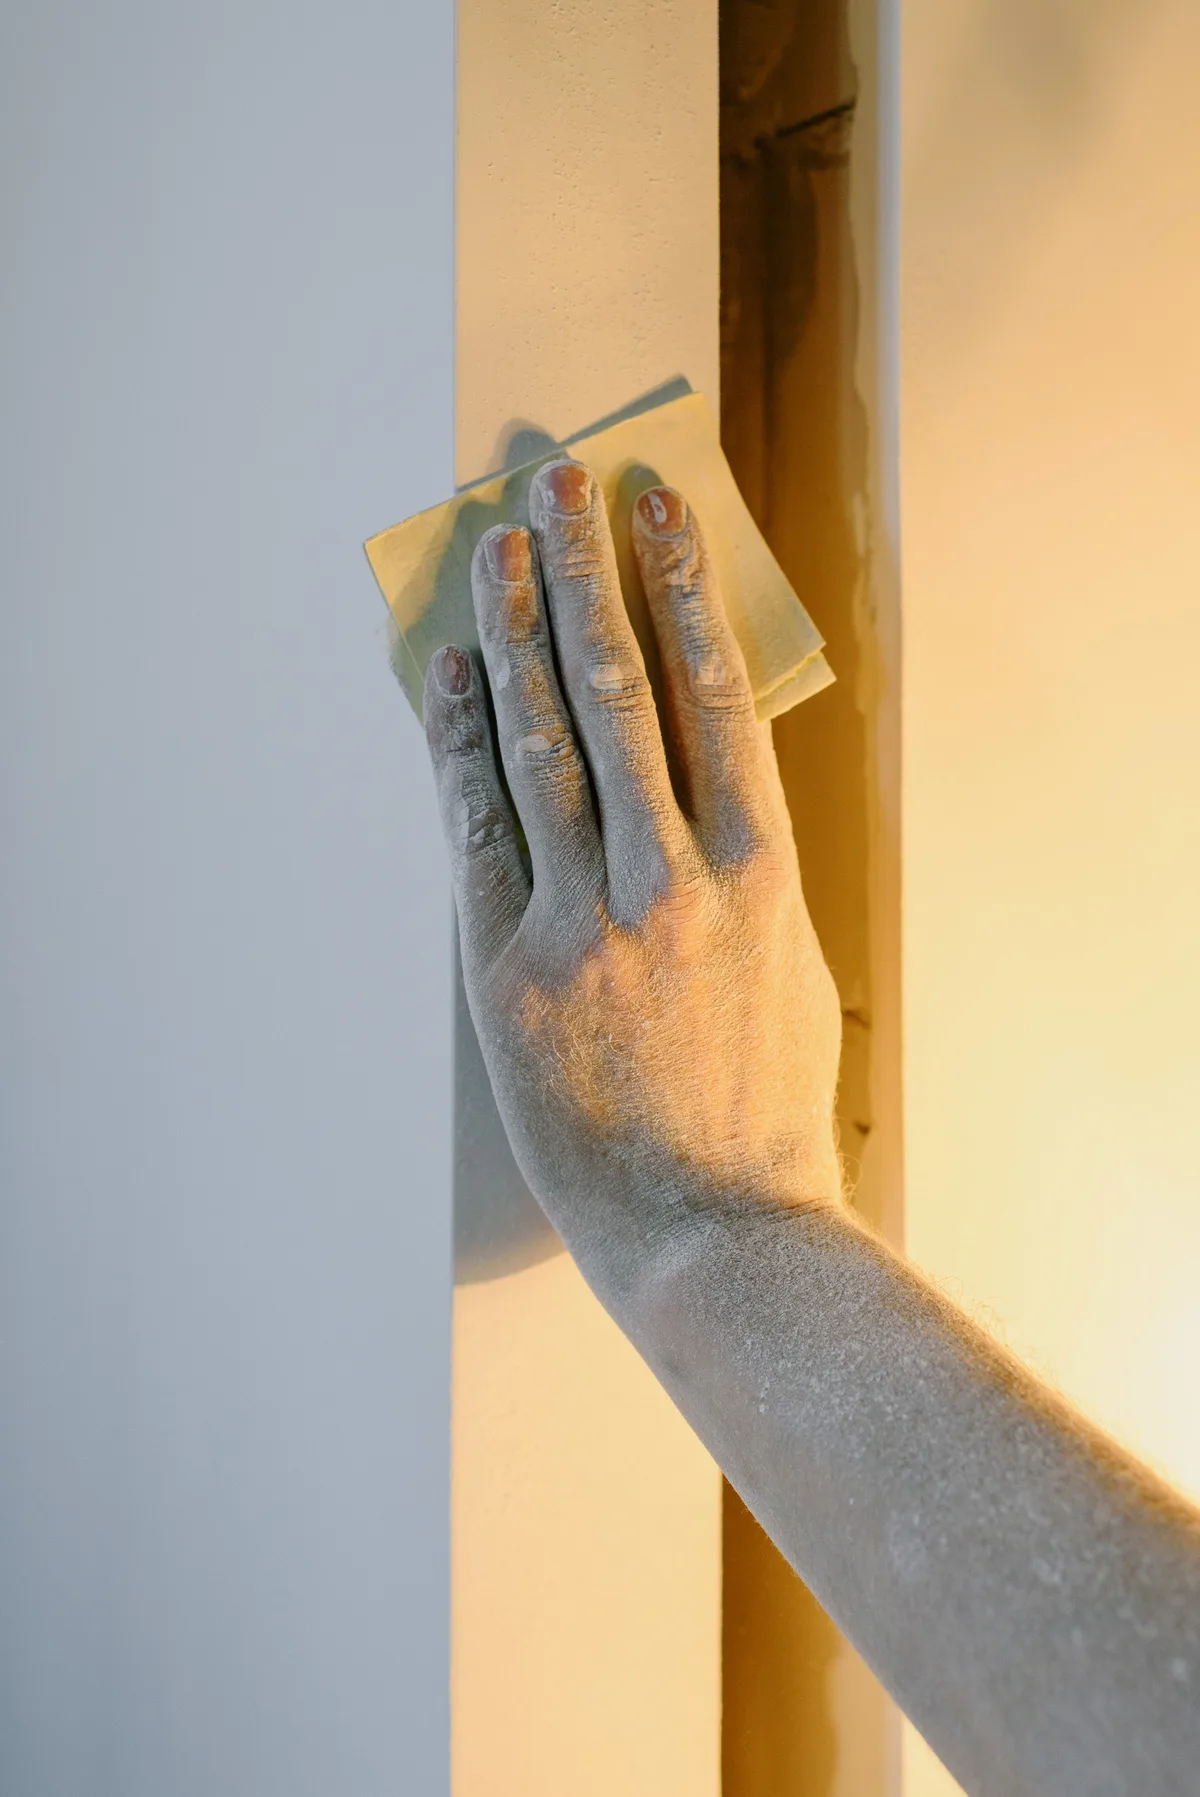
💡 While sanding, hold a lamp at an angle against the wall. Then you see dents and edges you would otherwise miss.
Always wear a dust mask and safety glasses when sanding and ensure ventilation. Use a sturdy ladder and do not work above shoulder height without breaks. You can read more about safe working in our blog on safe working on the construction site. Also read our blog on putty knives, sanding tools and scrapers for materials, our blog on masking tape and protective film for masking and our blog on plastering a wall for other finishes.
For most seams between plasterboards, yes, so the seam does not crack. Follow the manufacturer's instructions.
Usually two or more thin layers. That depends on the board and the result you want.
For large areas, high walls or if you want a very smooth result.
Read also: How to paint a wall
At Saniso, the online store for DIYers and professionals, you will find tools, materials and personal protective equipment for your job.
In doubt about the approach? Feel free to call in a professional.
Read also: Plastering a wall: DIY or professional? How to choose
Read also: Buying sanding blocks and sandpaper: what to look for
Saniso – Build your home with Saniso.
Share:
Grout in one even colour across the whole wall or floor: that is what you want. In this blog we explain how the hybrid R...

Learn how to level a floor yourself: prepare the subfloor, prime, mix and pour self-levelling compound. Step-by-step wit...

Installing a kitchen: do it yourself or hire a professional? Read what is involved, which parts you can do yourself and...
Cersanit Ares cement-look tiles for bathroom, kitchen and living room: 30×30 to 60×120, matt or satin, plus mosaic, skir...