





Comparing LED bathroom mirrors before you buy? See how the Saniso+ mirror stacks up on dimming, sizing, and water resist...

Your online building supplies store for building and renovation
 English
✓
English
✓
 Nederlands
✓
Nederlands
✓
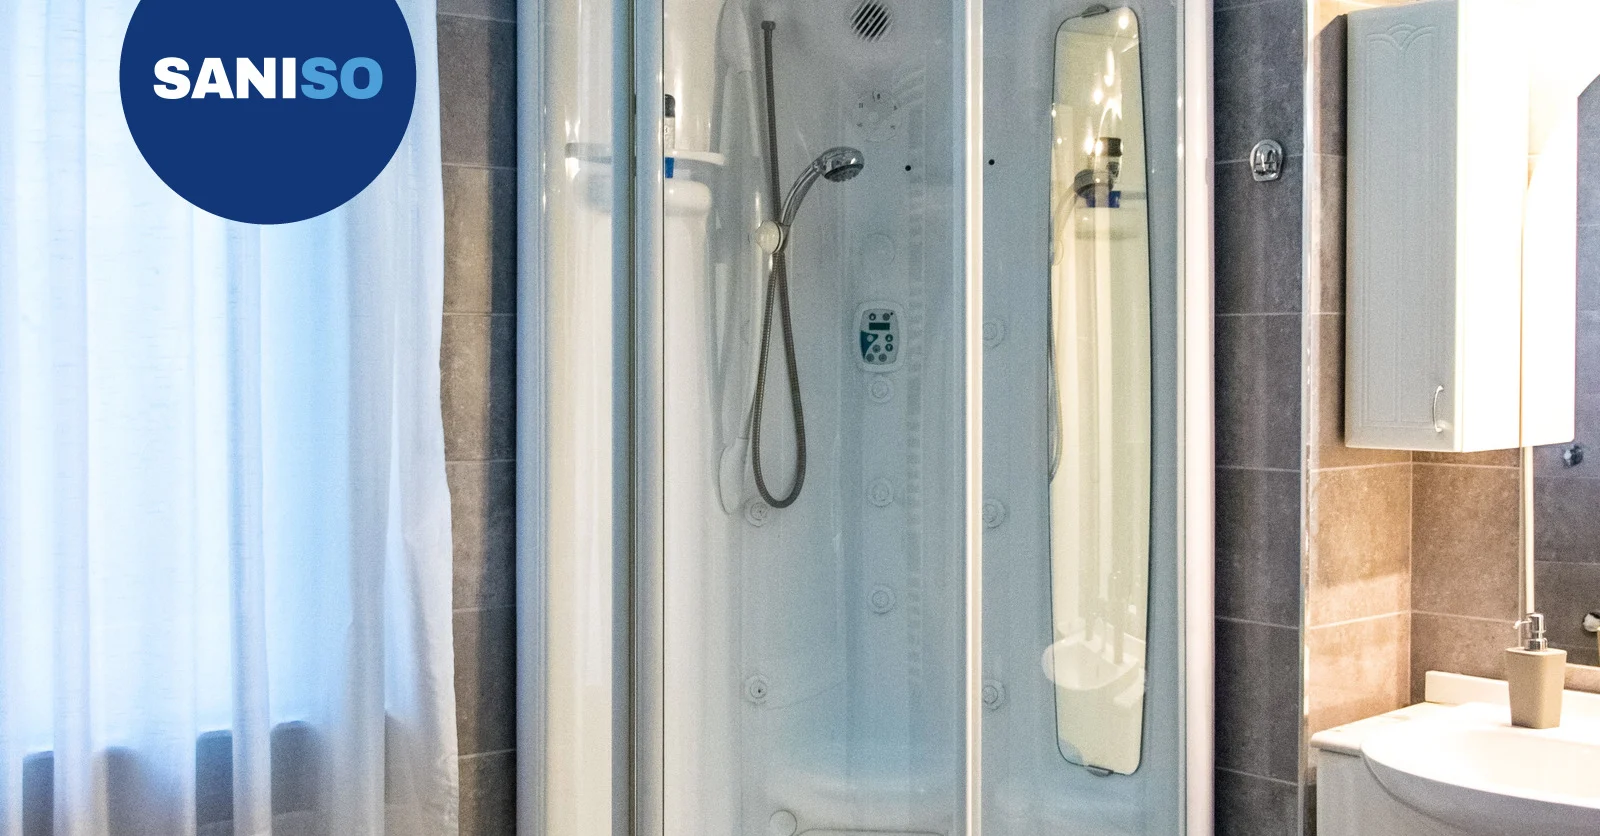
A shower enclosure is a complete package: tray, profiles, glass and door. That makes fitting it a job many DIYers can do themselves, as long as you work precisely. This blog explains step by step how to go about it and what to look out for.
⚠️ Glass panels are heavy and can be dangerous if lifted or fitted wrongly. Always work with two people and wear gloves. If you are unsure about the waste or pipework, call in a registered plumber. A professional is never superfluous.
work gloves with nitrile coating, safety goggles when drilling and knee pads for work on the floor.
Measure the room and compare the dimensions with the enclosure. Check that the waste matches the position of the tray and that the wall is firm and flat enough. Read the manufacturer's instructions completely and lay out all parts. Turn off the water supply if you change pipework. You can read more about the bathroom in our guide to planning a bathroom renovation.
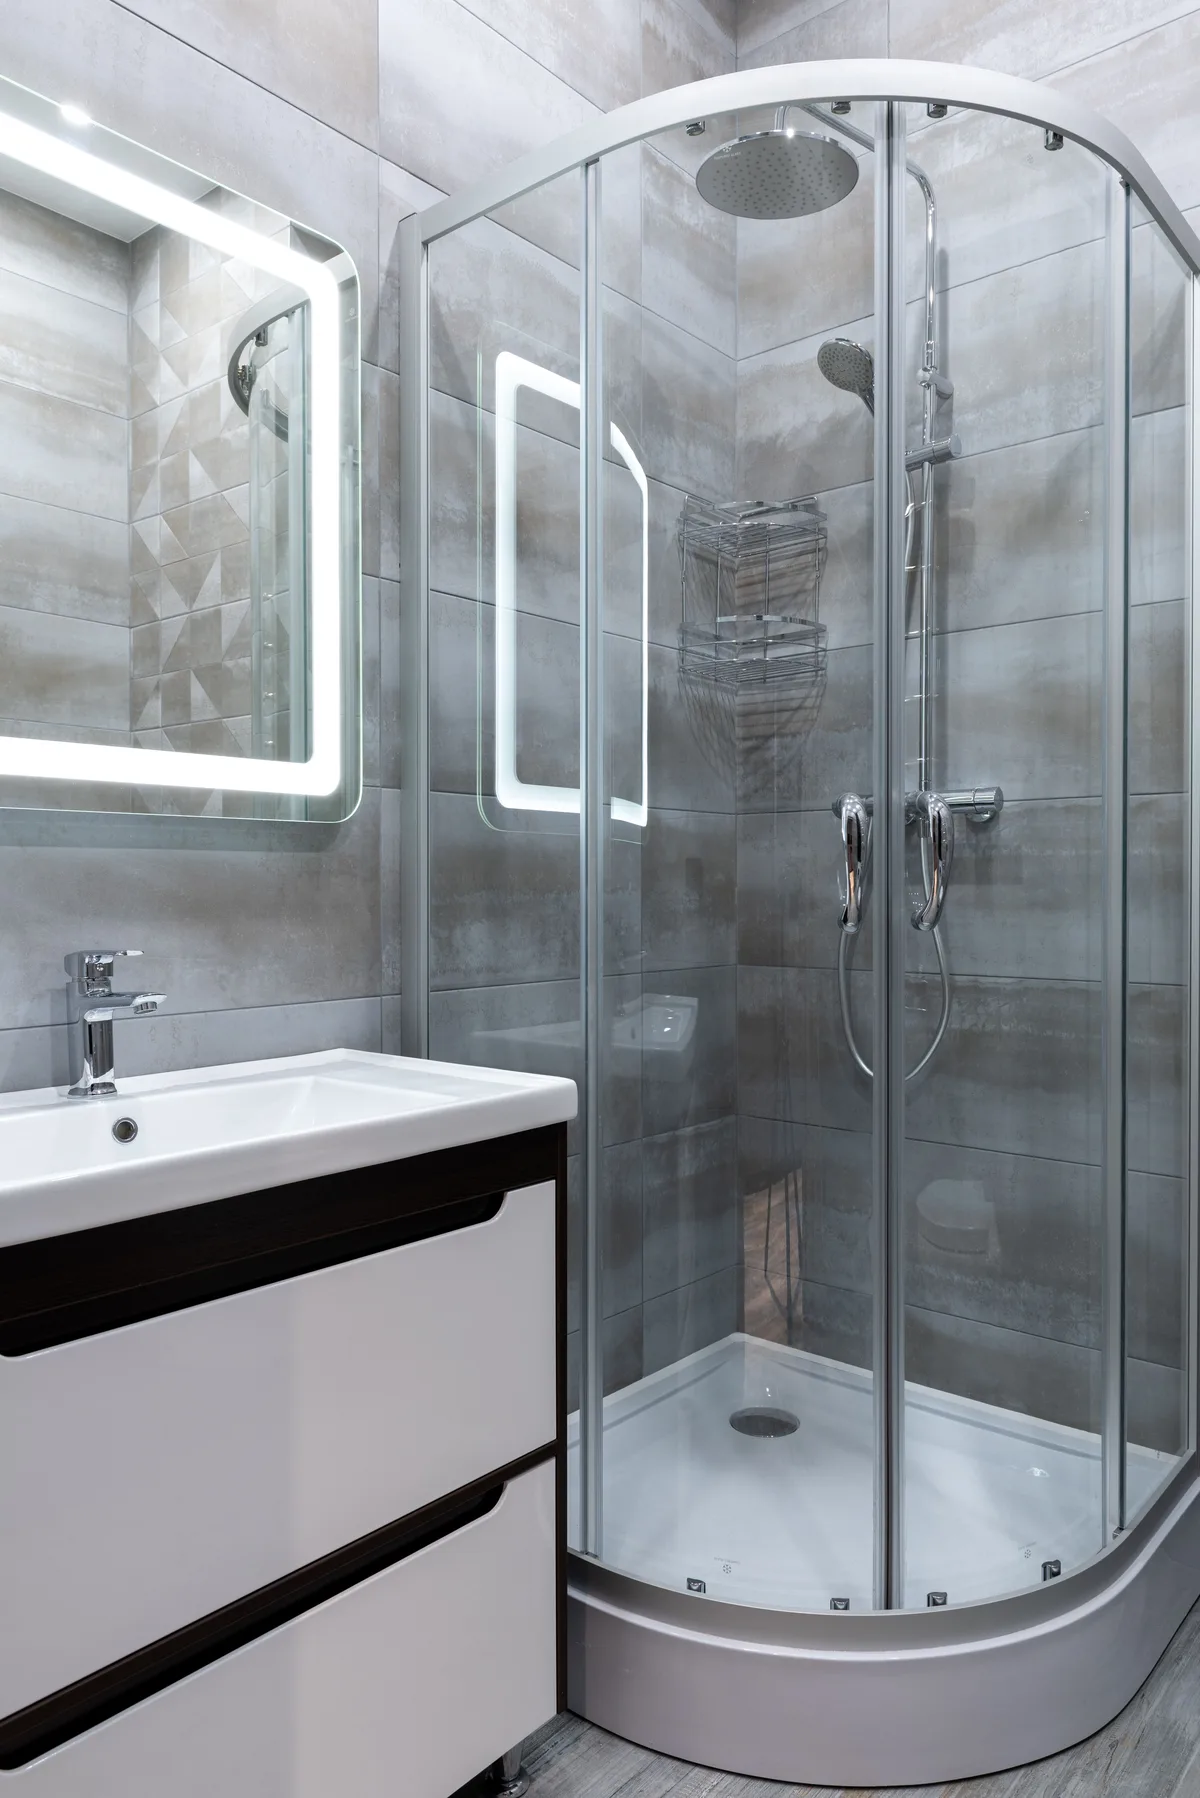
💡 Lay out all parts in advance and compare them with the list. That way you will not be missing screws halfway.
Always lift glass panels with two people and wear gloves. Do not drill into pipes or cables; use a detector if needed. You can read more about safe working in our blog on safe working on the construction site.
Yes, if you work precisely and follow the instructions. Work with two people because of the glass.
That depends on the model. Also allow time for the sealant to cure.
Have a registered plumber adjust it.
A neutral sanitary silicone sealant. Follow the manufacturer's recommendations.
Level everything, use the right profiles and seal all joints carefully.
At Saniso, the online store for DIYers and professionals, you will find tools, materials and personal protective equipment for your job.
In doubt about the approach? Feel free to call in a professional.
Read also: How to hang a bathroom mirror and How to design your bathroom with the Saniso bathroom configurator
Read also: How to connect a new shower tap
Read also: Renovating a bathroom: DIY or professional?
Read also: How to descale a shower enclosure
Saniso – Build your home with Saniso.
Share:
Comparing LED bathroom mirrors before you buy? See how the Saniso+ mirror stacks up on dimming, sizing, and water resist...

Grout in one even colour across the whole wall or floor: that is what you want. In this blog we explain how the hybrid R...

Learn how to level a floor yourself: prepare the subfloor, prime, mix and pour self-levelling compound. Step-by-step wit...

Installing a kitchen: do it yourself or hire a professional? Read what is involved, which parts you can do yourself and...