













.webp)

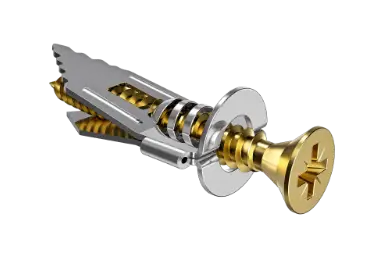
Want to hang heavy items on the wall? Learn how to recognise the wall type, choose the right plug, drill safely and hang...

Your online building supplies store for building and renovation
 English
✓
 Nederlands
✓
 Bathroom furniture sets
 Pillars and semi-pillars
 Consoles
 Washbasin cabinets
 Mirrors
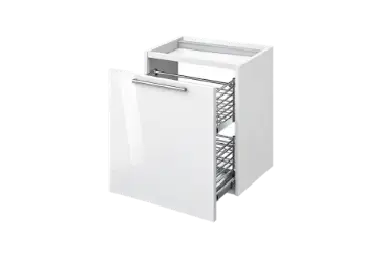 Cabinet for wc frame
 Shelves
 Accessories - bathroom furniture
 Panels for consoles
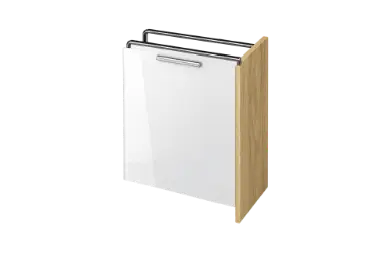 Cabinets with laundry basket
 Top for wc frame
 Wall hung cabinets
 Cabinets for washing machine
 Mirror cabinets
 Case for wc frame
 Countertops
 Under countertop cabinets
 Washbasin faucets
 Washbasin faucets deck-mount high
 Washbasin faucets concealed
 Bidet faucets
 Bathshower faucets
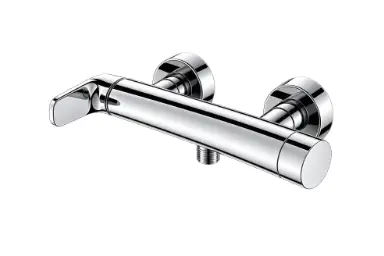 Shower faucets
 Bathshower sets concealed
 Shower column
 Freestanding bathshower faucets
 Shower sets
 Bathroom fitting sets
 Click-clack plugs
 Spare parts - bathroom fittings
 Bathshower faucets concealed
 Bath spout
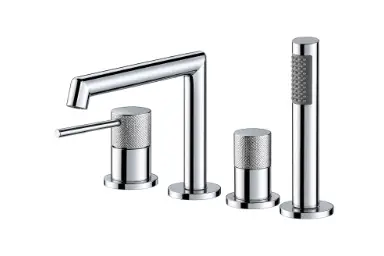
 Multi-hole bathtub faucet
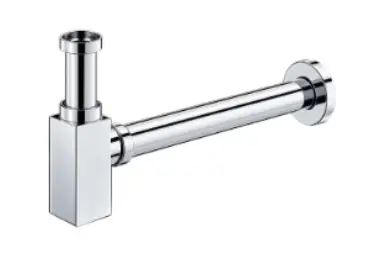 Washbasin siphons
 Consealed bidet system
 Clothes
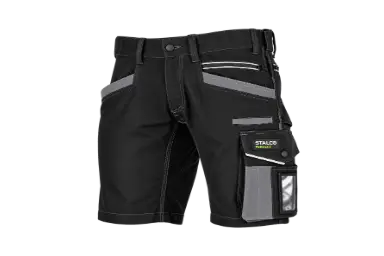 Shorts
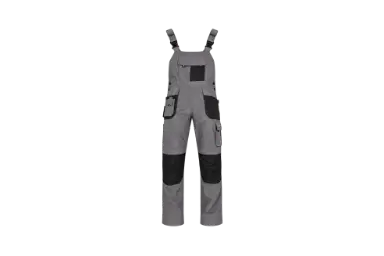 Dungarees
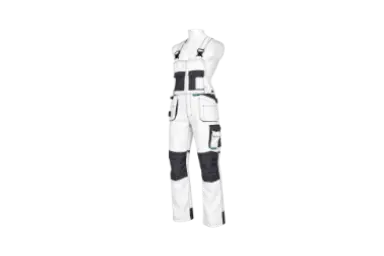 Work dungarees
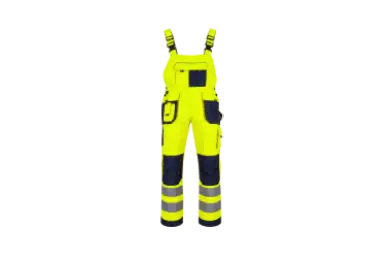 Reflective work dungarees
 Sweatshirts
 Hoodies
 Fleeces
 ShirtsFlannel work shirts
 T-shirts
 Polo
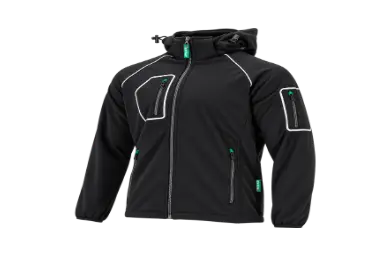 Jackets
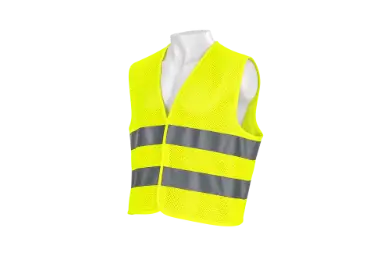 Vests
 Jumpsuits and SetsDisposable suits
 Underwear and socks
 Hats and scarves
 Hats
 Baseball caps
 Hats with a lamp
 Chimneys
 Reflective hats
 Clothing accessories
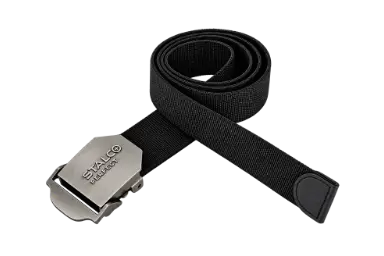 Stripes
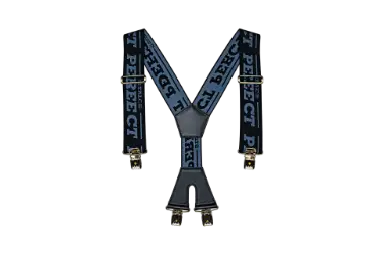 Suspenders
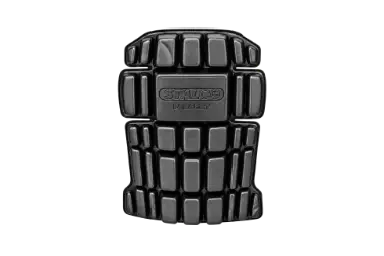 Foam inserts
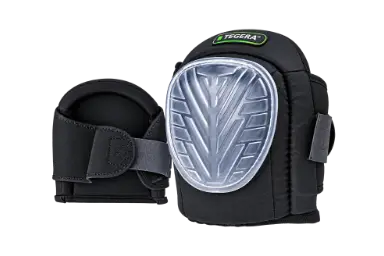 Protective knee pads
 Footwear
 Low shoes
 Work shoes
 Boots
 Work boots
 Winter boots
 High-top winter boots
 Sandals
 Work sandals
 Flip-flops and clogs
 Rain boots
 Work boot
 Low wellies
 High-top galoshes
 Shoe accessories

Short answer: you seal a gap or joint up to about one centimetre wide with sealant. Indoors, on surfaces you want to paint, choose acrylic sealant. In wet rooms and in places that keep moving or get wet, choose silicone sealant. If the gap is wider or deeper, first fill it with polyurethane foam or a backer rod and then seal it. A good sealant joint bonds to two sides, is roughly half as deep as it is wide and is applied in one movement and tooled straight away.
Read this article in Dutch as well: Hoe dicht je naden en kieren af met kit?.
Most mistakes happen because the wrong sealant is in the wrong place. Acrylic sealant can be painted but cannot handle permanent moisture. Silicone sealant is waterproof and elastic, but paint does not stick to it.
| Location | Best choice | Why |
|---|---|---|
| Joint between skirting and wall, trim, window frame indoors | acrylic sealant | paintable, fills small cracks |
| Hairline cracks and joints you want to paint quickly | fast-curing acrylic sealant | can be painted sooner |
| Shower, bath, washbasin, worktop | sanitary silicone sealant | waterproof, resists mould |
| Glass, metal, plastic, slightly damp spots | neutral silicone sealant | bonds widely and does not corrode metal |
| Wide, deep gap around a frame or pipe | foam first, then sealant | sealant alone is too thick and cracks |
For indoor painting jobs use a fast-curing acrylic sealant or a lightweight flexible acrylic sealant. In the bathroom choose a sanitary silicone sealant. For glass, metal and plastic a transparent neutral universal silicone works well. How to reseal a whole bathroom is explained in our blog on resealing a bathroom with new silicone.
⚠️ Draughts around a window can also come from worn draught strips, a warped window or rot in the frame. Sealant is not the answer then. Have rotten wood and leaking joints on the outside assessed by a professional, because they often need frame repair or an exterior sealant with the right build-up.
Sealant and silicone remover quickly end up on your hands. Wear work gloves with nitrile coating, and wear a safety goggles when scraping overhead or using foam. Polyurethane foam sticks stubbornly to skin and clothing and expands a lot. Make sure there is fresh air and read the label before you start.
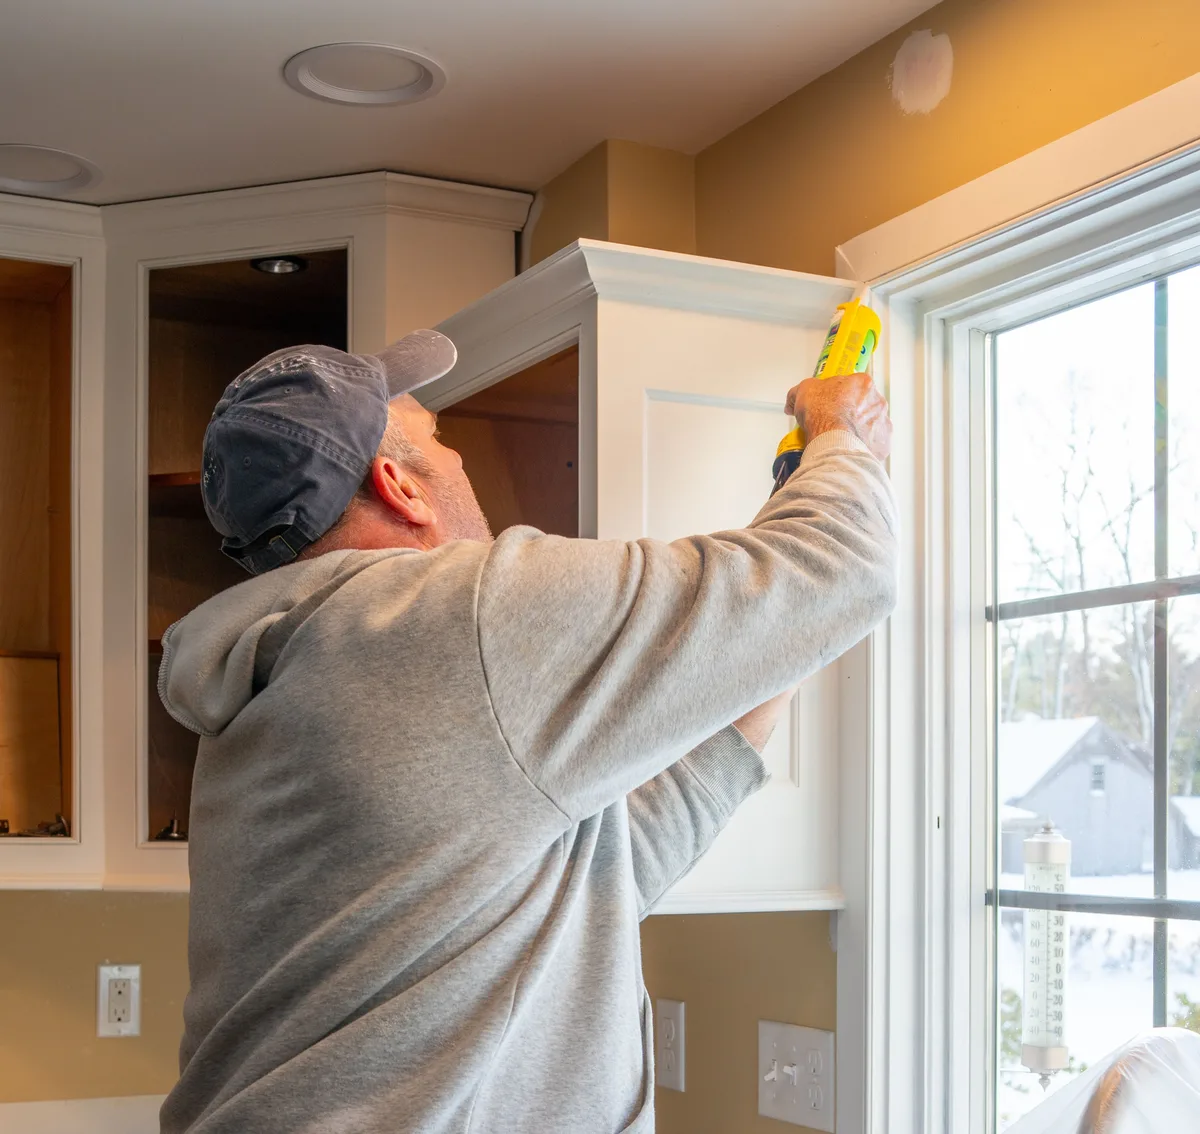
A gap around a frame or a pipe penetration is often too wide for sealant. Shake the can of foam well, lightly moisten the gap and fill it about halfway: the foam still expands. Cut the cured foam flush with a knife and then seal the joint with acrylic or silicone. This makes the connection airtight and neat. After use, flush the gun with cleaner, otherwise it will be stuck next time. If you carry on working on the wall, read our blog on painting a wall.
💡 Never apply sealant in frost or on a cold, damp surface. Ideally work at room temperature. For window frames on the outside, wait for a dry spell without night frost.
👷 Are you dealing with frames with wood rot, large joints in the facade, connections between roof and gutter or joints around gas, water and electrical penetrations? Then call in a professional. They know which build-up of sealant, backer rod and seal belongs there. If you are unsure whether the seal around pipes or cables is safe, have it checked by a certified installer.
Only in dry places, for example at the ceiling or a window frame outside the shower zone. Around the shower, bath and washbasin you need sanitary silicone sealant.
Usually there was still grease, dust or old silicone on the surface, or the joint was too thin or too deep and bonded on three sides. Remove everything, clean the joint and seal again.
No, paint does not stick to silicone. If you want to paint the joint, choose acrylic sealant. More about painting can be found in our blog on painting a door.
At Saniso, the online store for DIYers and professionals, you will find tools, materials and personal protective equipment for your job.
In doubt about the approach? Feel free to call in a professional.
Saniso – Build your home with Saniso.
Share:
Want to hang heavy items on the wall? Learn how to recognise the wall type, choose the right plug, drill safely and hang...

Which socket set suits your work? Learn the difference between 1/4, 3/8 and 1/2 inch drive, why the number of ratchet te...

Natural stone and porous tiles absorb moisture, grease and dirt. With a Fila impregnator you give them invisible protect...

Caring for work shoes: how to clean safety shoes and boots, dry them properly, prevent odour and know when they need rep...