Grout in one even colour across the whole wall or floor: that is what you want. In this blog we explain how the hybrid R...

How to tile a floor: step-by-step DIY guide
A new tiled floor is sturdy, easy to keep clean and looks good for years, provided it is laid flat and neatly. Tiling is not a complicated job, but it is a precision job: the preparation determines the result. This DIY blog takes you step by step through tiling a floor, from the substrate to grouting and sealing.
What do you need to tile a floor?
Which materials do you need?
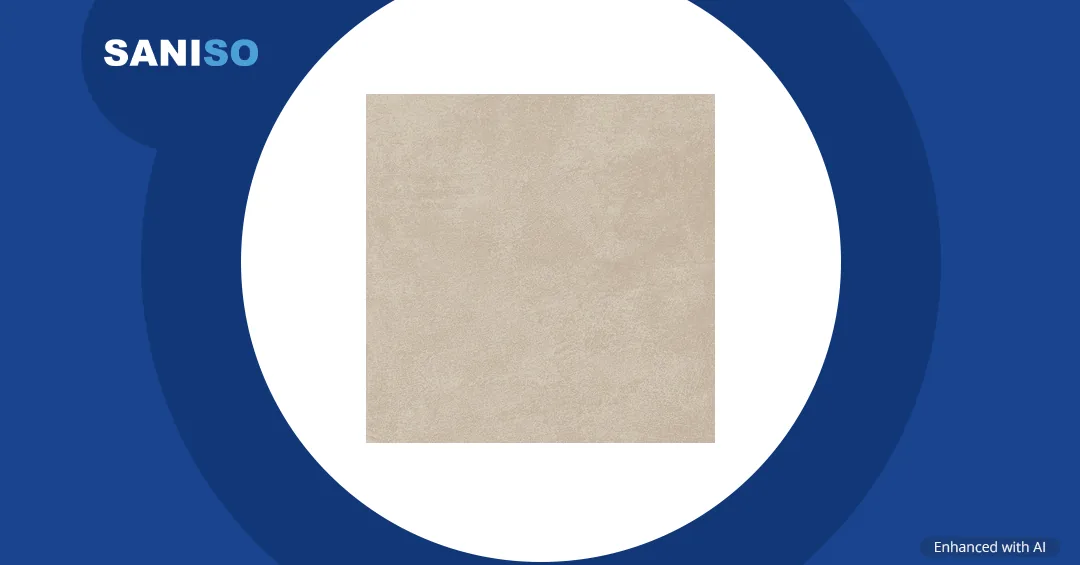
- Floor tiles that are suitable for floors, for example from our floor tiles category, such as the Antiko Cream Matt 60 x 60. Allow about 10% extra for cutting waste and breakage and keep a few spare tiles for later repairs. Read the packaging: frost resistance, slip resistance and the right adhesive differ per tile.
- A tile adhesive that suits your tile and substrate, for example Kerakoll H40 White Gel. Check on the packaging that the adhesive is suitable for large floor tiles and for your substrate.
- A deep-penetrating primer for absorbent substrates, if the adhesive manufacturer prescribes it.
- A self-levelling product such as Flowtech Easy to level a substrate that is not flat enough. Follow the manufacturer’s instructions.
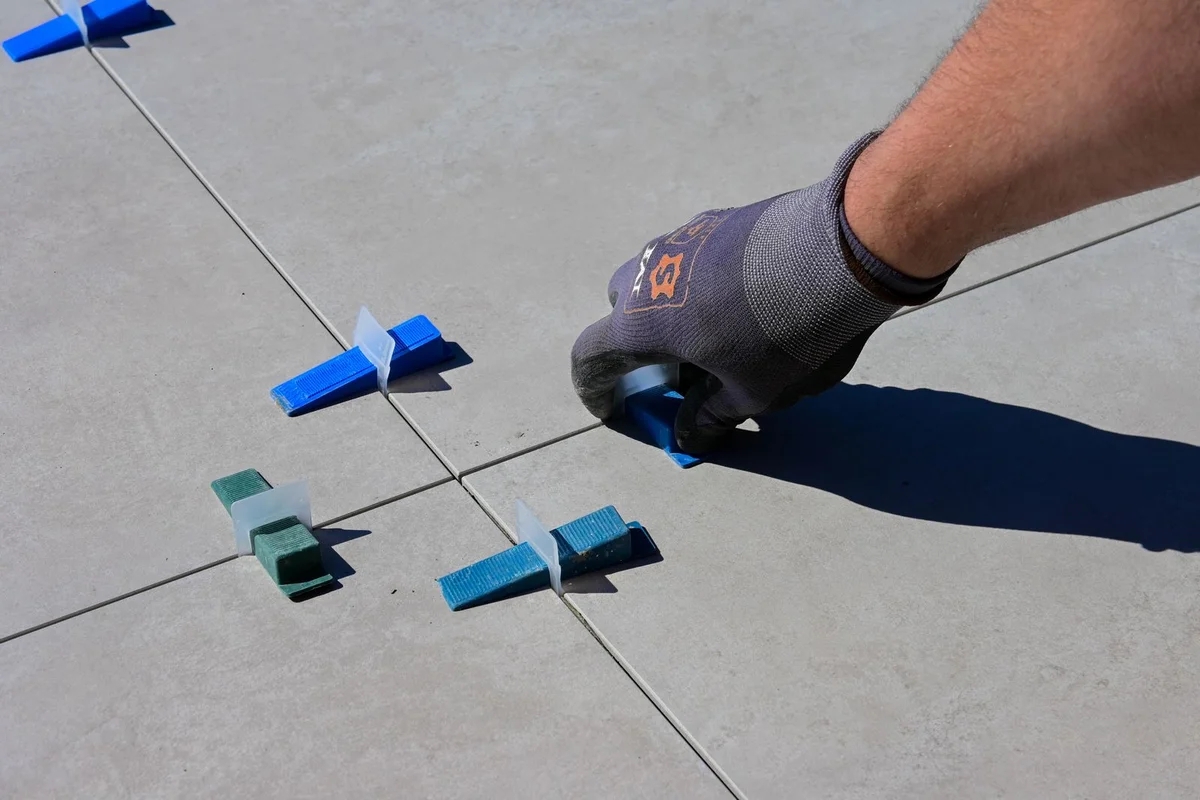
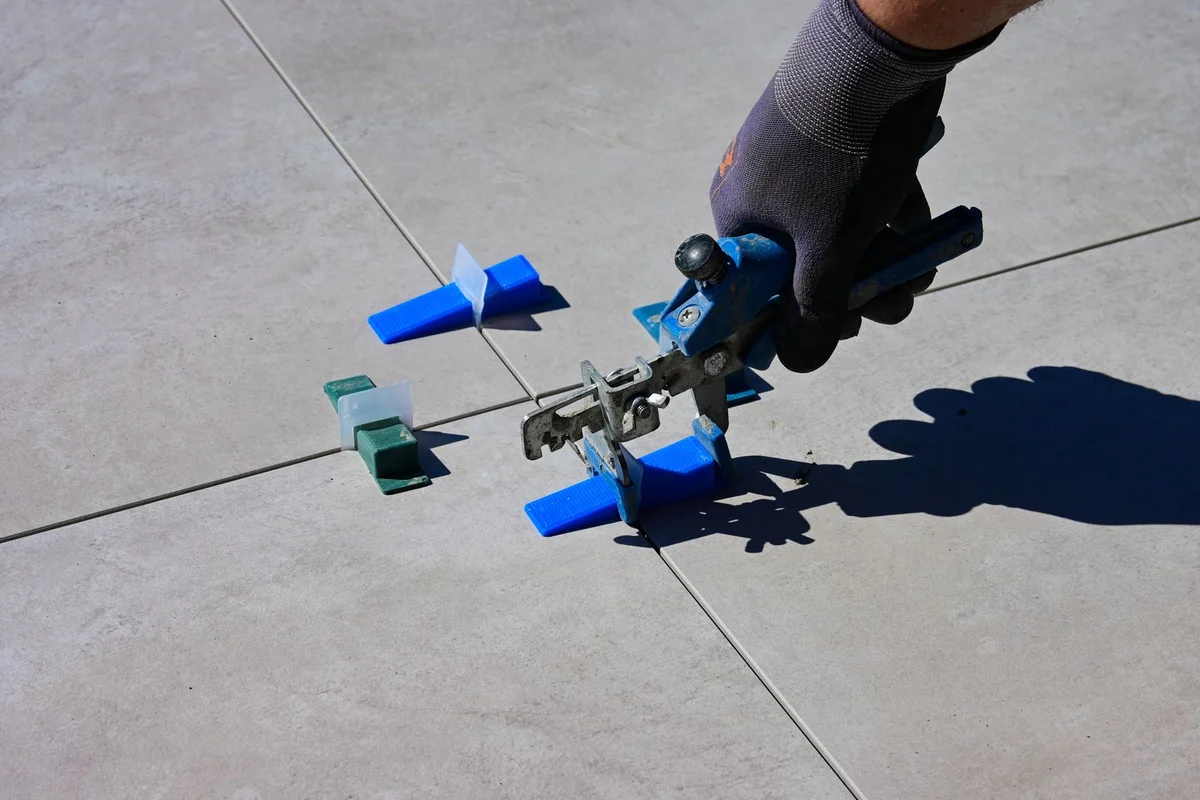
- Tile spacers or a tile levelling system to keep the joints even and the tiles at the same height.
- A grout in the colour of your choice and sanitary silicone sealant for edges and transitions.
Which tools do you need?
- A notched trowel with 8 mm teeth or a Raimondi glue comb 10 mm to apply the adhesive in even ridges.
- A bucket and a mixer for a lump-free mix, preferably with a drill.
- A tile cutter and breaker for straight cuts and a tile cutting knife for scoring. For round and angled cuts, for example around a pipe, you need a suitable angle grinder with a diamond blade.
- A 100 cm spirit level, a tape measure and a tile pencil for measuring and marking.
- A rubber hammer to tap the tiles gently into place.
- A grout float, a sponge, a sealant gun and clean water for grouting and finishing.
- A cement haze remover for cleaning after grouting.
- Protective equipment: work gloves, safety glasses, an FFP3 dust mask when mixing and cutting, and knee pads. Choose your own size.
How do you prepare the floor?
A good substrate is half the work. The floor must be sturdy, dry, clean and flat. Remove loose parts, dust and grease. Use the spirit level to check that the floor is flat. Small differences in height can be levelled with a self-levelling product. For larger deviations, damp patches or cracks, find the cause first.
Does the floor have underfloor heating? Then extra rules apply to the adhesive and the heating-up time: always follow the manufacturer’s instructions and, if in doubt, ask a professional to look at it. If there is old floor covering or adhesive on the floor in a home built before 1994, it may contain asbestos. Do not remove it yourself, but have an expert assess what can be done.
Step by step: preparing and planning
- Measure the room. Measure the floor with the tape measure and calculate the number of square metres, adding about 10% for cutting waste. Check that the doors can still open after laying: the floor will be higher.
- Clean and level the floor. Vacuum thoroughly, wipe over with a damp cloth if needed and repair holes or cracks. If necessary, level with a self-levelling product and let it dry completely according to the packaging.
- Prime. On an absorbent substrate, apply the primer as the manufacturer prescribes and let it dry.
- Lay the tiles out dry first. Lay out a row of tiles dry with spacers along the length and width. This shows you how the tiles fall and avoids narrow strips along the wall. Mark the starting line, usually in the middle of the room and at right angles to the door, with a pencil or a chalk line.

Step by step: laying and finishing the tiles
- Mix the adhesive. Pour clean water into the bucket first, then add the powder and mix with the mixer until smooth and lump-free. Only mix as much as you can use within the working time. Wear an FFP3 mask when mixing.
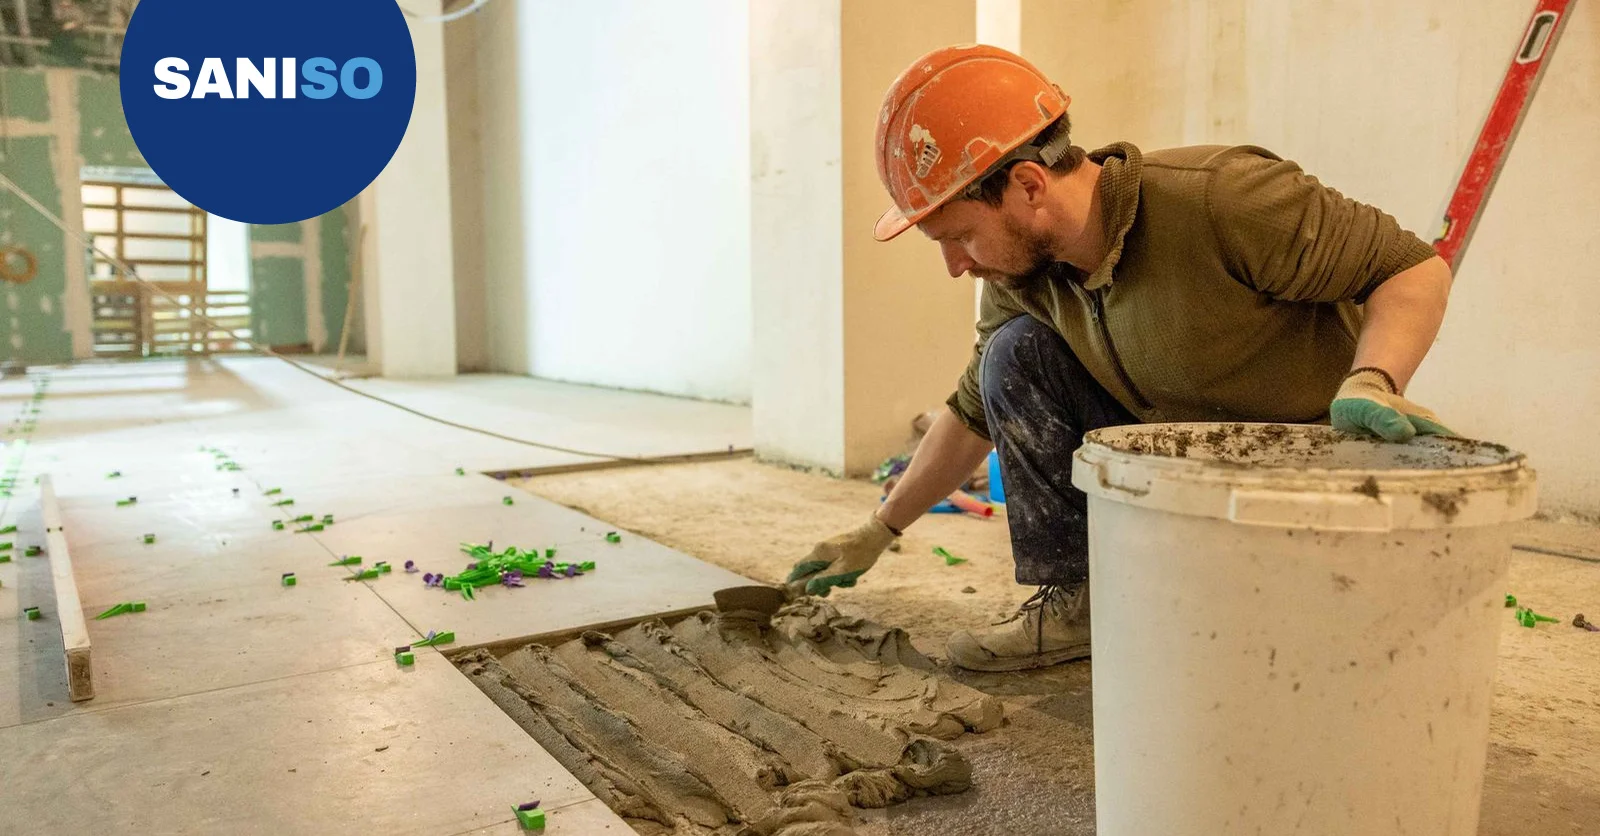
- Apply the adhesive. Spread an area of about one tile, or a few tiles at a time, with the flat side of the notched trowel, then draw even ridges through it with the toothed side, in one direction. With large or thick floor tiles it is usual to apply adhesive to the back of the tile as well, so that no hollow spaces form. Read the adhesive manufacturer’s instructions.
- Lay the first tile. Place the tile on the starting line, press it down with a slight twisting movement and tap it gently into place with the rubber hammer. Check with the spirit level that it is flat.
- Lay the rest. Work from the middle towards the edges. Place spacers at the corners or use the levelling system so the joints stay even and the tiles do not differ in height. Lift a tile now and then to check that the adhesive covers the back well.

- Cut the tiles to size. Measure the edge tiles, draw the cutting line with a pencil, score with the cutting knife or use the tile cutter and snap the tile. Wear safety glasses and gloves. Keep the cut edge on the wall side, where the skirting board will cover it.
- Let the adhesive cure. Wait until the adhesive has cured enough before walking on the floor or grouting. This is stated on the adhesive packaging. Keep off the floor as much as possible in the meantime.
- Remove the spacers and grout. Remove the spacers and clear any adhesive residue from the joints. Mix the grout and press it diagonally into the joints with the grout float. Once it has set slightly, wipe off the excess with a lightly dampened sponge.
- Seal the edges. Seal the junction between floor and wall or frame, and transitions where the floor can move, with silicone sealant and the sealant gun. Smooth the sealant and remove the tape.
- Clean up. Remove the cement haze after curing with the cement haze remover, following the packaging, and sweep the floor. Only fit skirting boards, transition profiles and furniture once everything is dry.
How do you finish the floor neatly?
Is the wall next to the floor damaged, or do skirting boards still need painting? You can read how to repair and plaster a wall in our blog how to plaster a wall. Do you also want to tile the wall? Read our blog how to tile a wall. For frames, doors and skirting boards, our blog how to paint a door helps. Want to renew the floor in another room too? Then our other new blog How to lay laminate: step-by-step DIY guide comes in handy.
What mistakes do DIYers often make?
- A substrate that is not flat or dry. Tiles follow the substrate: bumps stay visible and can lead to cracked tiles.
- Not laying out dry first. Without a plan you end up with narrow strips or a crooked line.
- Too little adhesive under the tile. Hollow spaces are the cause of broken tiles. Lift a tile now and then to check.
- Walking on it or grouting too early. Wait until the adhesive has cured.
💡 Tip: work with two people: one mixes and spreads, the other lays.
How do you work safely when tiling a floor?
Tiling is heavy and dusty work. Wear an FFP3 dust mask when mixing powder and cutting, safety glasses against splashes and shards, and gloves because tile adhesive and grout can irritate the skin. Knee pads spare your joints when you work on your knees. Use hearing protection with loud tools. You will find all personal protective equipment in our workwear and safety category. You can read more tips in our guide working safely on the construction site.
What do DIYers often ask about tiling a floor?
Can I tile a floor myself?
A small, straight room with a flat substrate is quite doable yourself. A large room, an uneven floor, large formats or underfloor heating requires more experience.
When is it better to call a professional?
If you are unsure about the substrate, with moisture problems, underfloor heating, large rooms and large tile formats, or if you want a perfect result without practising. A professional quickly knows which approach fits.
Where do you find everything to tile your floor?
At Saniso, the online DIY and building store, you will find tiles, tiling materials, tools and personal protective equipment for your tiling job.
- Browse our floor tiles, our construction tools and our workwear and safety.
- Create a customer account and order easily.
- Working on a larger project or want to hand the job over? Request a project quote.
- Book a showroom visit in Zwaag, at least 24 hours in advance.
- Not sure which tiles and adhesive suit your floor? Contact us.
Unsure about the substrate or the approach? Feel free to call in a professional.
Saniso – Build your home with Saniso.
Read also: How to lay laminate: step-by-step DIY guide
Read also: How to design your bathroom with the Saniso bathroom configurator
Read also: How many bags of sand-cement do I need?
Read also: How to clean while tiling
Read also: How to clean, remove and renew discoloured grout
Read also: How to repair broken wall or floor tiles
Read also: How to transport tiles and slabs safely
Read also: How to tile a bathroom: step-by-step DIY guide
Read also: How to lay tiles diagonally or in a pattern
Read also: How to level a floor: step-by-step DIY guide
Share: