


























Want to hang heavy items on the wall? Learn how to recognise the wall type, choose the right plug, drill safely and hang...

How to paint kitchen cabinets: step-by-step DIY guide
Are your kitchen cabinets still in good shape, but is the colour dated or are there scratches and stains? Painting gives your kitchen a fresh look without replacing the whole kitchen. The secret is in the preparation: thorough degreasing, proper sanding, a bonding primer that suits the surface and two thin coats of lacquer. In this guide you will read how to remove, number, prepare and lacquer doors and drawers, and how to put everything back neatly. Always read the label of your primer and lacquer first: it tells you the suitable surfaces, the drying time and the recoat time.
👷 Calling in a professional is never unnecessary. Do you have many or expensive fronts, peeling foil, a high-gloss finish or a spray finish in mind? Then call in a painter. A painter immediately sees what the surface needs, works dust-free and delivers a smooth result that lasts for years.
Which kitchen cabinets can you paint?
First check what your fronts are made of. This determines whether painting makes sense and which primer you need.
- Solid wood and veneer: easy to paint after degreasing and sanding.
- Previously lacquered MDF: easy to paint. Sand the old lacquer matt and use a bonding primer.
- Melamine or laminate (HPL): can be painted, but only with a bonding primer for smooth surfaces. Thorough degreasing and matt sanding are extra important here.
- Foil (PVC or thermofoil): difficult. Is the foil already peeling at edges or corners, or is there heat damage near the oven or dishwasher? Then painting will not help; the foil keeps peeling and takes the lacquer with it.
⚠️ Not sure which material you have? Paint a test piece first, for example the inside of a door or a plinth. Let the lacquer cure fully, then test the adhesion with a piece of tape. If the lacquer comes off, the surface or the primer is not right.
What do you need?
Materials
- A bonding primer or undercoat suitable for your surface (wood, MDF, melamine or laminate).
- A hard-wearing interior lacquer, preferably a water-based lacquer suitable for kitchen cabinets or furniture. Use primer and lacquer from the same system, so they bond well to each other.
- Degreasing: Fila Brio universal cleaner, a microfibre cloth and a 12-litre bucket of clean water. For a greasy cooker hood or cabinets next to the hob, you can use a special degreaser for paintwork.
- Sanding: grit 180 abrasive cloth and grit 240 abrasive cloth, a sanding block grit 120 and a sanding block grit 220.
- Filling: lightweight filler (Speedline Filler Light) for small dents and damage.
- Masking: blue painter's tape, masking film for the floor and worktop and masking paper for walls and appliances.
Tools
- A screwdriver set or a cordless drill driver with a bit set with holder to unscrew doors, hinges and handles.
- A permanent marker to write the numbers on pieces of tape.
- A random orbital sander with dust extraction for large, flat fronts. Sand profiles and edges by hand.
- A construction vacuum cleaner to clean up sanding dust.
- A narrow 40 mm filling knife and a set of plastic filling knives to apply filler.
- A painting set with tray, frame and two 10 cm velour rollers with an extra spare 10 cm velour roller and a roller frame for 10 cm rollers: a small velour roller gives a smooth, even lacquer finish.
- A flat brush for lacquer and a narrow acrylic brush for edges, corners and profiles.
- A rechargeable LED work lamp: with raking light you can best see unevenness and lacquer edges.
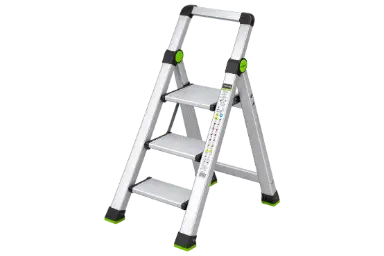
- A sturdy folding ladder with handle for the wall cabinets.
- Trestles or a clean work table and small blocks to lay the doors on.
Personal protective equipment
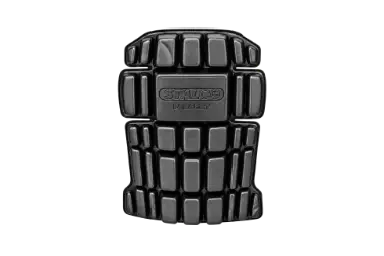
Wear work gloves with nitrile coating when degreasing, sanding and lacquering, and safety goggles when sanding and working overhead. Use an FFP2 dust mask when sanding old lacquer, filler and MDF. knee pads make working on the base cabinets more comfortable and white painter's dungarees keep lacquer and dust off your clothes.
Step-by-step: painting kitchen cabinets
Spread the job over a few days: every coat has to dry and be sanded in between. Choose a room that is dust-free, dry and well ventilated, at the temperature stated on the tin.
- Empty the kitchen and cover up. Empty the cabinets, cover the worktop and floor with masking film and mask walls, ceiling trims and appliances with blue painter's tape and masking paper. Read more about masking in our blog on masking tape and protective film.
- Number the doors and drawers. Use the permanent marker to write a number on a piece of tape and stick it in the hinge cup of the door and on the matching cabinet. That way every door goes back in its own place and you hardly need to readjust the hinges. You can also take a photo of the kitchen with all the numbers.
- Remove doors, hinges and handles. Unclip or unscrew the doors with the screwdriver set or the cordless drill driver on a low setting. Remove the handles and knobs and keep the screws and hinges for each door in a bag with the same number. Take the drawers out of the cabinet and unscrew the front if possible. Read more about bits and screwdrivers in our blog on screwdrivers, bit sets and screw extractors.
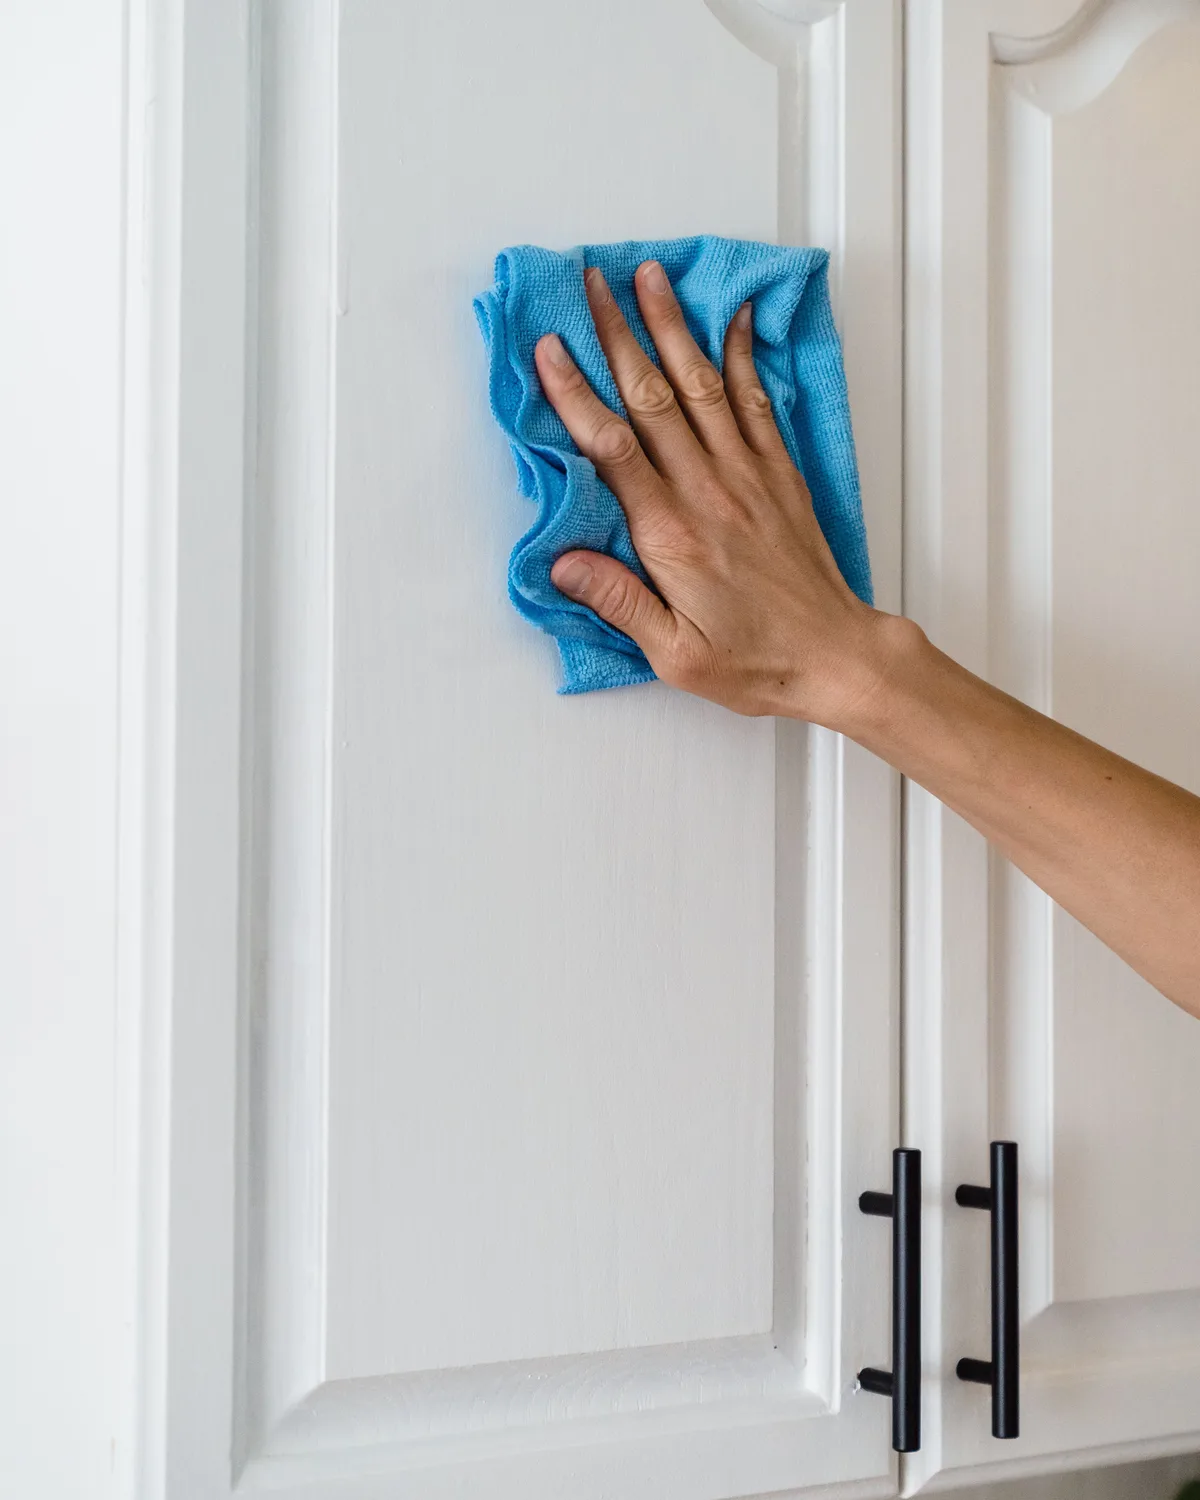
- Degrease everything thoroughly. Kitchen cabinets are covered in grease and fingerprints, even if you cannot see them. Wash the fronts, edges and cabinet sides with Fila Brio universal cleaner and a microfibre cloth, rinse with clean water and let everything dry well. No primer will adhere to grease.
- Sand everything matt. Sand lacquered or smooth fronts matt with grit 180 abrasive cloth or the sanding block grit 120. Lightly key melamine and laminate with grit 180 to 240: you only want to remove the sheen, not sand through the top layer. Use the random orbital sander with dust extraction for flat parts and sand profiles by hand. Which grit to choose and when is explained in our blog on buying sanding blocks and sandpaper.
- Make everything dust-free. Vacuum up the dust with the construction vacuum cleaner, including from the profiles and the floor. Then wipe everything with a slightly damp microfibre cloth and let it dry. Any dust left behind will show up later in the lacquer.
- Fill small damage. Fill small dents and scratches with lightweight filler (Speedline Filler Light) and the narrow 40 mm filling knife. Let it dry as stated on the packaging, sand flush with the sanding block grit 220 and make dust-free again. Is there major damage, or has the front swollen from moisture? Then filling will not help and it is better to have the front replaced. Read more about filling in our blog on putty knives, sanding tools and scrapers.
- Apply the bonding primer. Lay the doors flat on small blocks so the edges are free. Start with the edges and profiles using the narrow acrylic brush, then roll the flat surfaces with the velour roller from the painting set with tray, frame and two 10 cm velour rollers. Do not load too much lacquer and finish the flat surfaces in one direction. Paint the inside first, let it dry and then turn the door over. Let the primer dry as stated on the tin.
- Sand lightly between coats. Lightly sand the primer with grit 240 or the sanding block grit 220 and make everything dust-free again. This helps the lacquer adhere better and gives a smoother surface. Also read our blog on sanding between varnish coats.
- Apply the first coat of lacquer. Work the same way: first edges and profiles with the brush, then the flat surfaces with the velour roller. Apply two thin coats rather than one thick coat; a thick coat runs and does not dry properly. Also paint the visible cabinet sides and the edges of the carcass.
- Let it dry, sand and apply the second coat. Keep to the recoat time on the tin. Sand lightly with grit 240, make dust-free and apply the second coat of lacquer. Use the rechargeable LED work lamp in raking light to check that you have not missed any spots.
- Ventilate while drying. Open a window or leave the extractor on, but avoid draughts that blow dust onto the wet lacquer. Keep children and pets away.
- Let the lacquer cure. Lacquer is often dry after a few hours, but only fully hard after several days to weeks. Only rehang the doors once the lacquer is properly dry and treat them gently for the first few weeks: no scrubbing and do not lean things against the doors.
- Reassemble everything. Screw the hinges and handles back on, hang each door on its own number and adjust the hinges slightly if needed so the gaps are even. Remove the tape and masking materials. Read more about adjusting and installing cabinets in our blog on installing a kitchen cabinet.
Which mistakes are easy to make?
- Not degreasing, or not degreasing long enough, so the lacquer does not adhere and later flakes off.
- Not sanding smooth fronts matt, or using the wrong primer.
- Not numbering the doors, so you have to readjust all the hinges.
- Coats of lacquer that are too thick, so the lacquer runs or sags.
- Applying the next coat too soon, before the previous coat is dry.
- Leaving dust between the coats.
- Painting over peeling foil.
- Rehanging the doors too early or cleaning them intensively too soon.
How do you work safely?
- Ventilation: make sure there is fresh air while lacquering and drying. With solvent-based lacquer or cleaner, good ventilation is extra important; do not use open flames and do not smoke in the room.
- Sanding dust: wear an FFP2 dust mask when sanding lacquer, filler and MDF, and vacuum the dust with the construction vacuum cleaner instead of sweeping.
- Eyes: safety goggles against dust and splashes when sanding and when lacquering the wall cabinets.
- Hands: work gloves with nitrile coating against cleaner, primer and lacquer.
- Height: use a sturdy folding ladder with handle for the wall cabinets, never a chair or the worktop.
- Old paint layers: do you have a very old kitchen with several old layers of paint? Then do not dry-sand, but first have the paint tested for lead.
Read more about working safely in our blog on safe working on the construction site.
💡 Always read the label and the safety data sheet of the primer, lacquer and cleaner. They tell you which protection you need and how to dispose of leftovers and used rollers.
👷 Do you have many fronts or expensive fronts, or do you want a sprayed or high-gloss finish? Then call in a painter. Spraying requires a dust-free spray area, experience and the right protection against spray mist. A professional works faster and the result is smoother and more durable.
Frequently asked questions
Is it better to paint kitchen cabinets or wrap them in foil?
Both are possible. Lacquer is hard-wearing, repairable and gives an even result, including on profiles. Foil gives a new colour quickly, but requires precise work at edges and corners and can come loose with heat. For profiled fronts and kitchens that see heavy use, many people choose lacquer. If in doubt, ask a painter for advice.
Does paint adhere to melamine or foil?
Lacquer only adheres to melamine and laminate with good preparation: thorough degreasing, matt sanding and a bonding primer suitable for smooth surfaces. It can also work on foil that is firmly attached, but if the foil is peeling anywhere, we advise against painting. Always test a sample piece first.
Which gloss level should I choose for kitchen cabinets?
Satin is the most popular gloss level for kitchen cabinets: easy to clean and forgiving of small imperfections. High gloss shows every imperfection and brush mark and needs a perfect surface. Matt lacquer looks calm and modern, but choose a lacquer that is explicitly suitable for kitchens or furniture, so you can wipe it clean.
Do I need to paint the inside of the cabinets as well?
That is not necessary. Usually you paint both sides of the fronts, the visible cabinet sides and the edges of the carcass. The inside of the cabinets is often left as it is.
Should I use a roller or a brush?
Use both: a brush for edges and profiles and a small velour roller for the flat surfaces. A velour roller leaves hardly any streaks.
How long before I can use the kitchen again?
Allow a few days for degreasing, sanding, primer and two coats of lacquer with the drying times in between. After that you can use the kitchen again, but the lacquer is only fully hard after a few weeks. Be careful when cleaning during that period.
Read also: our blog on painting a door, our blog on painting a wall, our blog on installing a kitchen: DIY or professional and our blog on tiling a kitchen splashback.
Read this article in Dutch as well: Hoe schilder je keukenkastjes? Stappenplan voor doe-het-zelvers.
Where can you find everything for this job?
At Saniso, the online store for DIYers and professionals, you will find tools, materials and personal protective equipment for your job.
- Browse our construction tools and our workwear and safety.
- Create a customer account and order easily.
- Working on a bigger project or want to hand over the job? Request a project quote.
- Book a showroom visit, at least 24 hours in advance.
- Not sure which material suits your job? Get in touch with us.
In doubt about the approach? Feel free to call in a professional.
Saniso – Build your home with Saniso.
Share:


.webp)