









.webp)
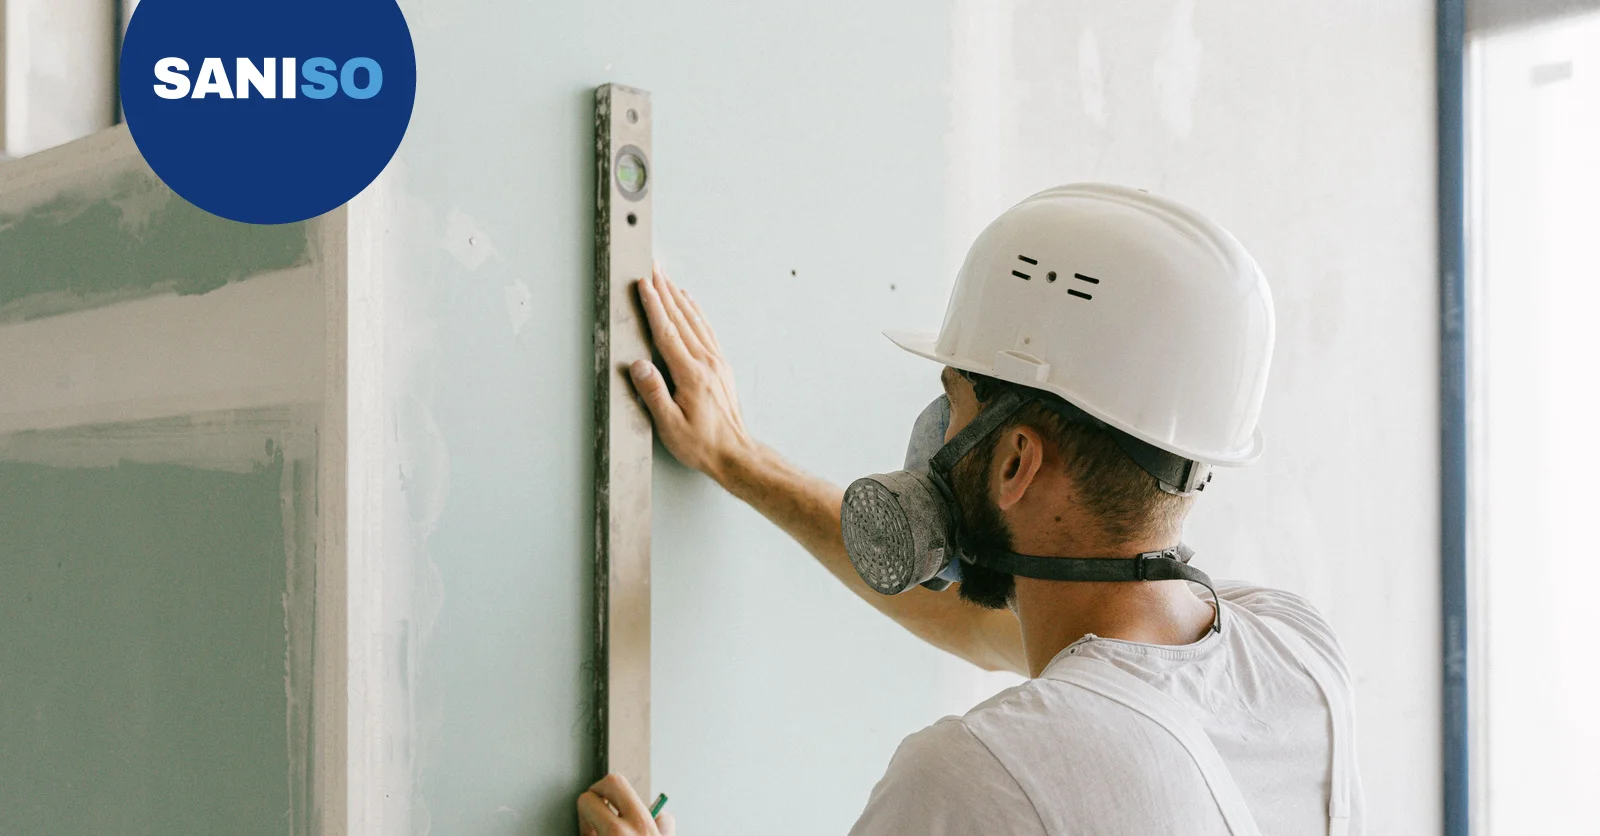
Want to hang heavy items on the wall? Learn how to recognise the wall type, choose the right plug, drill safely and hang...

Your online building supplies store for building and renovation
 English
✓
 Nederlands
✓
 Bathroom furniture sets
 Pillars and semi-pillars
 Consoles
 Washbasin cabinets
 Mirrors
 Cabinet for wc frame
 Shelves
 Accessories - bathroom furniture
 Panels for consoles
 Cabinets with laundry basket
 Top for wc frame
 Wall hung cabinets
 Cabinets for washing machine
 Mirror cabinets
 Case for wc frame
 Countertops
 Under countertop cabinets
 Washbasin faucets
 Washbasin faucets deck-mount high
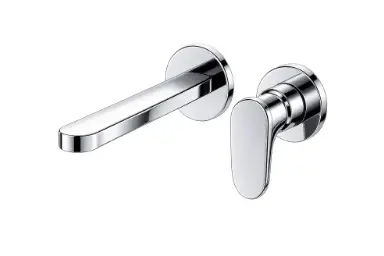 Washbasin faucets concealed
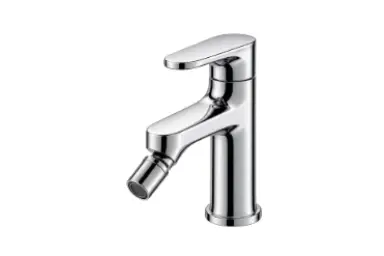 Bidet faucets
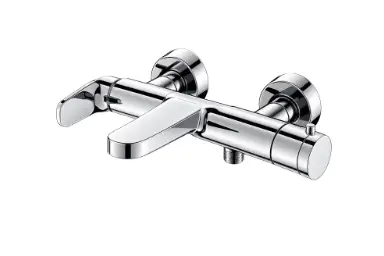 Bathshower faucets
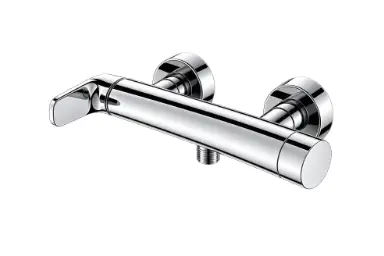 Shower faucets
 Bathshower sets concealed
 Shower column
 Freestanding bathshower faucets
 Shower sets
 Bathroom fitting sets
 Click-clack plugs
 Spare parts - bathroom fittings
 Bathshower faucets concealed
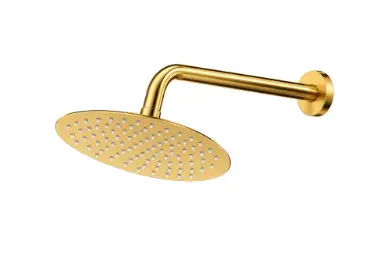
 Bath spout
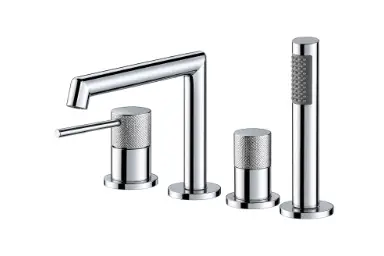
 Multi-hole bathtub faucet
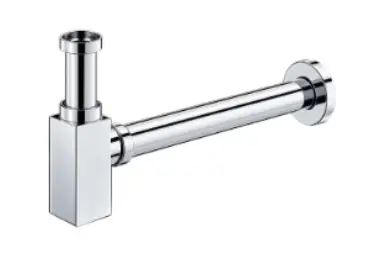 Washbasin siphons
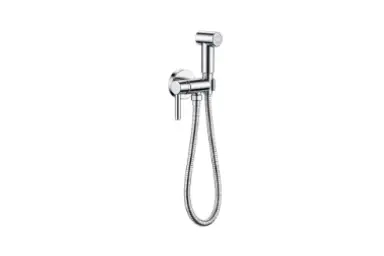
 Consealed bidet system
 Clothes
 Shorts
 Dungarees
 Work dungarees
 Reflective work dungarees
 Sweatshirts
 Hoodies
 Fleeces
 ShirtsFlannel work shirts
 T-shirts
 Polo
 Jackets
 Vests
 Jumpsuits and SetsDisposable suits
 Underwear and socks
 Hats and scarves
 Hats
 Baseball caps
 Hats with a lamp
 Chimneys
 Reflective hats
 Clothing accessories
 Stripes
 Suspenders
 Foam inserts
 Protective knee pads
 Footwear
 Low shoes
 Work shoes
 Boots
 Work boots
 Winter boots
 High-top winter boots
 Sandals
 Work sandals
 Flip-flops and clogs
 Rain boots
 Work boot
 Low wellies
 High-top galoshes
 Shoe accessories
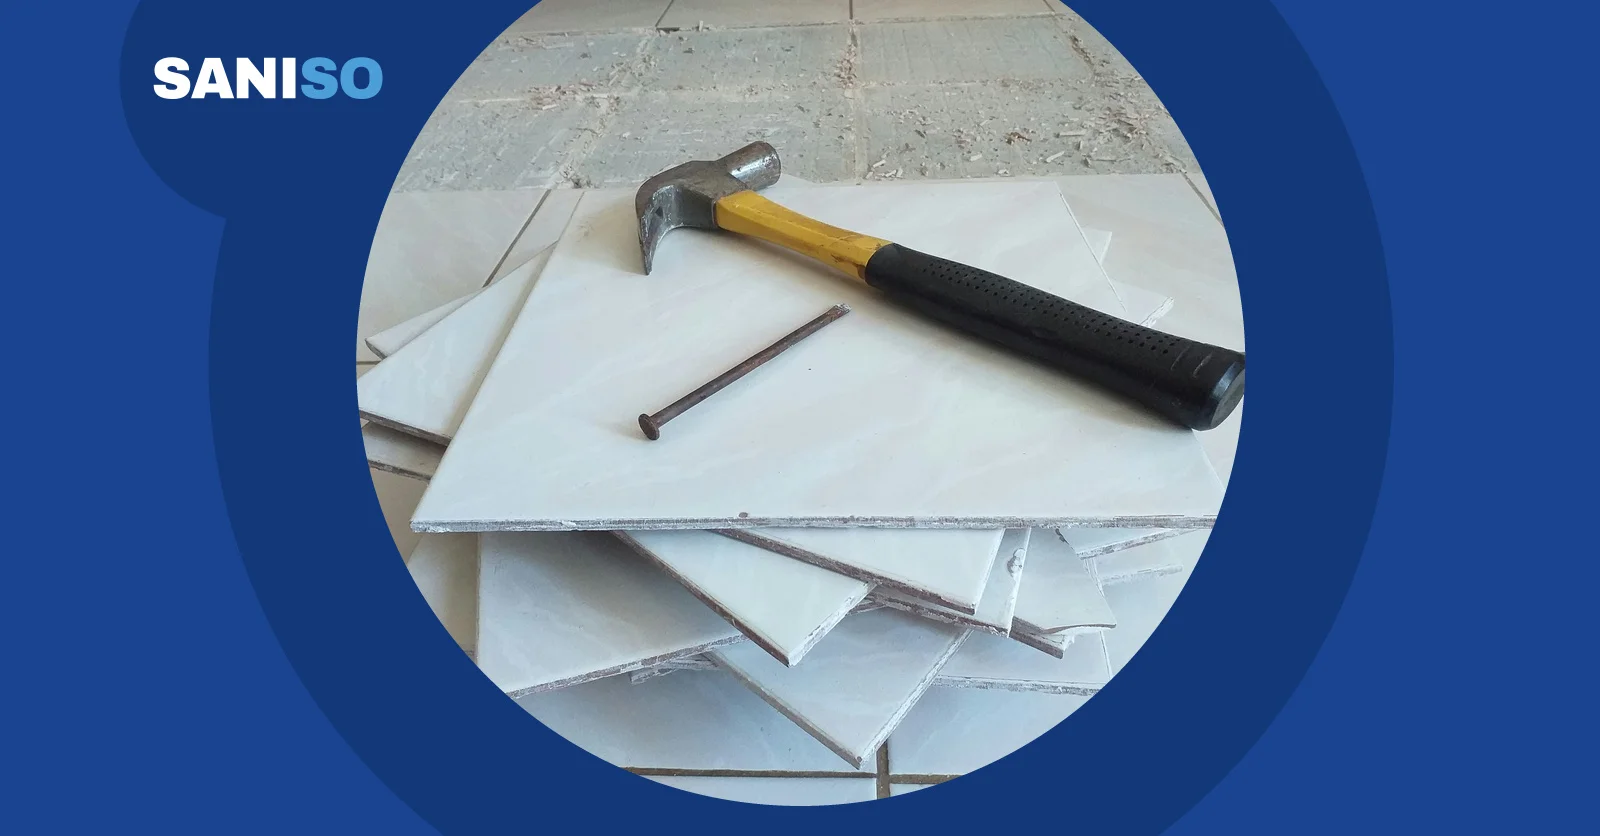
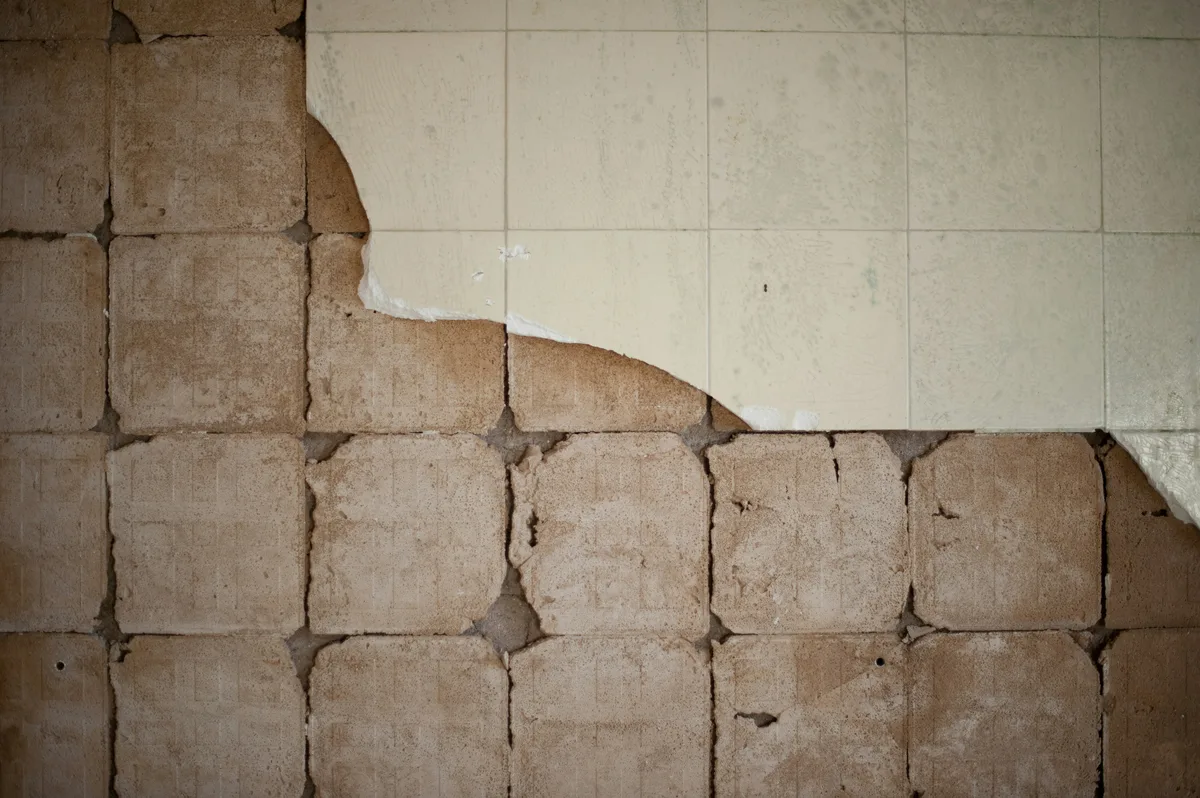
Are you going to retile your bathroom, kitchen or toilet? Then the old tiles often have to come off first. Removing tiles is mainly a matter of patience, the right chisel and good protection. It involves dust, sharp shards and noise. With good preparation, you keep the surface underneath as intact as possible, so the new tiles will sit neatly and firmly.
👷 Calling in a professional is never unnecessary. Is your home older, are you unsure what is under or behind the tiles, are there pipes or underfloor heating in the wall or floor, or is it a whole bathroom? Then leave it to a professional. They will strip it quickly, safely and without unnecessary damage to the surface.
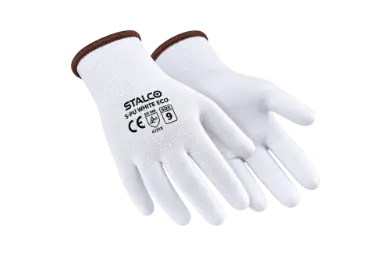
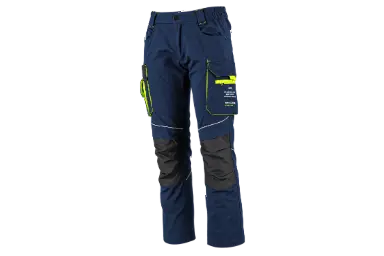
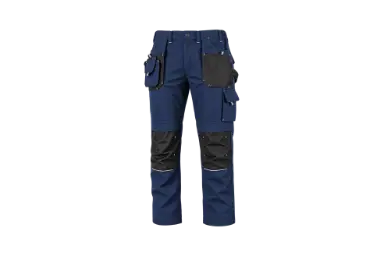
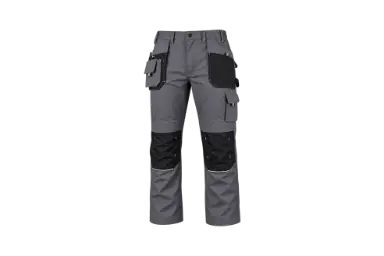
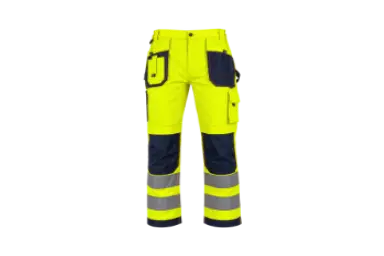
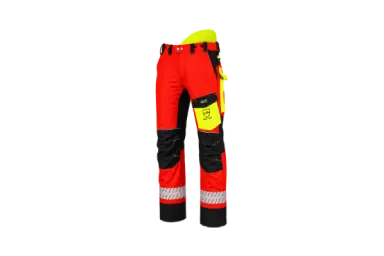
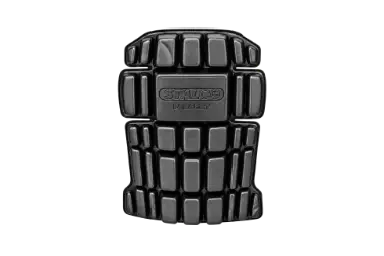
Tile shards are razor-sharp and chiselling creates a lot of dust. So always wear cut-resistant gloves, impact-protection goggles, an FFP3 dust mask (or at least an FFP2 dust mask), earmuffs when using the rotary hammer, high leather S3 safety boot with a steel toe cap and a sole that resists shards, knee pads for floor work and sturdy work trousers with long legs.
Read more about working safely in our blog on safe working on the construction site. You will find all protective equipment in our workwear and safety range, see the link at the bottom of this blog.
💡 💡 Keep the chisel as flat as possible against the surface. That way you pop the tile off instead of smashing it, and the wall or floor underneath stays in the best condition.
👷 Is it a whole bathroom, a floor with underfloor heating, tiles on a surface you do not know, or are you in doubt about asbestos? Then leave it to a professional, with the experience and equipment to do it quickly, safely and neatly. Also read our blog on renovating a bathroom: DIY or professional.
Sometimes, if the old tiles are firmly attached, flat and the build-up height allows it. Always follow the tile adhesive manufacturer's instructions and ask a professional for advice if in doubt.
You cannot see it with the naked eye. If in doubt, for example in an older home, have it tested by a certified company before you start.
Yes, remove loose and thick adhesive residue so the surface is flat and firm. Check the instructions of the new adhesive manufacturer for what the surface needs.
A small wall can be done with a chisel and club hammer. For larger areas or floor tiles, a rotary hammer with a chisel function saves a lot of time and effort.
Collect it in rubble bags and ask your municipality how and where to hand in construction and demolition waste.
Read also: our blog on tiling a wall, our blog on tiling a floor, our blog on tiling a bathroom and our blog on repairing broken tiles.
Read this article in Dutch as well: Hoe verwijder je oude tegels? Stappenplan voor doe-het-zelvers.
At Saniso, the online store for DIYers and professionals, you will find tools, materials and personal protective equipment for your job.
In doubt about the approach? Feel free to call in a professional.
Saniso – Build your home with Saniso.
Share:
Want to hang heavy items on the wall? Learn how to recognise the wall type, choose the right plug, drill safely and hang...

Which socket set suits your work? Learn the difference between 1/4, 3/8 and 1/2 inch drive, why the number of ratchet te...
Natural stone and porous tiles absorb moisture, grease and dirt. With a Fila impregnator you give them invisible protect...
Sealing gaps and joints with sealant: find out which sealant goes where, acrylic or silicone, when to use foam first and...